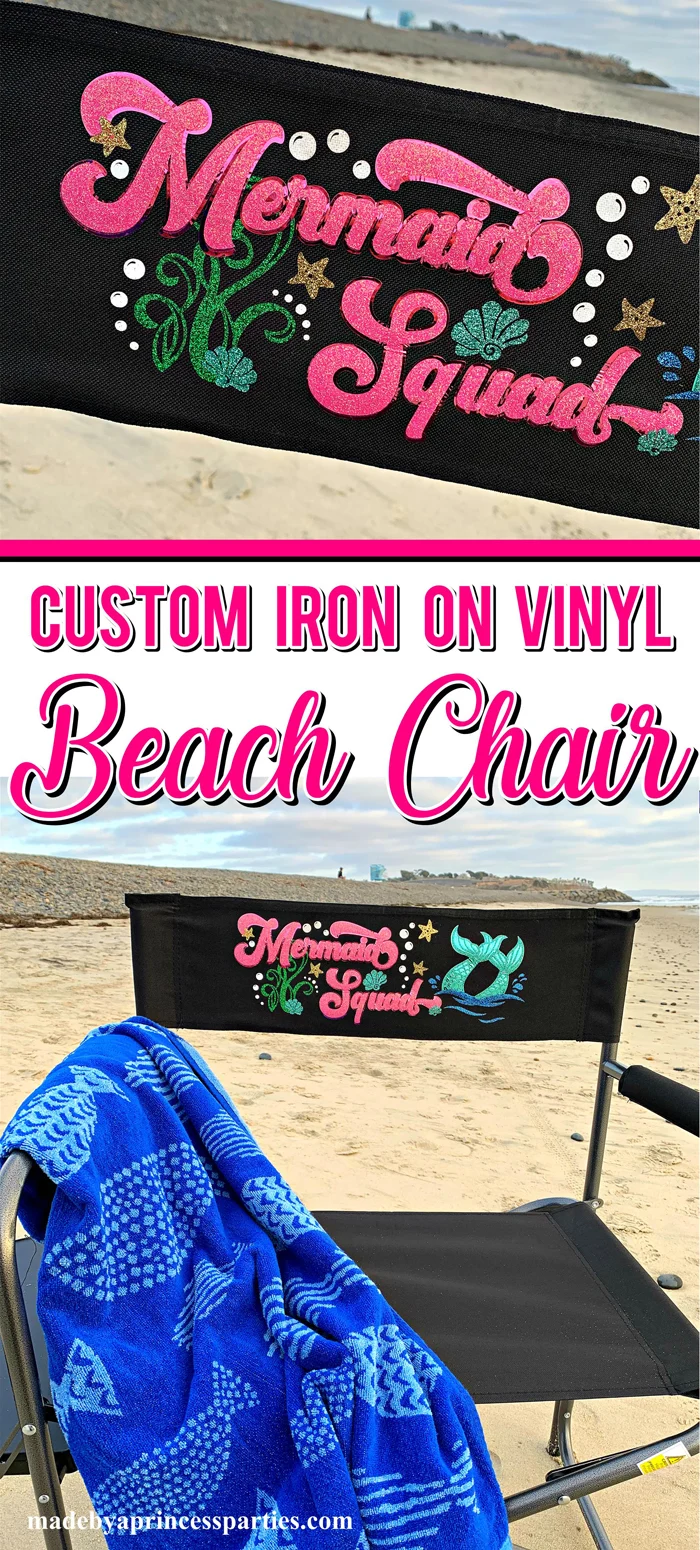
Did you know you can create your own custom beach chair with an inexpensive camping chair and iron on vinyl? You can design a chair that is perfectly you with the Silhouette Cameo!
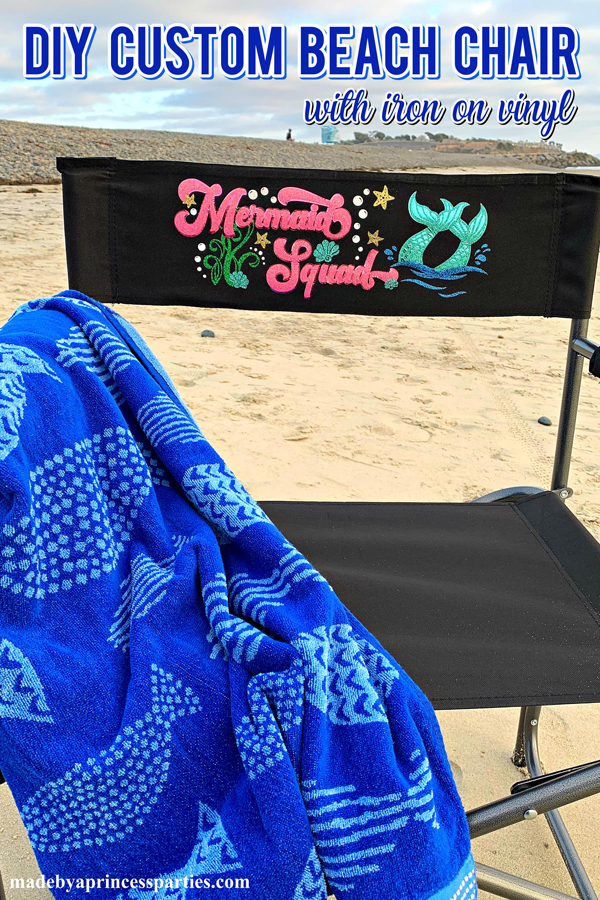

Designing a personalized custom beach chair is a piece of cake when you have a Silhouette Cameo! All you need is a canvas chair and HTV vinyl to create a unique and adorable chair perfect for the beach, tailgating, or camping.
*Some materials for this post were provided by Silhouette America. All opinions and ideas are my own. Post contains affiliate links.
Custom Beach Chair
Did you know you can use HTV vinyl on canvas chairs? Well, you can and it looks amazing! I created personalized beach chairs using Metallic Iron On Vinyl and Glitter Iron On Vinyl from Silhouette America and I LOVE how they turned out.
Silhouette Cameo and Silhouette Studio
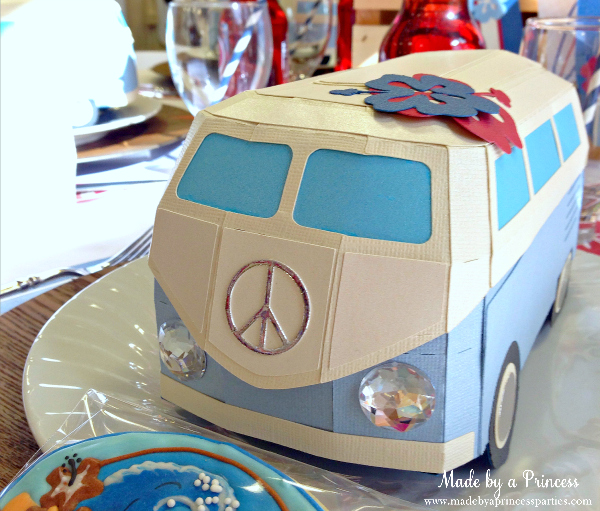
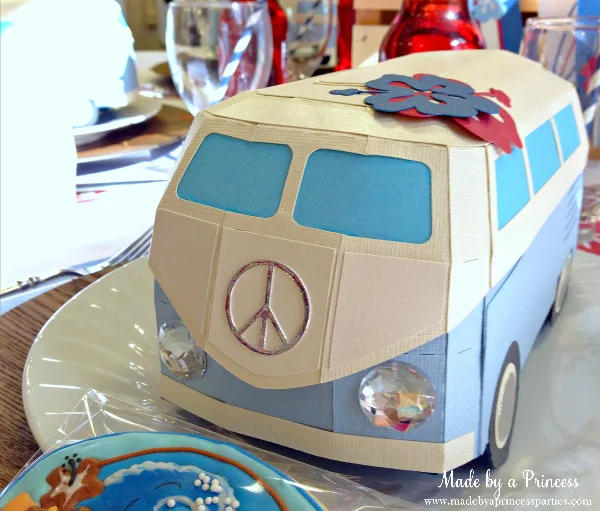
Several years ago my husband gave me a Silhouette Cameo for my birthday and I have made a ton of fun projects with it. Fun things like paper straw flags, custom vinyl plates, and mini VW Van favor boxes for a baby shower honoring military moms. They took forever but so worth it. There are so many things you can do with a cutting machine like this so I highly suggest you putting it on your Christmas list if you don’t already have one.
Before you get started on your project, figure out what kind of chair you want. I chose an inexpensive camping chair from Walmart that has a table tray. It was less than $17. These chairs are not only for the beach but perfect for camping and tailgating or really any outdoor event as well. Look for comfy chairs made with good heavy duty canvas.
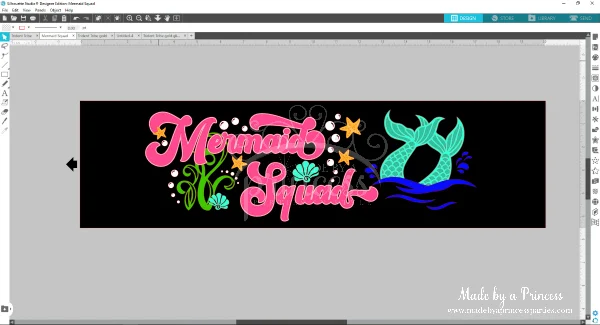
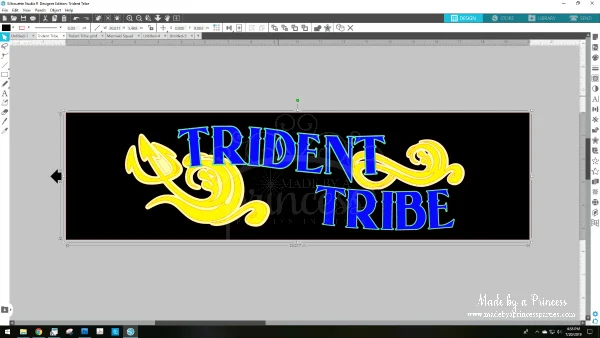
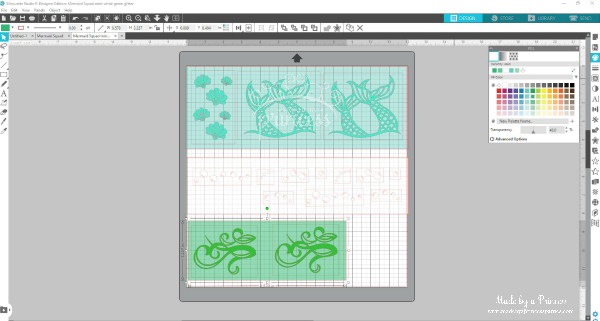
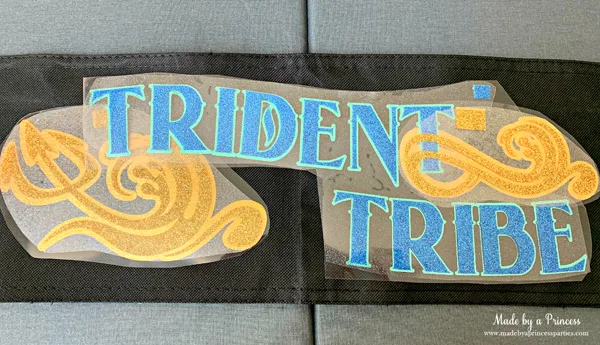
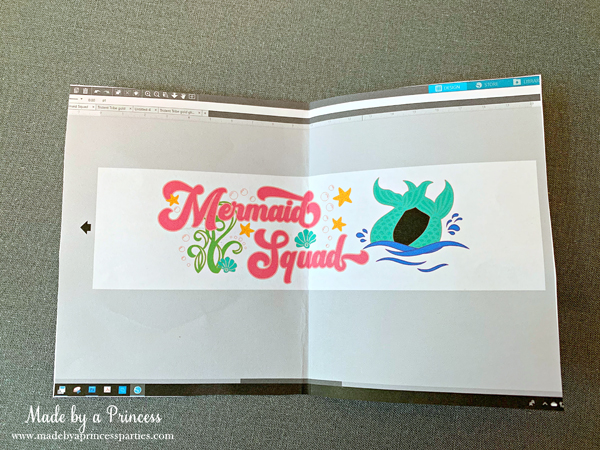
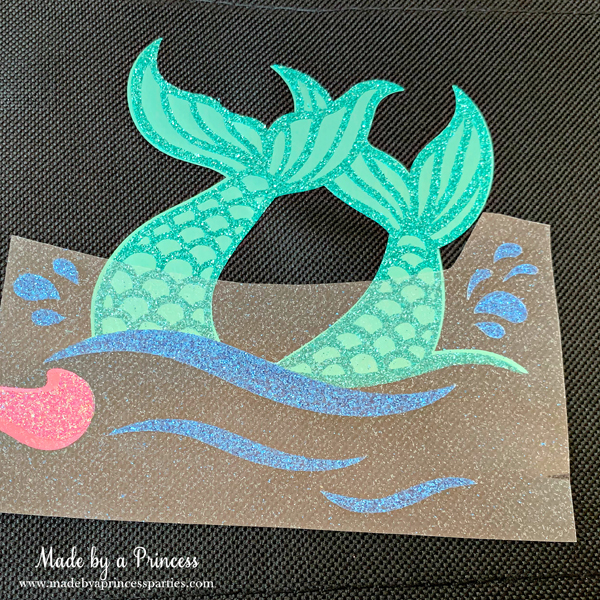
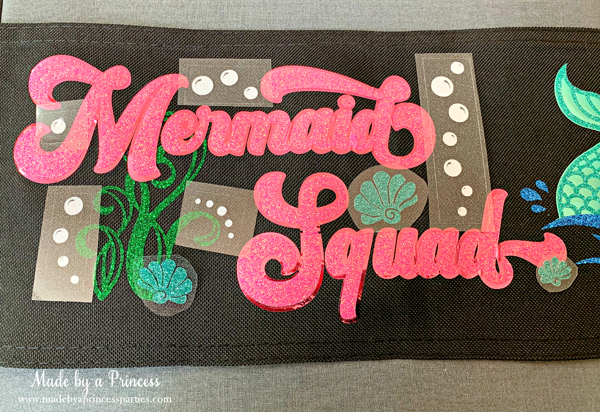
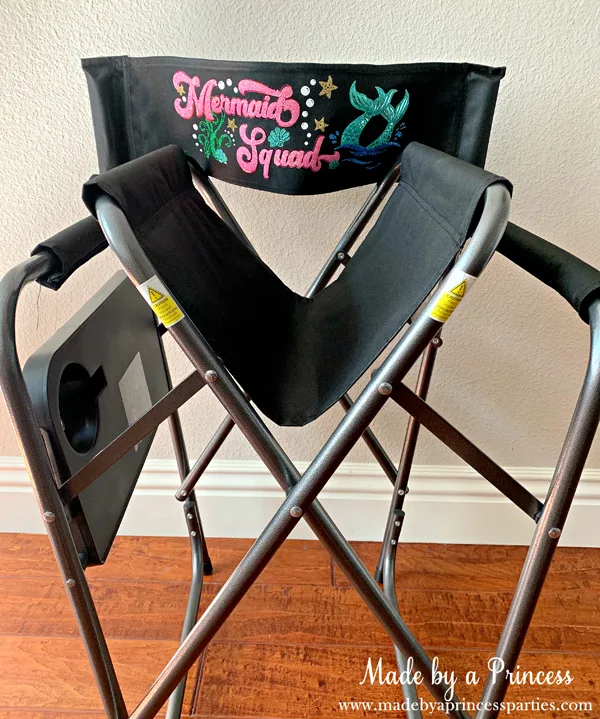
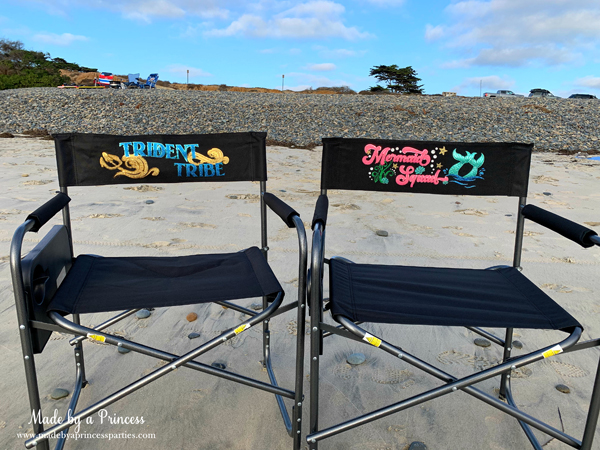
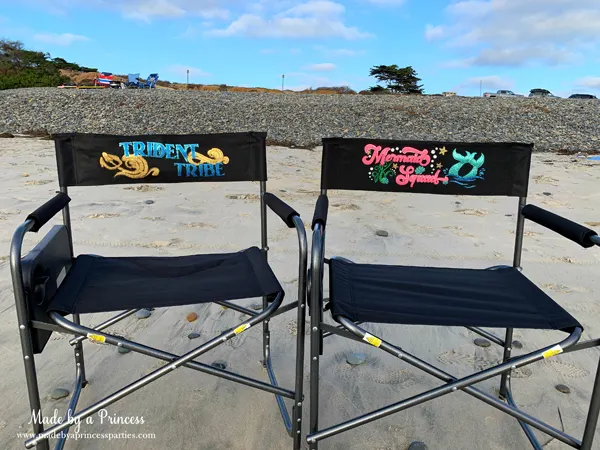
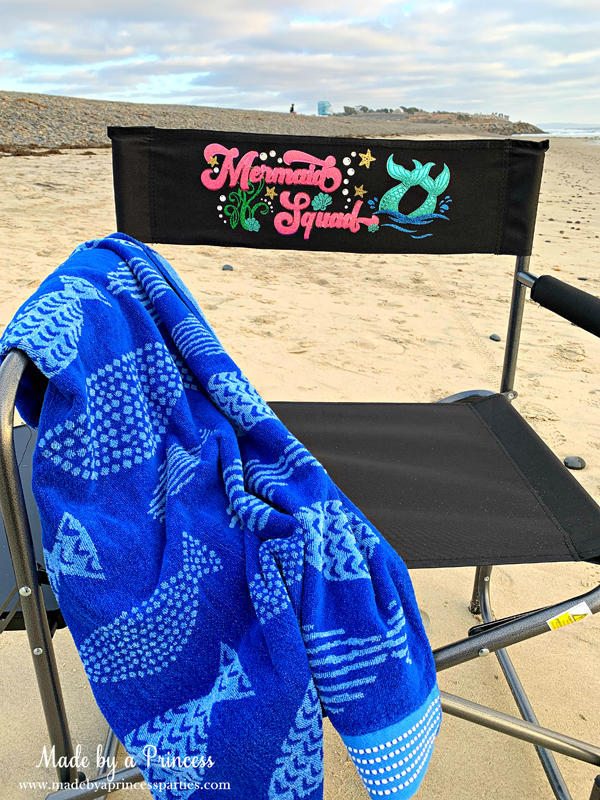
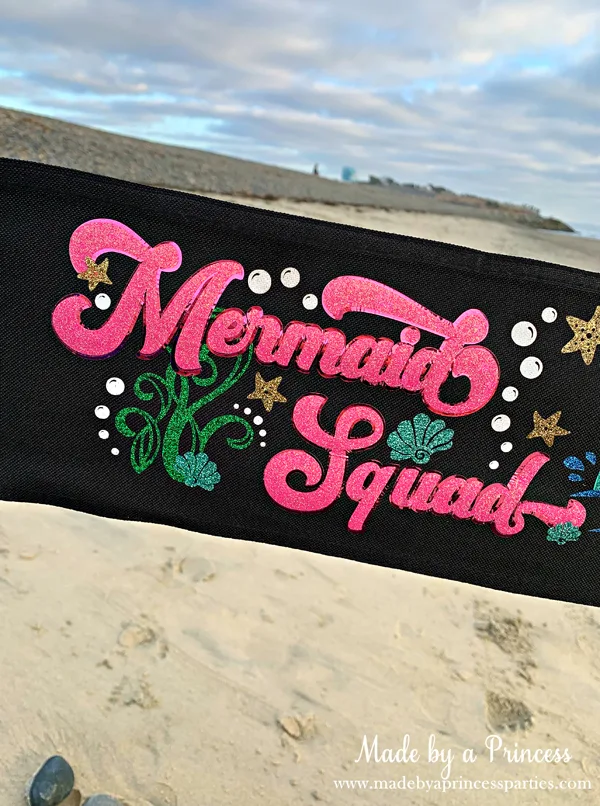
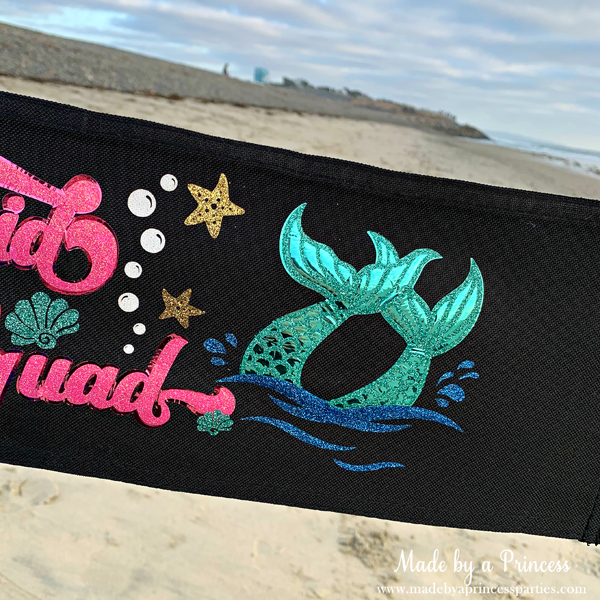
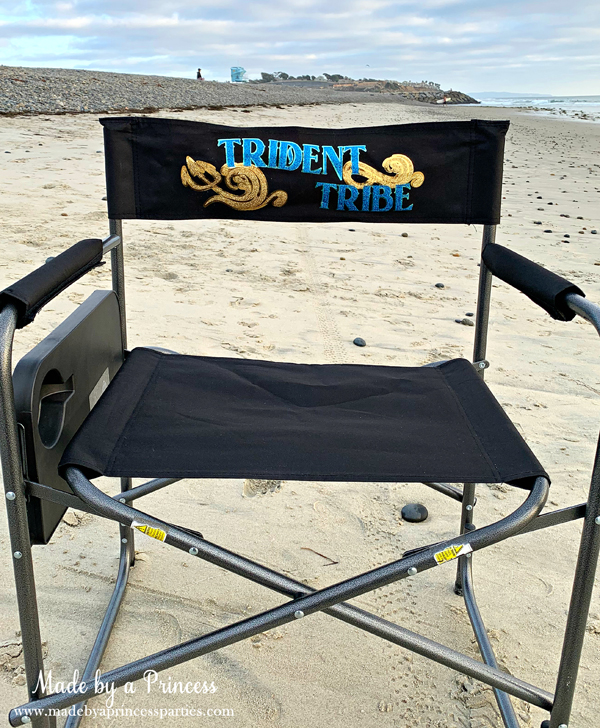
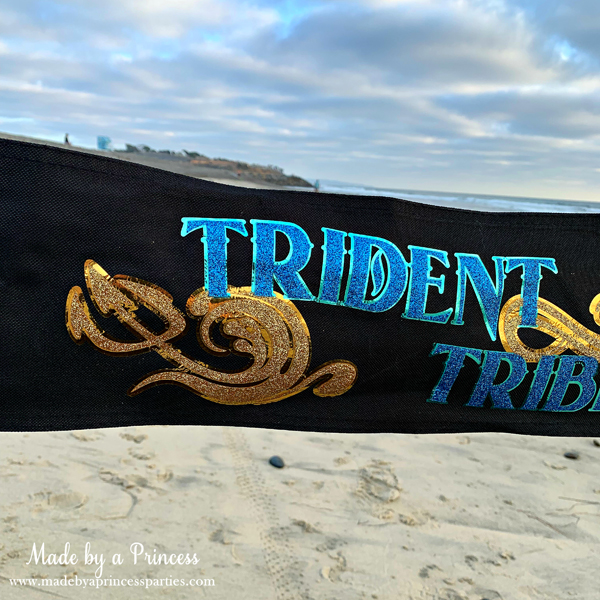
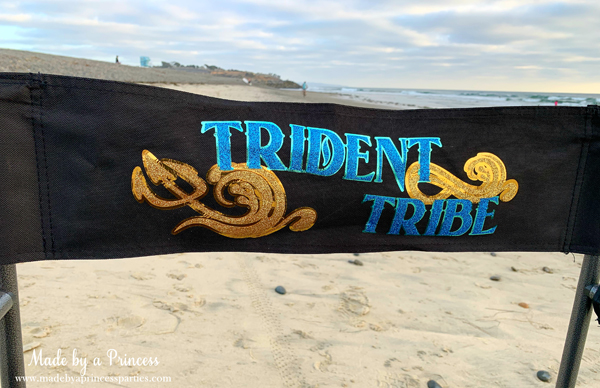
Create your design using the Silhouette software. There are a ton images to choose from so don’t be surprised if you have a hard time making a choice. I had always planned to make the camp chairs an ocean theme and I spent a lot of time playing around with the design. A lot. My daughter really liked “Mermaid Squad” so I came up with “Trident Tribe” for my husband and son.
Silhouette Studio is pretty intuitive and easy to use. You can easily drop images on the design grid and play around with size and placement. One of the things I really like about the software is that it’s pretty easy to create an outline. You can also change the colors of the images so you have a better idea of how the finished design will look.


Supplies for Custom Tailgating Chair
For this project you will need:
- Beach or camping folding chair
- Heat transfer vinyl aka HTV vinyl or iron on vinyl
- Silhouette Cameo 3 (in hot pink!) or Cameo 4 (newest model)
- Cameo Blade
- Silhouette Roll Feeder
- Silhouette 6 Piece Tool Kit, pink
- 12×12 Cutting Mat
- 12×24 Cutting Mat
- Household iron or EasyPress Heat Press
- EasyPress Mat
- Teflon sheet
- Scissors
- Heat transfer vinyl HTV
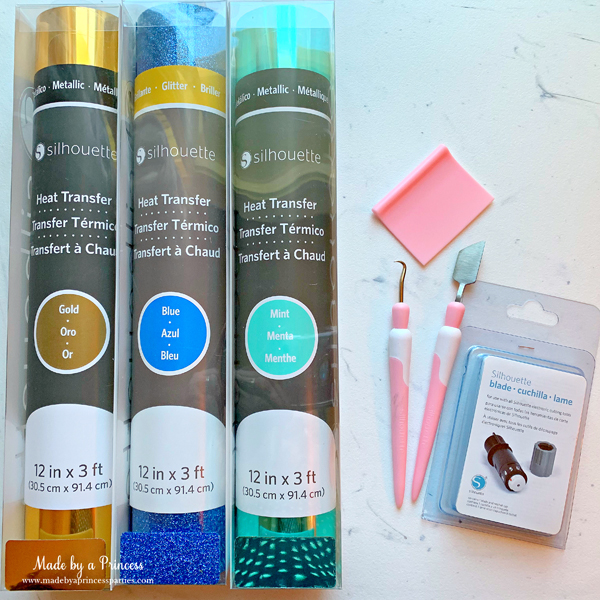

You can choose from a wide range of textures and huge selection of colors on the Silhouette website. You can sometimes find free shipping coupons online too. Once you have your supplies and your design created it’s time to make your custom tailgating chair or personalized camping chair or unique beach chair…you get the point!
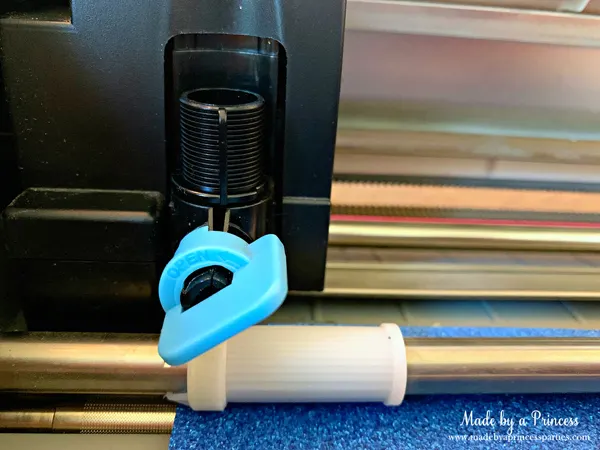
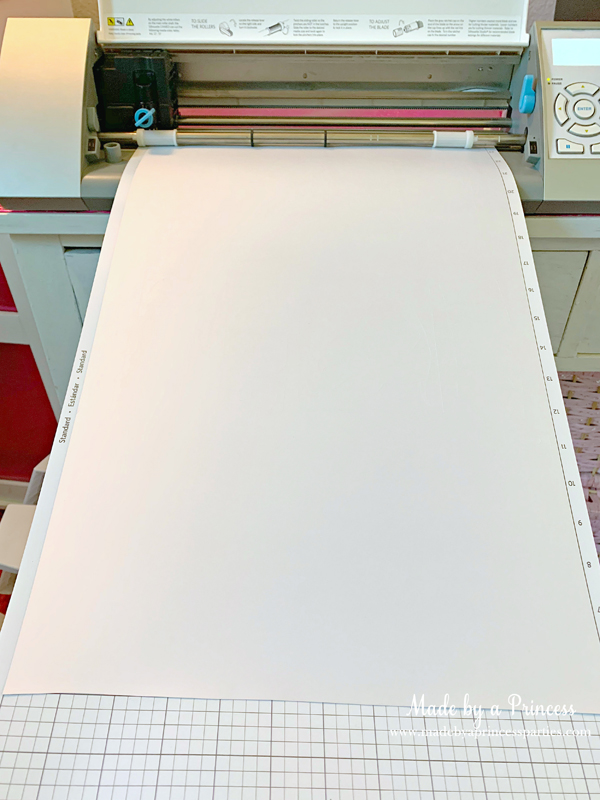
How to Set Up Silhouette Roll Feeder
Let’s talk about the Silhouette Roll Feeder. This was my first time using it and I was kind of nervous to be honest. I have only ever used a cutting mat and I was worried I was going to screw something up. It’s actually really easy to use…I had no reason to fret over it.
If you have an older model Cameo like I do all you need to do is make sure the feet fit in the designated square cut outs.
Place your roll of iron on vinyl shiny side down in the cradle, push the roller lever down, and feed the end of the vinyl under the pinch roller. Make sure the roll is secure in the cradle and your vinyl is perfectly straight before cutting. If your vinyl is even slightly cockeyed it won’t feed properly which means it won’t cut properly.
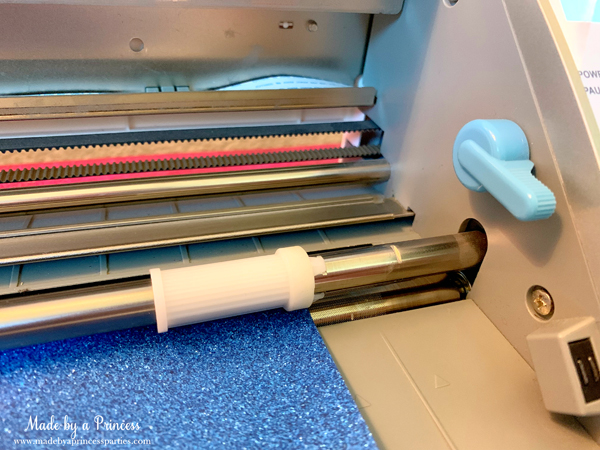
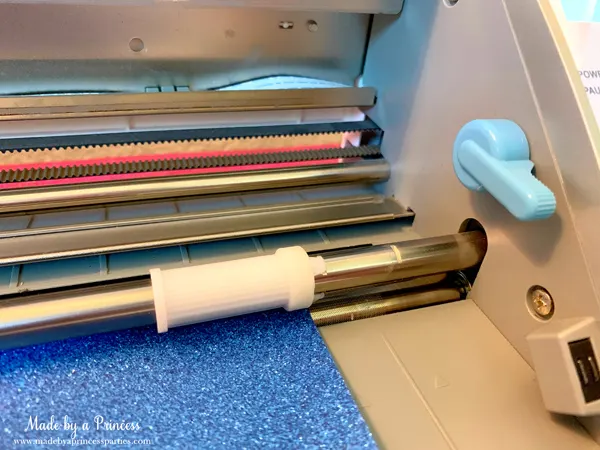
Push the lever back up once you have fed your vinyl under the pinch rollers.
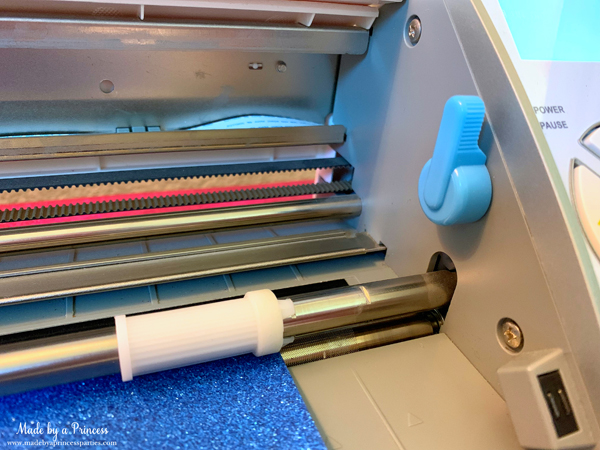

This is what your vinyl looks like resting in the Roll Feeder.

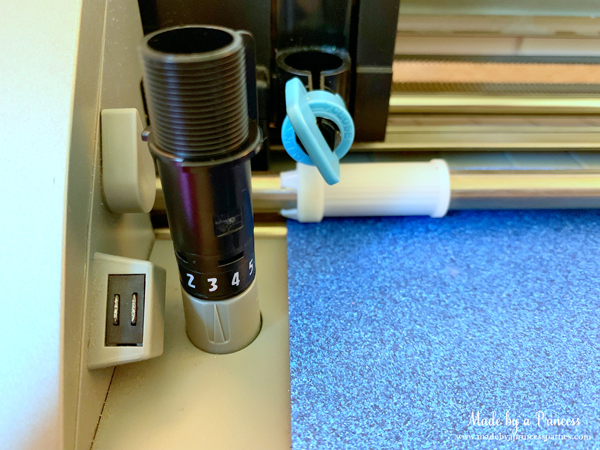
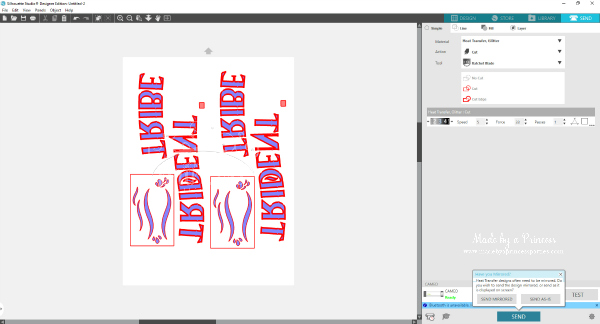
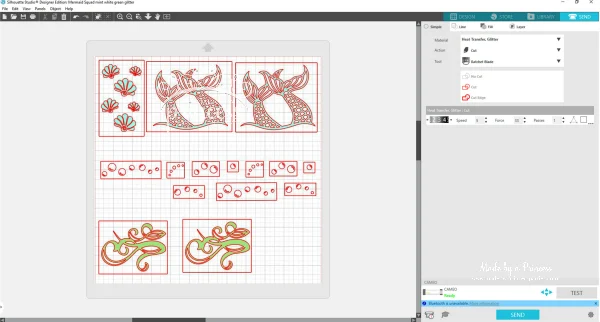
Don’t forget to change your blade setting. Silhouette recommends using the following setting for “Heat Transfer, Glitter”…
- Blade: 3
- Force: 33
- Speed: 5
- Passes: 1
I found those settings worked for me but always do a test cut to be sure those settings will work especially if you have a new blade.

Lock blade in place

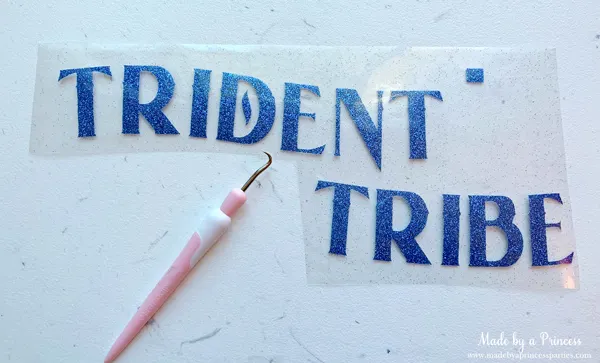
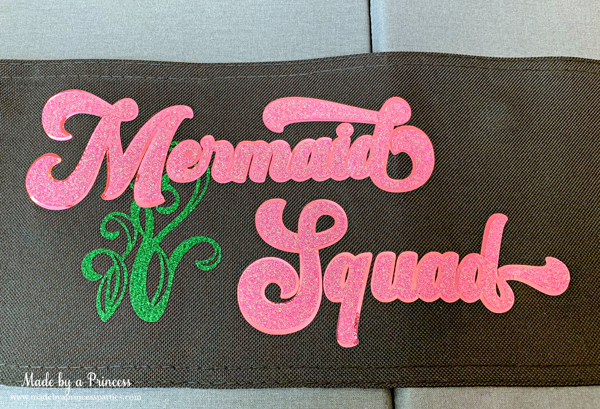
I didn’t want to waste vinyl so I placed the blue waves for “Mermaid Squad” and text for “Trident Tribe” on the same mat. If I know I’m using the same material for multiple projects I will combine the cuts. Now you’re ready to send the design to the machine.
Don’t forget to mirror when cutting vinyl!

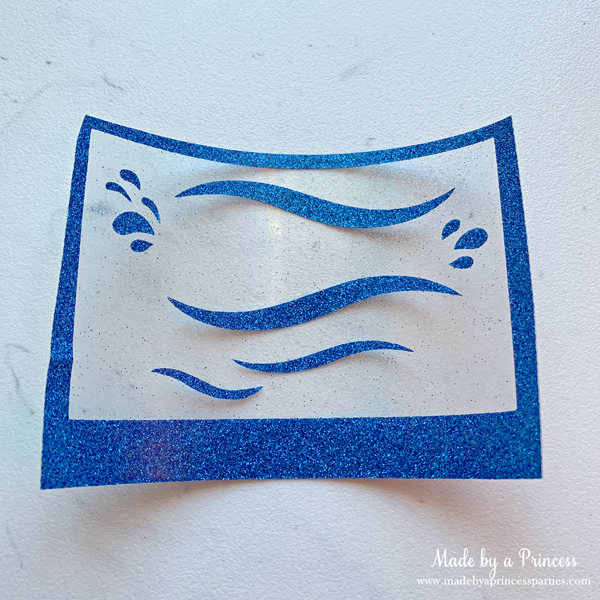
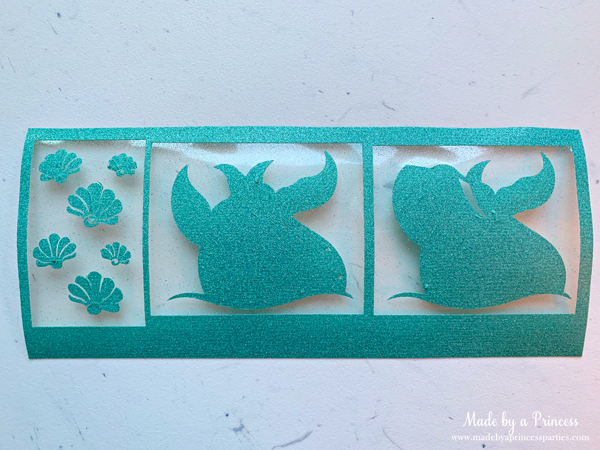
Why Use a Weeding Box?
What’s a weeding box you ask? I’m just assuming you asked yourself this question…I hope I’m right. Anyway, a weeding box is a rectangular or square box you put around your image that is cut along with your design. I have found that is makes it a lot easier to weed especially when you’re weeding out small pieces. It is really easy to put add a weeding box Silhouette Studio. Just click on “Drawing Tools” and choose a square. Create the weeding box around the image and then click the arrow that looks like it’s pointing to the corner of your computer, “Select”, to get back to the design.
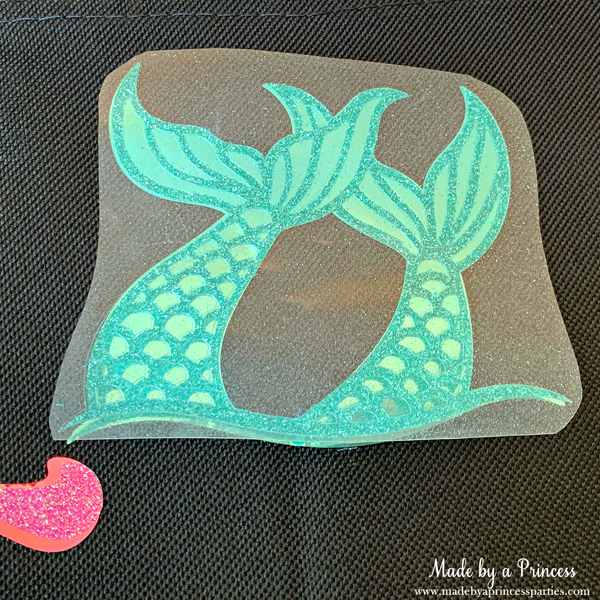
This is what it looks like when you weed out the box. So much easier to deal with than a whole sheet of vinyl.

![]()
![]()
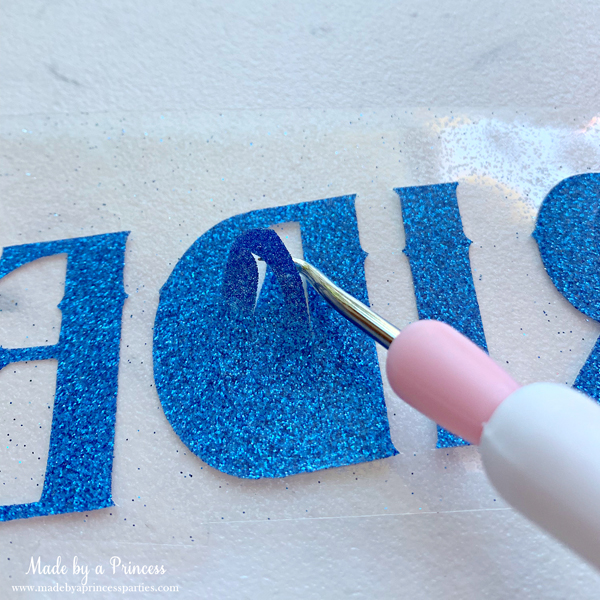
Use the weeding tool to remove small pieces.

TIP: If you are layering it helps to add small boxes on the design somewhere. Make sure they are on the same spot on each design so when you cut them the boxes line up. This is just a visual guide and not meant to be ironed on. You must remove the box before ironing.

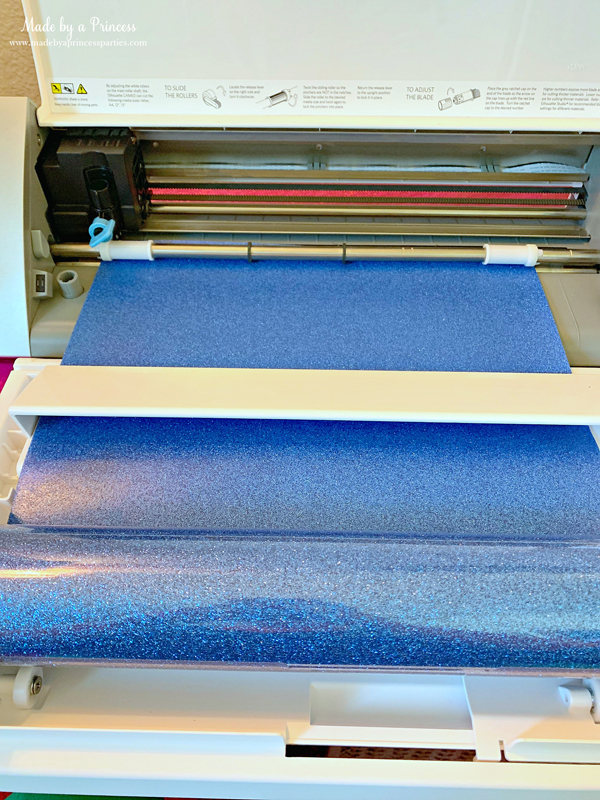
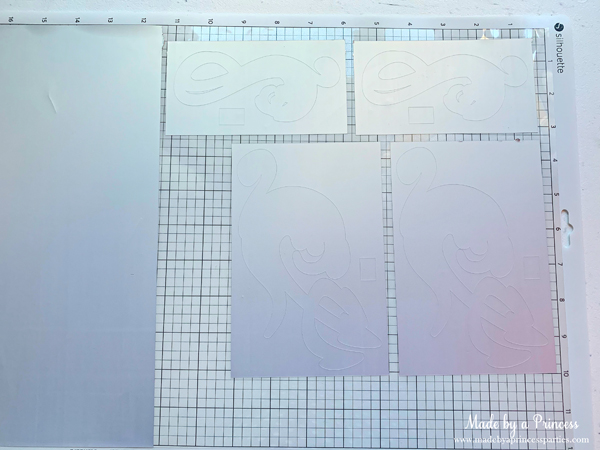
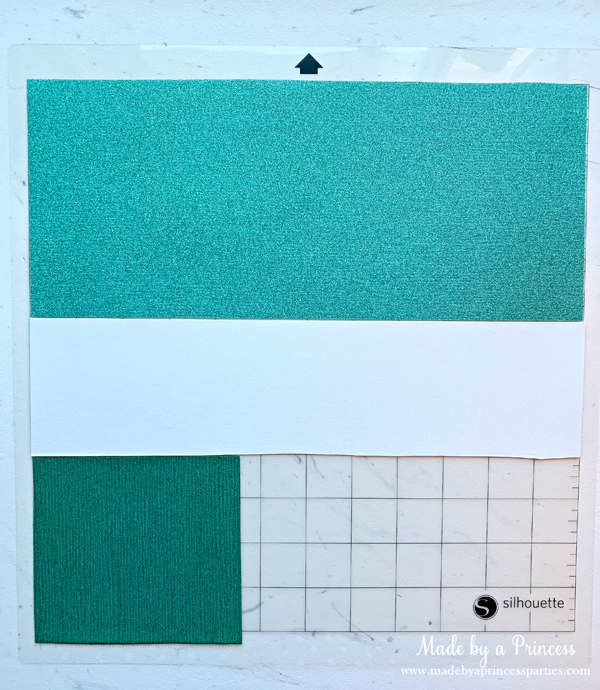
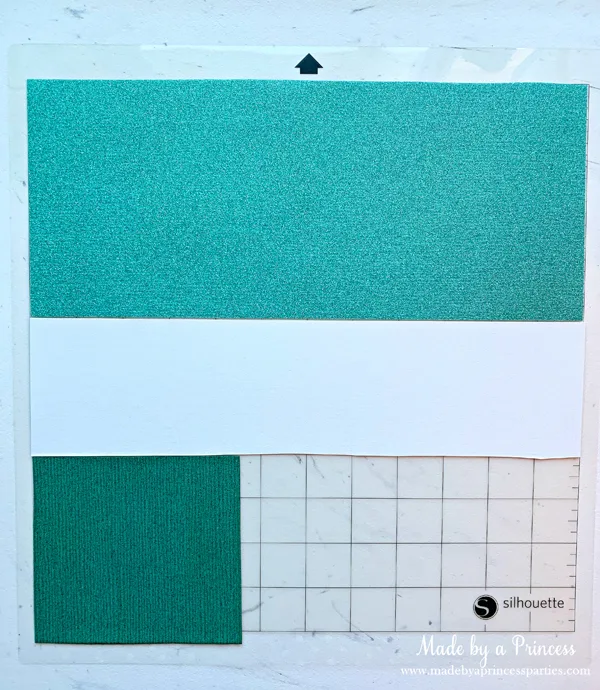
Using a 12×24 Cutting Mat
You might not think you will ever need a large 12×24 Silhouette Cutting Mat but they really do come in handy. I was able to cut this big design all at once which saves time and vinyl.

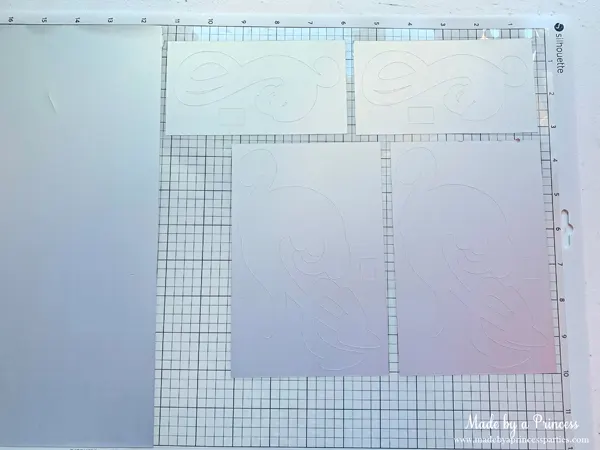
See how much easier it is to weed when you use weeding boxes?
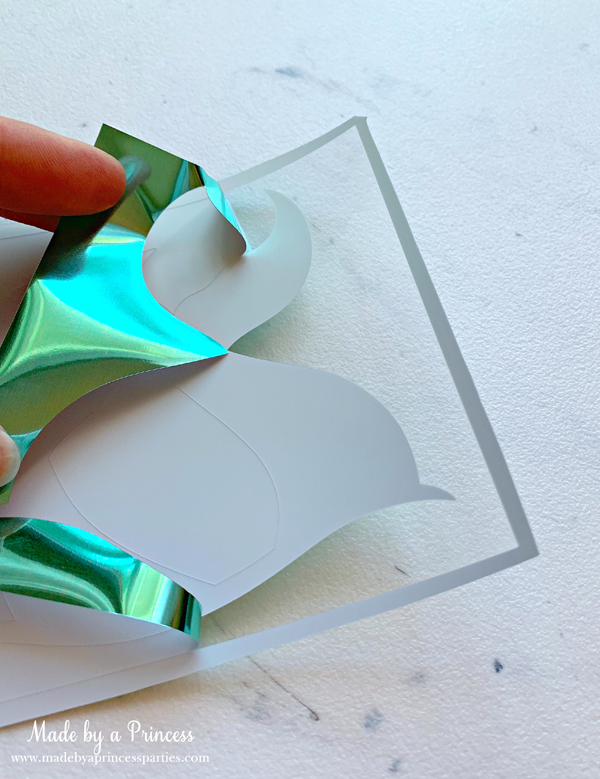
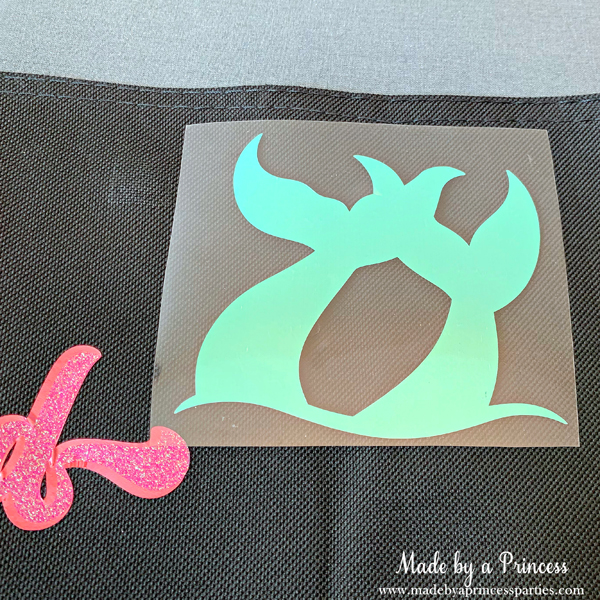
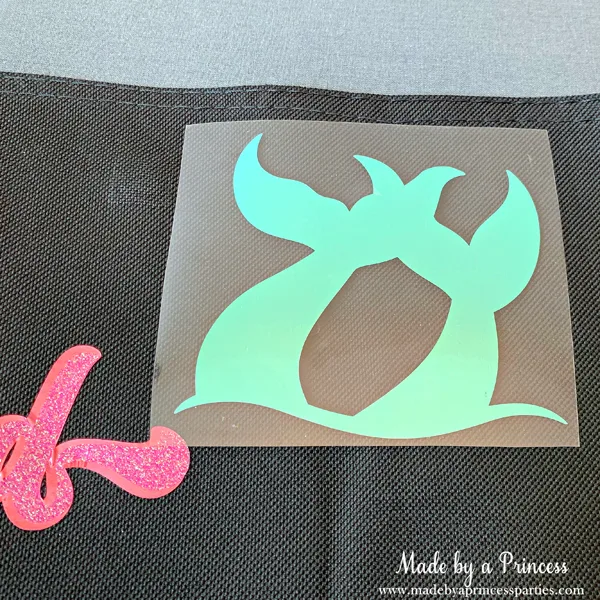
I found it was easier to use the spatula with the HTV Metallic Vinyl.
![]()
![]()
Metallic Vinyl pulls off so easily…like buttah! Silhouette has a wide selection of iron on vinyl so if metallic doesn’t do it for you, I’m sure you can find something else you love! This metallic vinyl feels kind of like Siser Easyweed (without the stretch) if that gives you an idea of how easily it comes off the transfer sheet.

How to Cut Different Colored Vinyl at Once
I really really don’t like to waste vinyl or time. I don’t color multiple colors a lot but when I do I try to do them at the same time. If you plan this right you will end up with perfect cuts and very little vinyl wasted.
Put a temporary box (in roughly the same color as the vinyl) to determine where it would be on the mat. Cut a piece of vinyl the same size as your box and place on your mat in the same position.
Make sure to remove these boxes before cutting.

Works like a charm!

Silhouette Studio Cut By Fill Color
Ok, so I didn’t know about this option until after I created these custom folding chairs BUT you can also choose the cut by fill color option when needing to cut multiple colors. Mind blown! Here is how you do it…
When you’re ready to send the design to the machine to cut click on the “Fill” tab. You will see all your colored designs listed. Here you can choose which color to cut first or not at all. If all are checked they will all cut so you want to make sure you uncheck the ones you’re not ready for.
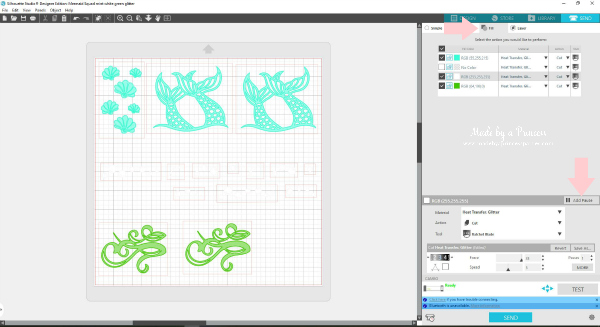
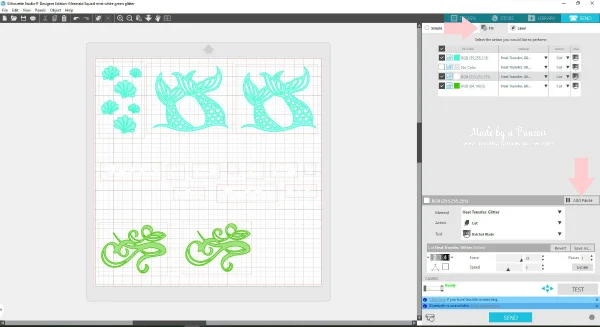
You can also choose to add a “Pause” in between the different colors. By adding the pause it gives you time to remove the mat, place your vinyl, and then put back into the machine. When you’re ready hit send like you normally would. Don’t forget to mirror!
This is a really cool feature and one I will definitely try on my next project.
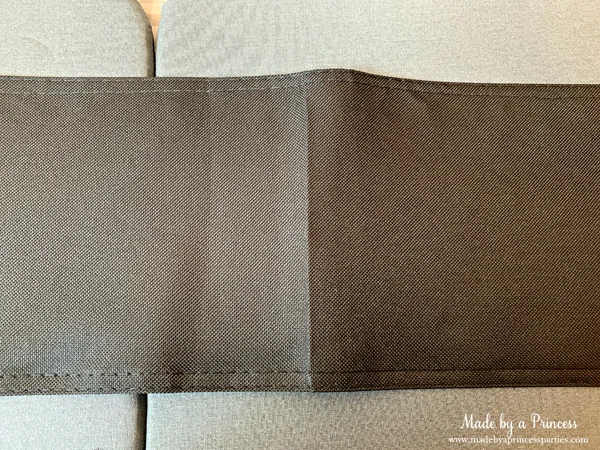
Prepping Your Custom Beach Chair
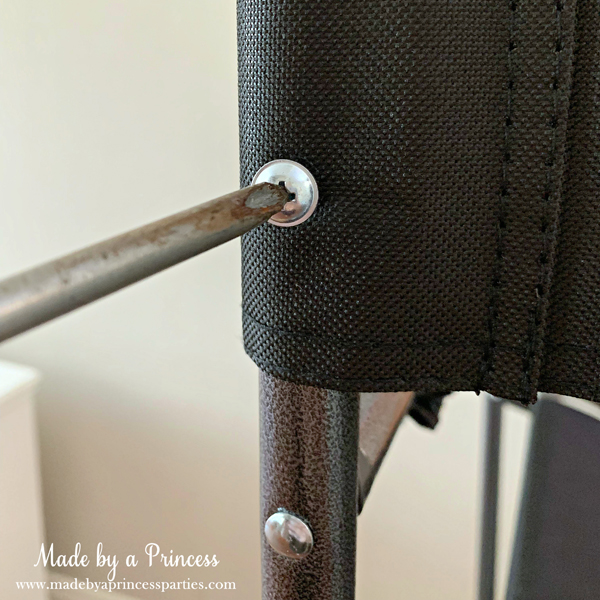
Once all your pieces are cut it’s time to prep your custom camping chair/beach chair. If at all possible I highly suggest you remove the chair back. It will make ironing so much easier.

Once removed, fold the chair back in half and iron. You will use this as a guide to determine the middle of the image.

Lay out your design so you can get a visual idea of where each piece needs to go. Note the small boxes in the right hand corners…those are just used for alignment guides…remove them before ironing.

There are important steps you need to follow when ironing HTV vinyl:
- Preheat your material. Use an ironing board or heat press mat (I highly recommend getting a big one). If using an iron set to high, place a Teflon sheet on the canvas, and press for about 10 seconds. Do not use water or steam. If you are using an EasyPress follow the Heat Guide to determine what temperature and for how long you should press.
- While still warm, place the first layer of your design on the canvas, put Teflon sheet down, and press for 15 seconds. Wait for it to cool. Keep pressing in 10 second intervals until vinyl has adhered completely.
- Once you know the vinyl is ready and completely cooled pulled the protective sheet off.
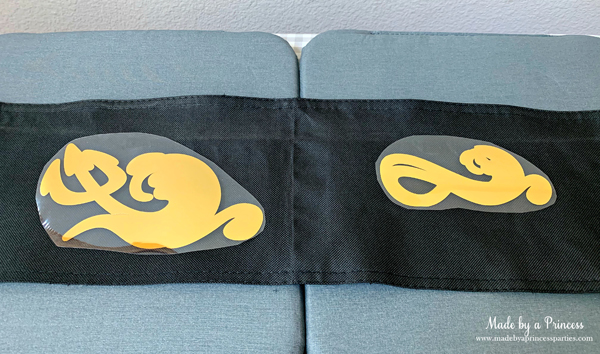
If you are a visual person like me, printing the design will help you a lot when placing the layers down.

Take your time and make sure each layer has adhered to the canvas.
Note about Metallic Vinyl: While I LOVE the way the Metallic Vinyl looks on my personalized beach chair, I did not love that it had a tendency to wrinkle. No matter what I did I could not get the wrinkles out. The Glitter Vinyl worked perfectly so I think it was more about how the Metallic reacted with the polyester canvas than the product itself. If you’re ok with wrinkles (that no one but you will notice) then definitely use the Metallic for your personalized tailgating chair. I really think it would be great on something more like a cotton polyester.

Place each layer and follow the steps above for ironing.

It’s so sparkly!!

Take your time with the design and don’t overheat. Remember, with each layer added the layers before are getting more heat…you don’t want to melt the vinyl.
Once your chair back has been decorated put it back on the chair and head to the beach!

Our beautiful and custom beach chairs! I made four in total. Mermaid Squad for the girls and Trident Tribe for the boys.
Want to know why things are so expensive in California? This is why. I call it the Paradise Tax. It’s the price we pay for being able to go to the beach in October.

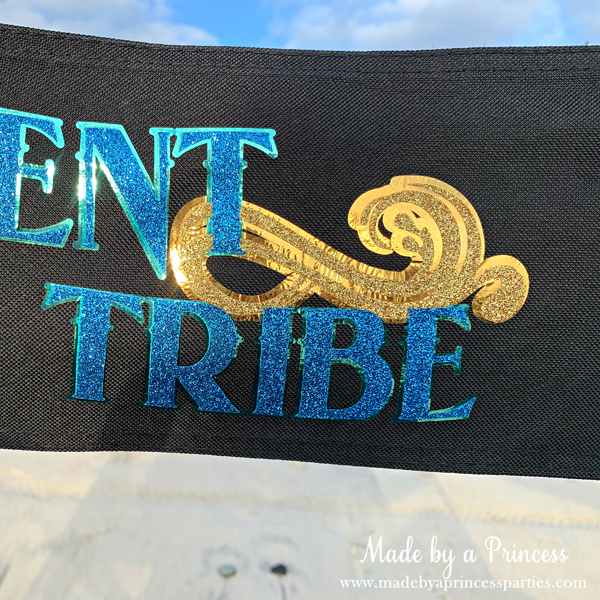
My husband said it looked like the images were glowing in the sun. I adore how these came out! This is one way to prevent someone stealing your chairs…completely cute and custom.

You can see a bit of the wrinkling I was talking about but it’s not terribly noticeable. No one in my family saw it until I pointed it out.


See how that Metallic Vinyl shines?! It is so cool!


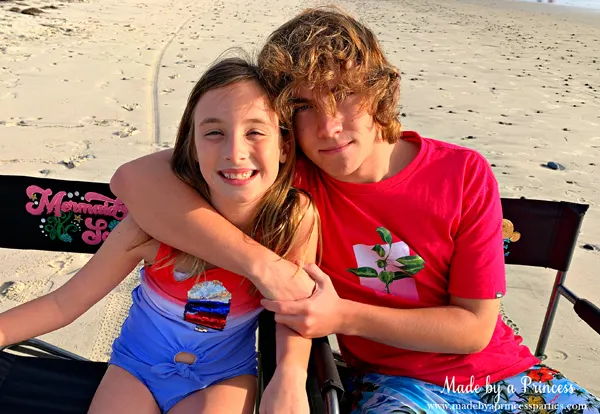
My little loves love their new chairs. I’m really happy I chose the ones with trays…perfect little spot to hold phones, snacks, water, or a glass of champagne.

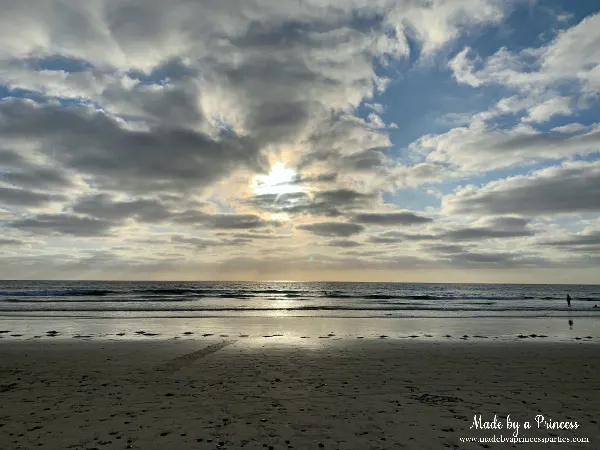
Yes, I did, in fact, have a tall glass of champs while watching the sun go down. I was enjoying it entirely too much to snap a photo though. I just love our little beach town.

Thank you for reading my Custom Beach Chair tutorial. I hope you are inspired to create your own personalized and unique chair!