Is Cricut Explore Air 2 worth it? Which Cricut is best? What can I make with a Cricut Explore Air? If you have ever asked yourself any of these questions, read this before you buy your first Cricut.

Are you new to Cricut or just thinking about buying your first one? There are so many questions like what is the best Cricut for beginners or how do I set up my Cricut Explore Air 2? Before you go out and purchase your newest craft toy read all about my first impressions and the first thing I made.
This is a sponsored conversation written by me on behalf of Cricut. The opinions and text are all mine.
*Post contains affiliate links.
A few weeks ago Cricut reached out and invited me to join their ambassador program. I was floored. Working with them has been on my Blogger Bucket List for years! One of the things they asked me to do was try out their Cricut Explore Air 2 and let you all know I think. So…I’m just going to dive right in and tell you all about how easy it is to set up and start using this amazing cutting machine!
How to Use Cricut Explore Air 2
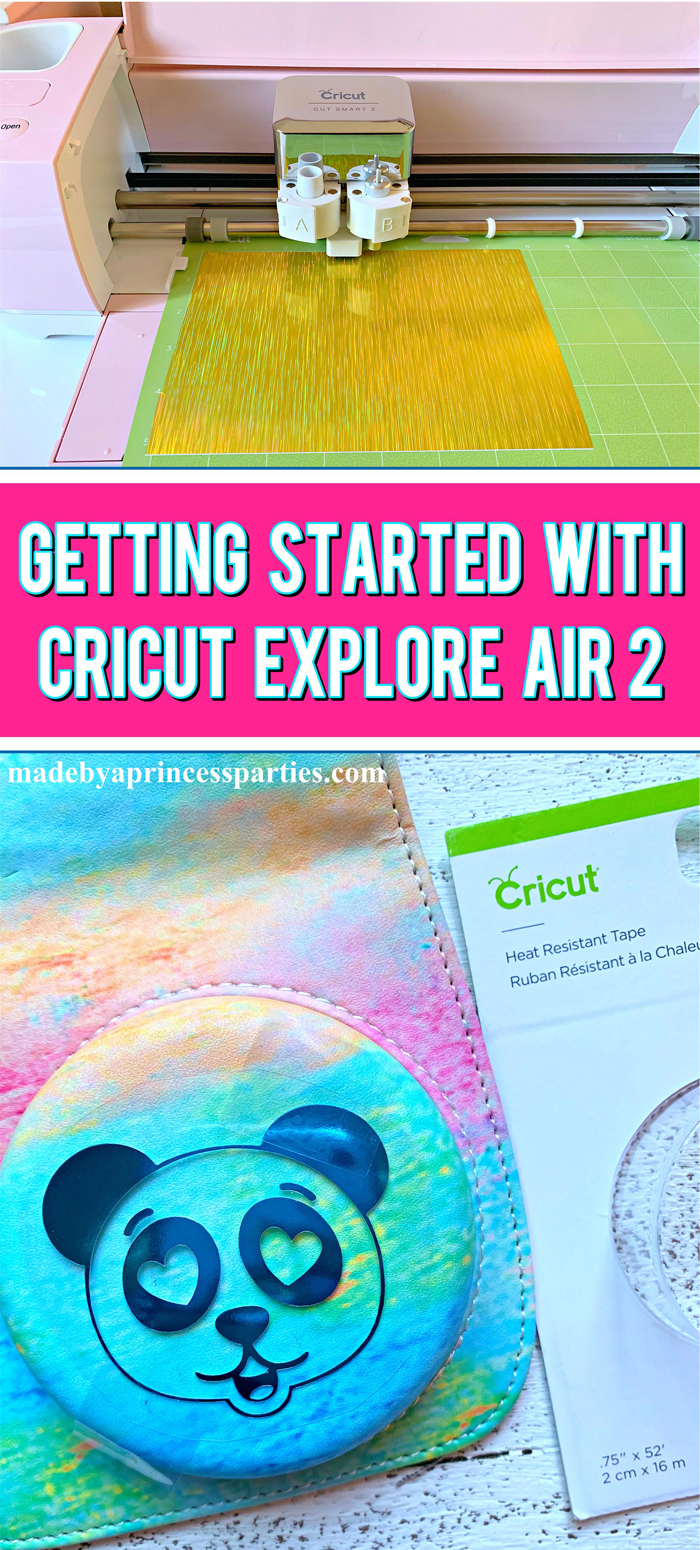
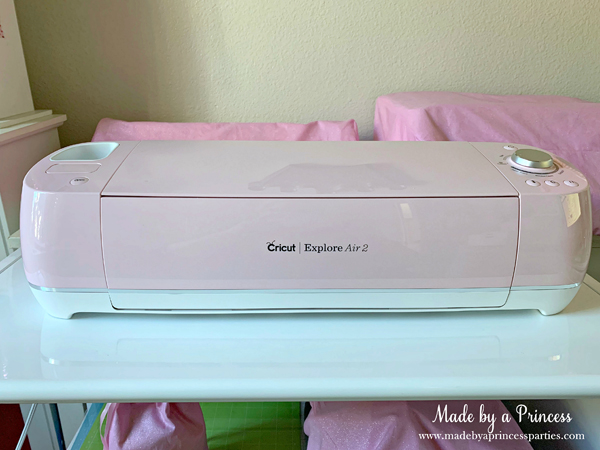
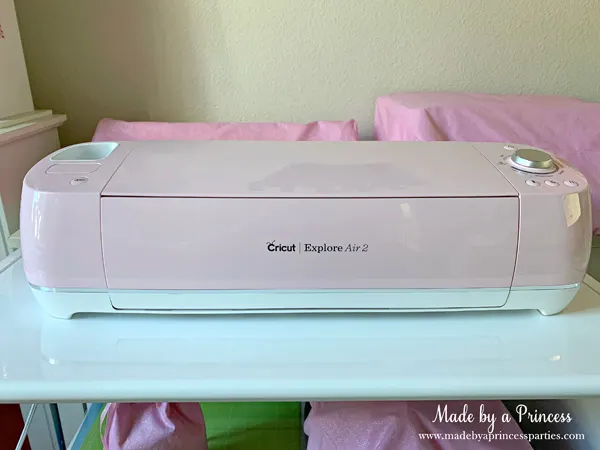
First of all…it’s pink. This beautiful machine is the prettiest shade of pink and it matches my logo and my pink office perfectly! I love my pink office. It’s feminine and blingy and cozy. It’s my sparkly sanctuary.
If you are not a fan of pink (oh the horror!) there are a lot of other colors to choose from. You can get one in Mint, Raspberry, Boysenberry, Cobalt, Fuchsia, Merlot, Peacock, Persimmon, Sunflower, Lilac, Rose (the one I have), Blue, Black, or Sky. You can even get a Martha Stewart Wedding Edition machine that is a beautiful pearly white with gold accents. Oh Martha. You did it again.
Cricut First Impressions
I’ve never owned a Cricut before so this was all new to me. I do have a first generation Silhouette Cameo so I do have experience with cutting machine but this is my first Cricut. My first thoughts when I opened the box were: pretty, sleek, shiny, lightweight, sturdy, modern, and soooo pretty! Once I got over the sheer pink prettiness I was ready to plug her in. (I feel like she needs a name. What do you think?)

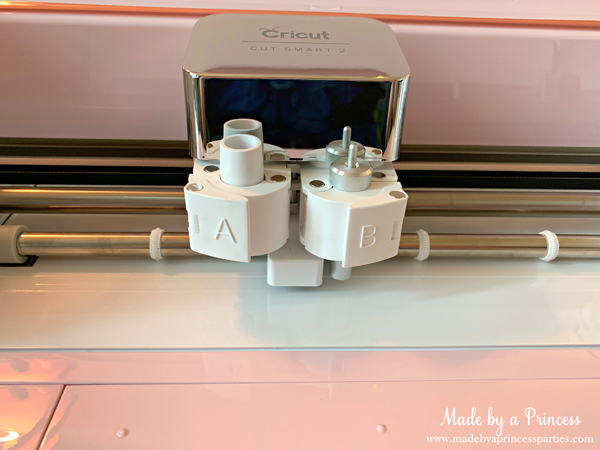
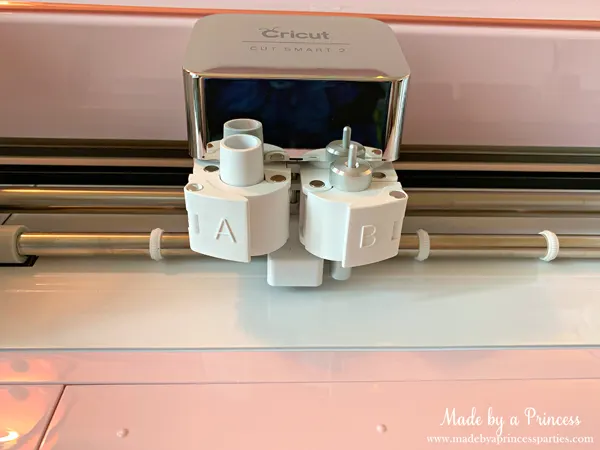
Parts of the Cricut Explore Air 2
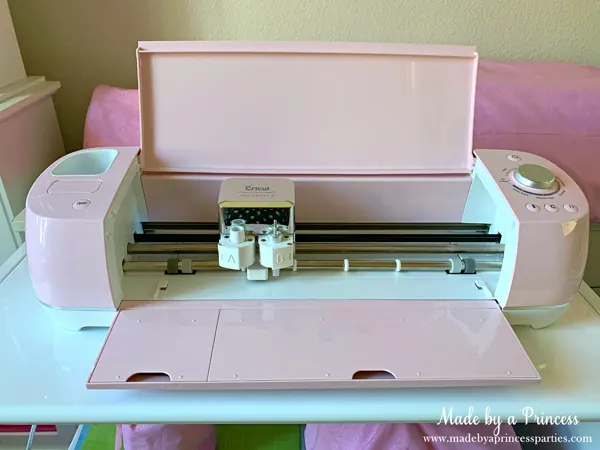
I love that it’s a very simple design. Not a lot of bells and whistles and nothing unnecessary. When you push that cute little button and the front panels open ever so gently.
The cup is where you could store your tools. That little flap below it is the Cricut Cartridge Port. Cartridges from older machines still work in the Explore Air 2.

Inside the Cricut Air Explore 2 you will find two clamps. Accessory Clamp A is where you would put a pen and Accessory Clamp B houses the blade. Clamp B is where you would put blades from the Cricut Adaptive Tool System. In the Adaptive Tool System you get a perforation blade, wavy blade, debossing tip, and engraving tip. So many project ideas are flooding my brain right now. I’m totally going to try those out! This cutting and embossing machine goes from printing to perforating to engraving like its nothin’!
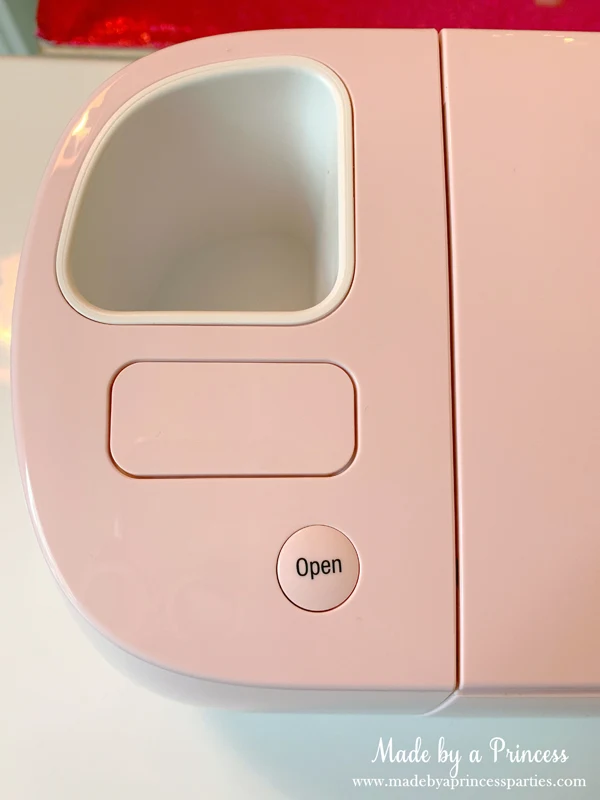
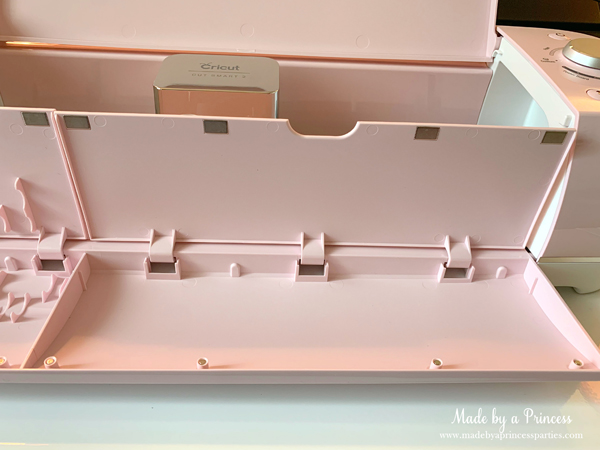
There are two little storage compartments perfect for storing essential tools. The Cricut cutting machine does not come with any tools so you are going to want to make sure you pick them up or order them.

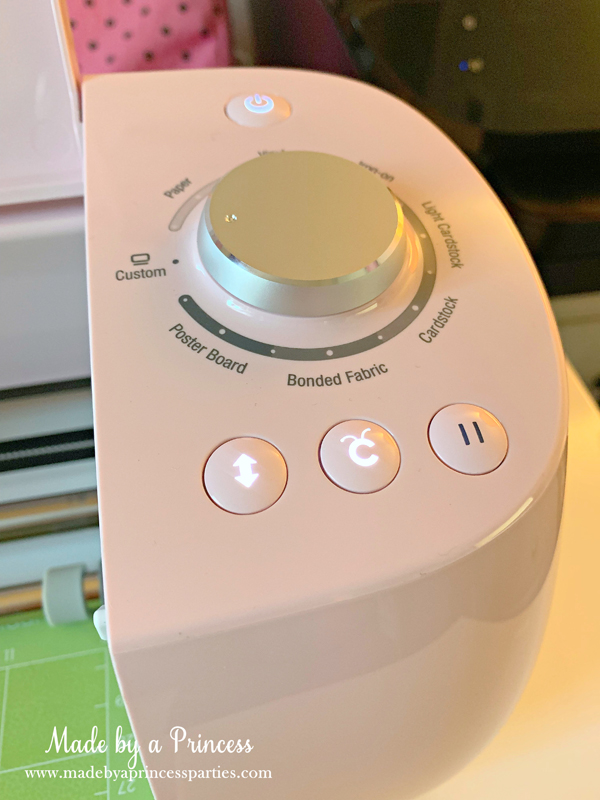
This is my absolute favorite part of my Cricut Explore Air 2…the dial. I love that all you have to do is turn the dial to let the machine know what material you are cutting. As much as I love my Silhouette Cameo I don’t love adjusting the blade every time I cut new material. I feel like this feature is more efficient and accurate.
I also have a Sizzix Big Shot and was a member of the Sizzix Design Team a few years ago. That is a great die cutter and makes it easy to cut designs quickly but you can do a whole lot more with a Cricut cutting machine like cut and emboss and use a huge variety of materials.

What Do I Need to Get Started With Cricut?
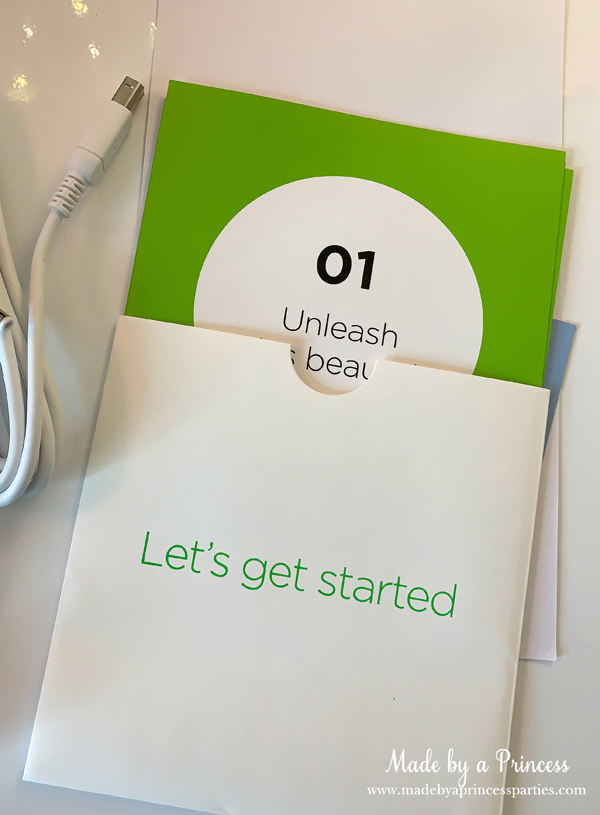
How do I connect my Cricut Explore Air 2 to my computer? For starters, you need to plug the machine in and turn it on, connect the USB cable to the Cricut and your computer, then go to Design.Cricut.com Setup, choose your device, and follow the instructions to sign in and create your Cricut ID. When setup is complete you will be prompted to create your first project.
Your Cricut machine comes with this little packet with cards that prompt you on what to do next. The whole setup took less than 10 minutes.
Is the Cricut Explore Air 2 Wireless?
I was wondering this myself and turns out, yes, the Cricut Explore Air 2 is wireless, however, you need to turn Bluetooth on. For whatever reason my computer won’t let me turn it on so I was not able to test the Bluetooth capability but it is wireless ready.

What is Cricut Access?
Cricut Access is the library of images you can use for your projects. You get one month free with your Cricut Explore Air 2 but after that it’s $9.99/month. You don’t have to sign up but if you intend on making lots of things (which you totally will!) you really should think about signing up. If you don’t, you still can import your own SVG files, or images you can use as cut files, but there are TONS of images and projects to choose from that you don’t really want to miss out on.
First Time Using Cricut Explore Air 2
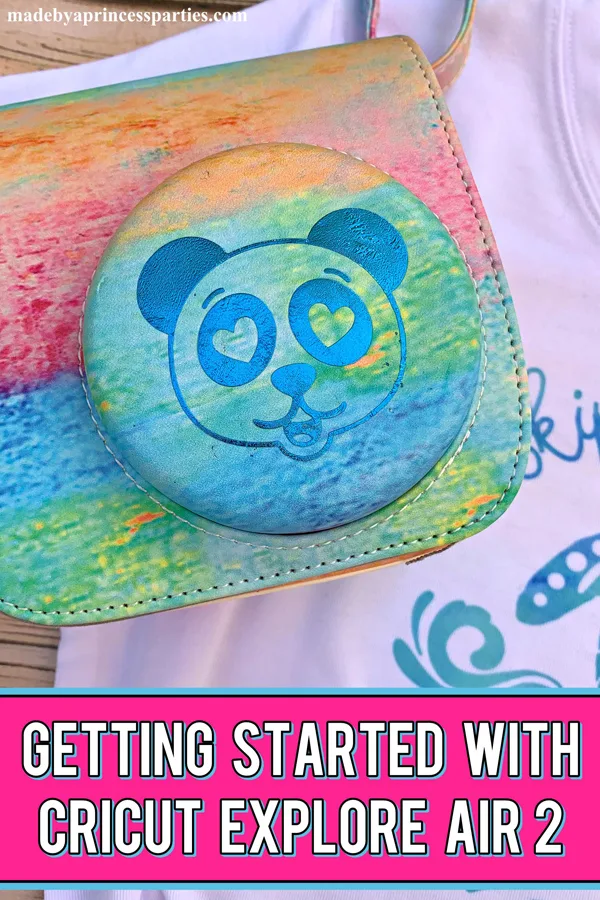
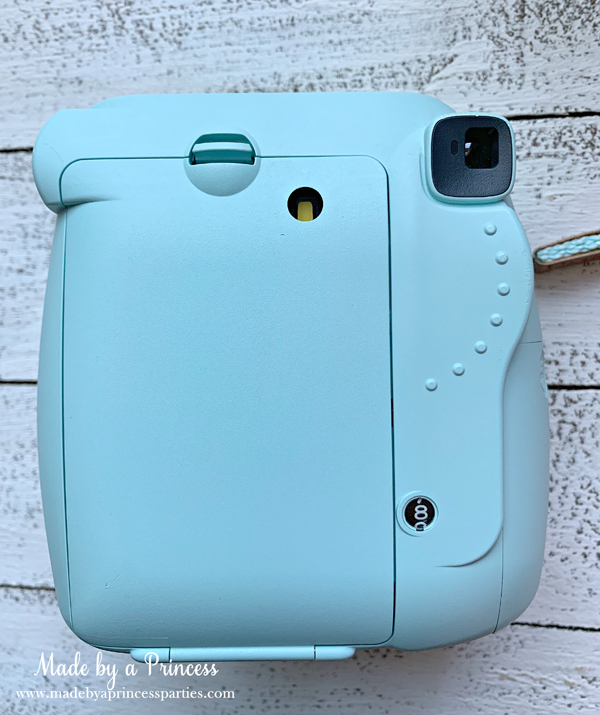
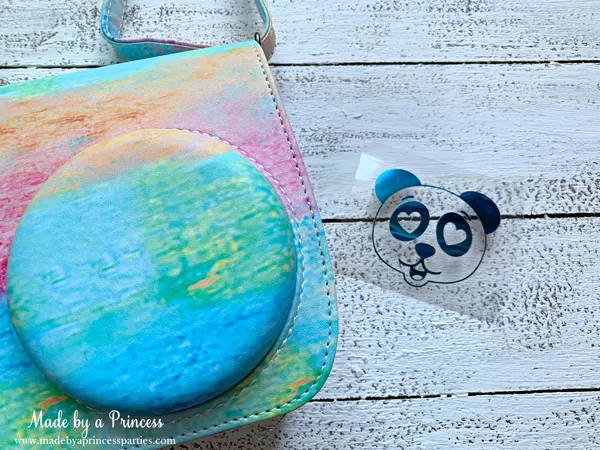
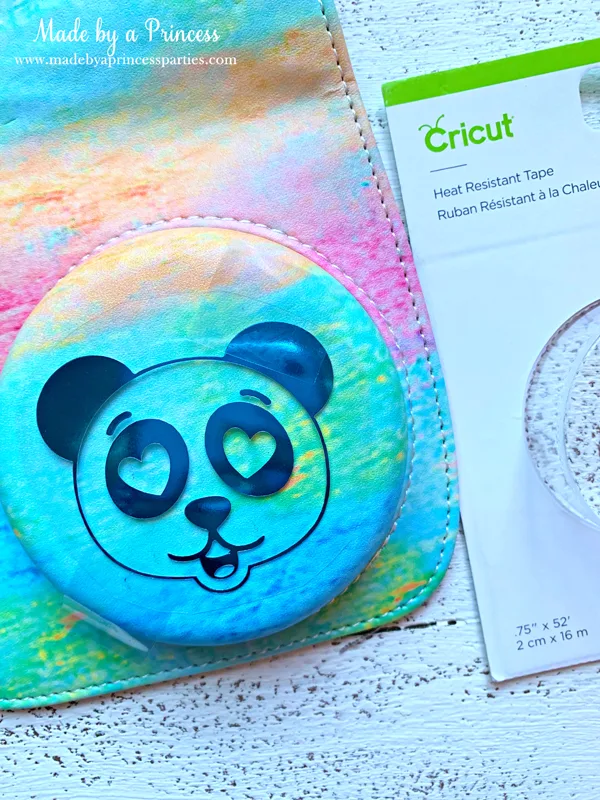
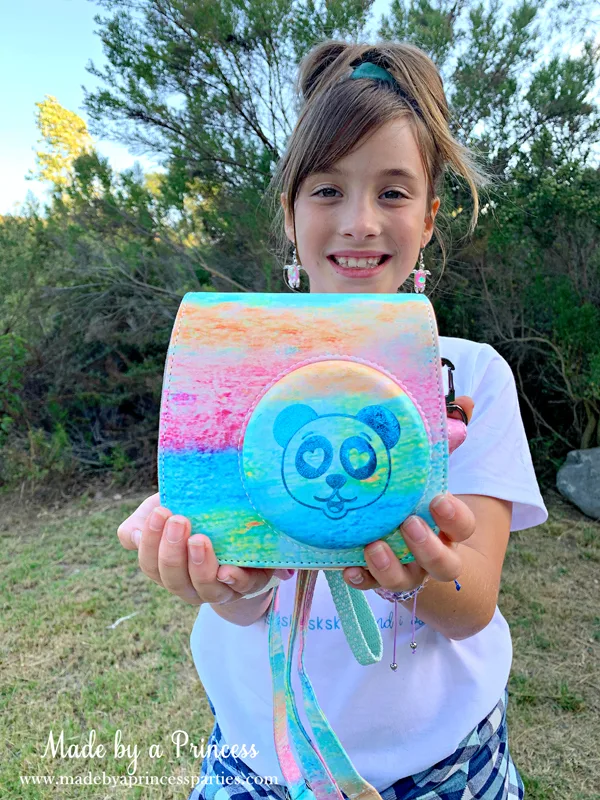
Once you have the greenlight from Cricut that you are connected and ready to go, you can begin designing your first Cricut DIY project. My daughter loves pandas and is going as a VSCO Girl for Halloween so I decided to make her some things to go with her costume. This first craft project is a decal for the back of her Fuijfilm Instax camera.
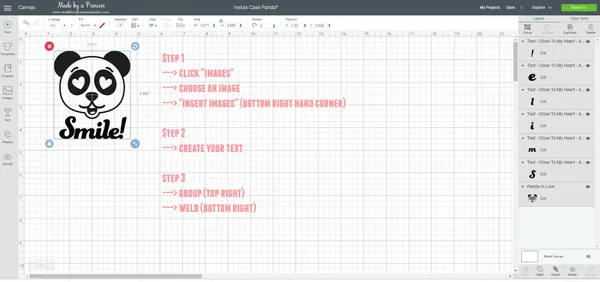
You can see on this first screenshot image I have told you step by step what you need to do when creating a design in Cricut Design Space:
- Click “Images” —> choose an image from the library —> hit the “Insert Images” button found on the bottom right corner
- Create your text —> choose your font —> resize text as necessary
- Click “Group” (top right) —> click “Weld” (bottom right)
It takes a little bit to get the hang of this new system but just like anything the more you do it, the better you become. The reason you want to “Group” and “Weld” is because if you don’t the image will separate when you and cut in a number of different pieces if you don’t fix it. This is different than how I design in Silhouette Studio so it’s going to take some getting used to.

This is what it looks like after you hit, “Make It”. If you color your images it will bring up each colored piece on its own mat. I know this sounds confusing now but it does make sense when you are in Design Space. This is actually a really cool feature. What it does is allows you to prep each color you need to cut so once you cut one part of the design all you need to do is load the mat with the next color vinyl and place in the machine. It saves a lot of time and I’m really liking this feature.
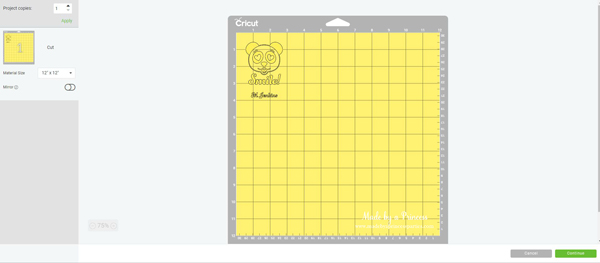
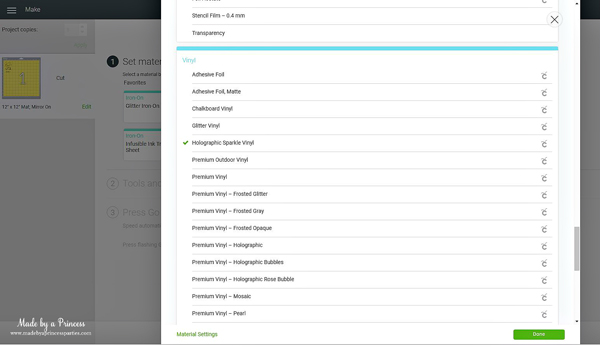
Now it’s time to choose your material. I used Holographic Sparkle for this first project so I set the dial to “Custom” and chose the proper material from the drop down list. So much easier than the Silhouette Cameo.
You can choose “Fast Mode” at this point but I wasn’t ready to try that out.

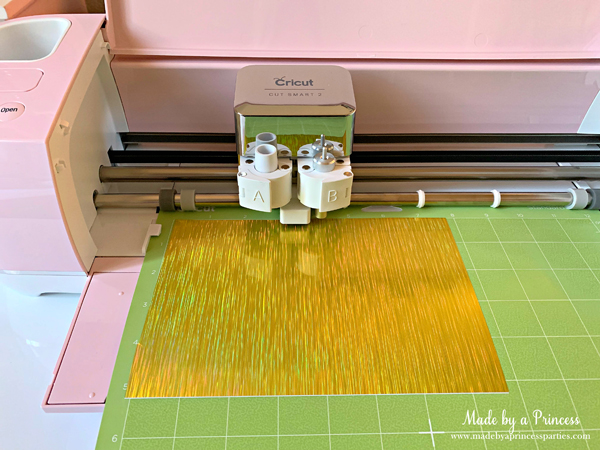
My vinyl on the cutting mat and ready to cut my panda decal.
P.S. Cutting vinyl is a breeze using this Cricut! I don’t know anything about the Cricut Maker but I imagine it’s pretty awesome too. And one more little tidbit…you can cut balsa wood with your Cricut. Seriously! That is really cool. Oh, and all you sewing sisters out there…you can also create and cut sewing patterns. Yep. This machine is going to blow your mind!

Success! I adore how my first Cricut project turned out! Look at those nice clean cut design lines…love it!
One thing to note…you do need transfer tape when applying a decal. Cut a piece slightly bigger than your image and use the scraper to rub the decal until it adheres to the transfer tape. You want the whole decal to stick to the tape and not the paper backing.
![]()
![]()
Cleaned and prepped Instax camera…
Peel transfer tape with design off paper backing and place on your surface. Rub gently and make sure it is on there really well. You don’t want any little pieces sticking up.
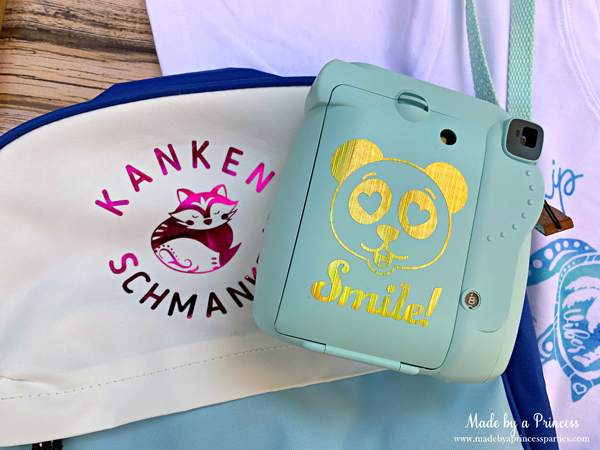
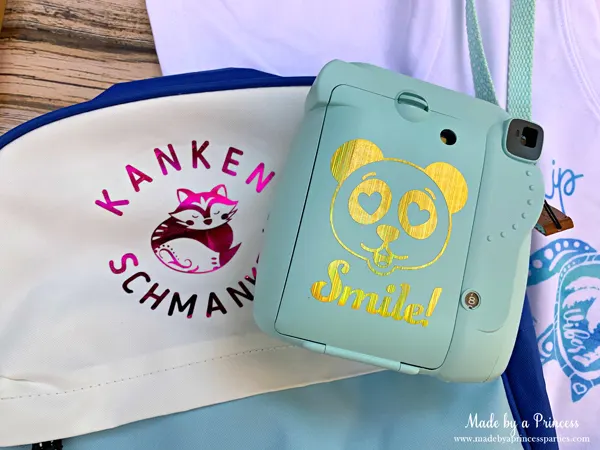
I think my Cricut Explore Air 2 first project turned out pretty well. It’s so cute and my daughter loves it!
![]()
![]()
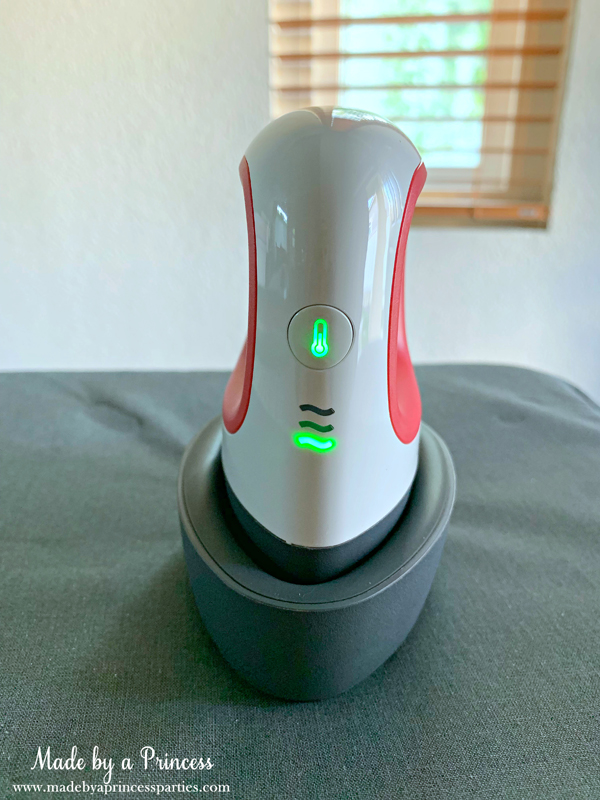
Using the Cricut Mini Easy Press
Have you seen the adorable Cricut Mini Easy Press? It is so stinkin’ cute! I was dying to try it out so I decided to make a vinyl sticker for the Instax camera case. To be honest, I was not sure if it was going to work because the camera case is a weird kind of pleather. I did try a decal first and it slipped right off.
I did have some really cool iron on foil so I thought I’d give it a shot. Cut, pressed, and crossed my fingers!

Eek! This is just the cutest little thing ever!

Using HTV Foil on Fake Leather
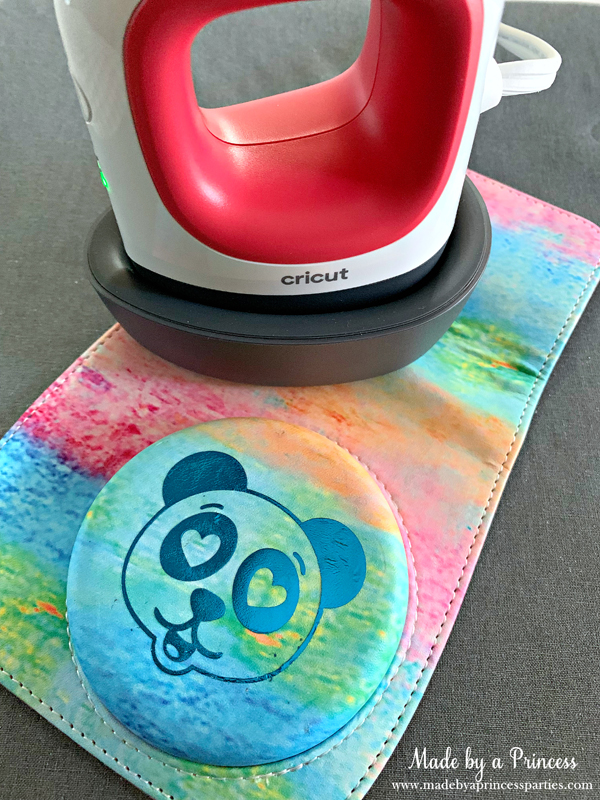
Just like anything you are going to iron, you need to preheat your material. I placed a Teflon sheet on the camera case and pressed the Mini Easy Press down for about 7 seconds. Don’t overdo it because it could easily melt.
While it is still hot, place your vinyl image on and keep in place with Cricut Heat Resistant Tape. Where has this product been all my life?! If you plan on creating anything with HTV vinyl you must get a roll of this. Probably more. Get more.

It worked! I do have to say that this HTV Foil on this material is kind of temperamental. It worked and looks really cute but it did pucker a bit. It’s not that there is anything wrong with the product, I just think you would be better off using something sturdier like HTV Glitter Vinyl.

My little Miss was happy with her VSCO Girl accessories and that is all that matters!

VSCO Girl Backpack
This is a little sneak peek of the backpack I made my daughter for her VSCO Girl costume. She can’t pronounce the name of the backpack all VSCO Girls love, Fjallraven Kanken, so she calls them “Kanken Schmankens”. I thought it would be funny to create a logo that was inspired by the actual logo and what my daughter calls them. She loves it 🙂
I don’t know if you know anything about those Fjallraven backpacks but they are like $80! Oh heeeellll no. I made this one for less than $5. That backpack is from IKEA and it was on clearance for $2.99. That’s how we roll!
I know you’re super curious now about this whole VSCO Girl thing so check out my “How to be a VSCO Girl” post and find all about the newest teenage trend! I also made a turtle shirt (it’s a VSCO thing) that you should really see because it’s made with Infusible Ink and it is uh-mazing!