In the market for a new craft toy? If you’re a crafter, DIYer, or just love to create homemade items, you are going to love the Cricut Easy Press 2. You can create professional quality HTV vinyl products and gifts…I’ll show you how!
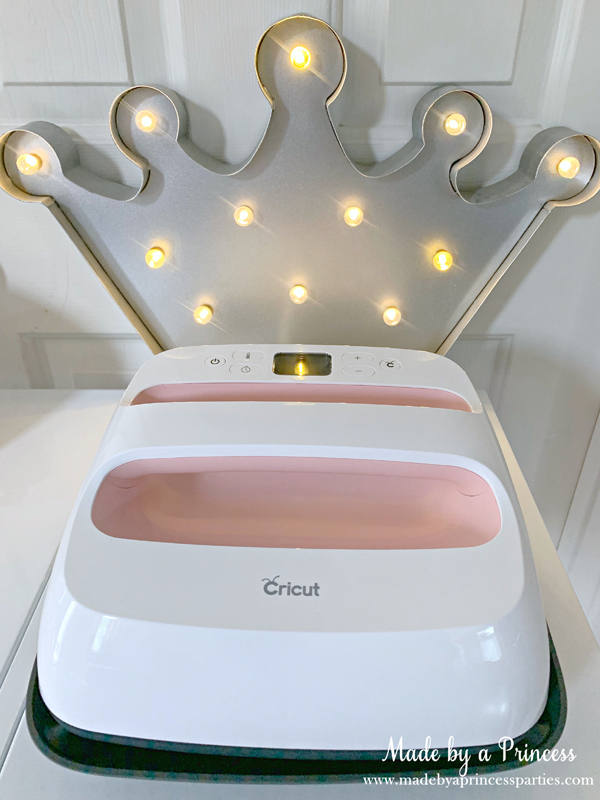
The Cricut EasyPress 2 is my newest favorite craft toy and I just know it’s going to be yours too. It has never been easier to iron on HTV vinyl! It’s like having your own heat press machine but much smaller and less expensive.
This is a sponsored conversation written by me on behalf of Cricut. The opinions and text are all mine. Post contains affiliate links.
How to Use Cricut Easy Press 2
A few weeks ago Cricut invited me to join their ambassador team which is something that has been on my blogger bucket list forever! I am thrilled to share my experiences and projects with you and help you learn how to use your Cricut machine and EasyPress.
As you know, my favorite color is pink so you can imagine how thrilled I was to find out that there is not only a pink Cricut vinyl cutter machine but there is also a pink Cricut Easy Press 2!


The Exclusive Rose Bundle comes with a heat mat, gold glitter iron on vinyl and rose iron on vinyl. There are also some pre-cut vinyl decals you can use to create projects for yourself or some lucky friend.
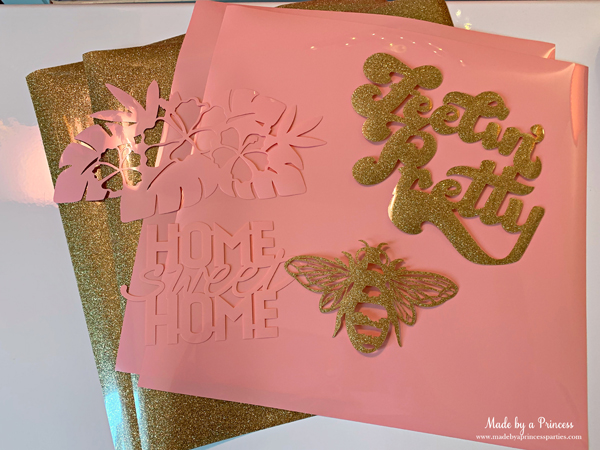
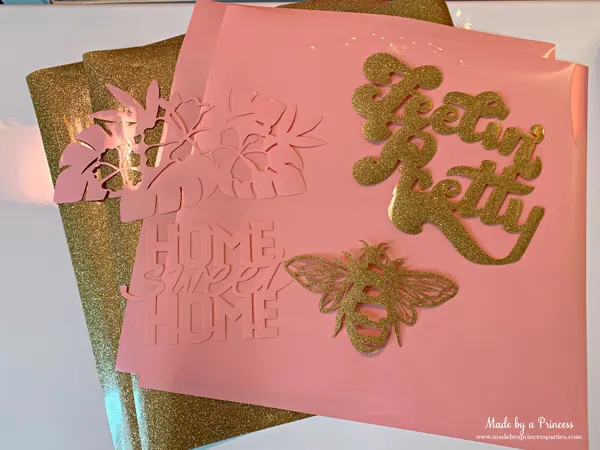
The Rose Bundle also comes with a heat mat…even the heat mat has a pretty little pink tag. You can only get that in this bundle!

First Project Using Cricut EasyPress 2
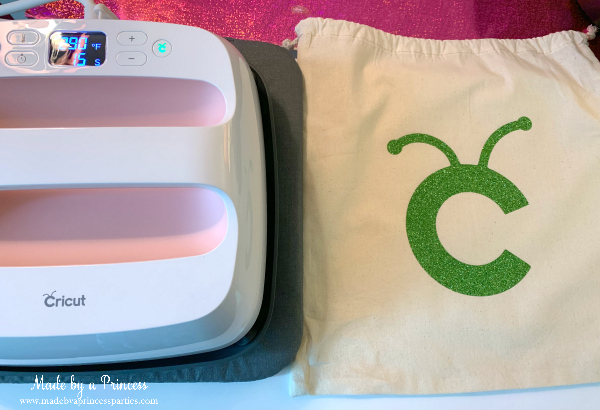
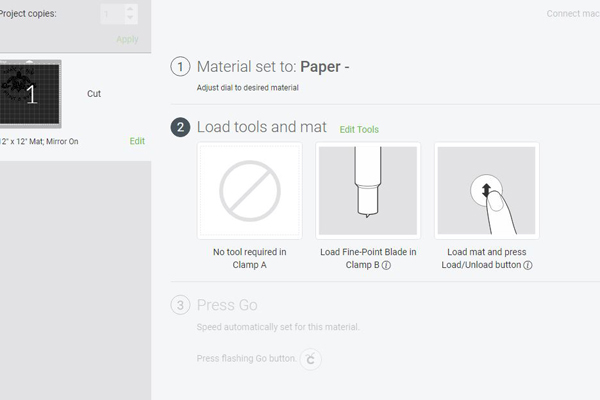
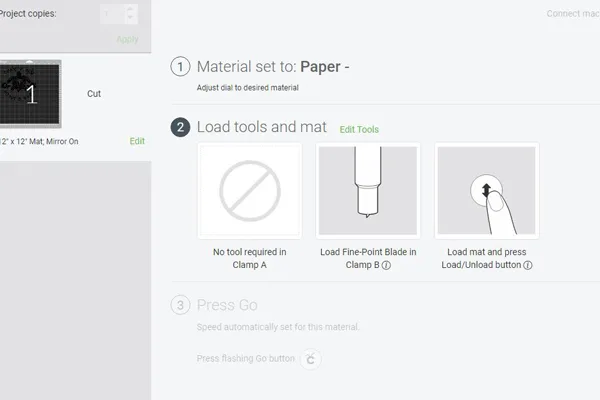
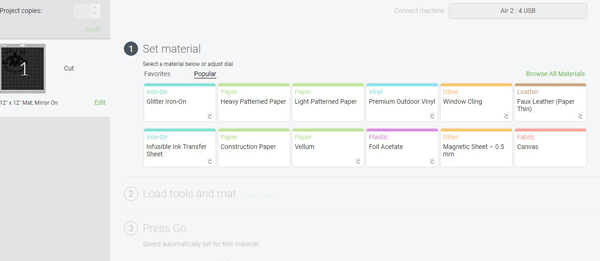
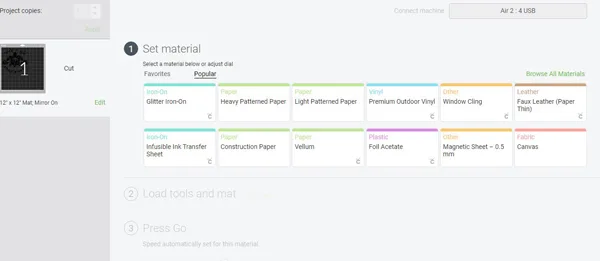
I’ve used this quite a bit since I got it a few weeks ago and I love it. My first project with the EasyPress was the cute little Cricut muslin drawstring bag included in the kit. Setting up and using the Cricut EasyPress 2 is so easy:
- Once you’ve removed the plastic around the machine, place it on the safety base. The heat plate will nestled perfectly in the base.
- Plug in your EasyPress 2
- Set the temperature by pushing the button on the top left and use the “+” or “-” to adjust heat up or down
- Set the press time by pushing the “clock” button on the bottom left the “+” or “-” to adjust time up or down
- Place drawstring bag on Cricut Heat Mat and preheat your machine to 290 degrees and 5 seconds
- Place Easy Press machine on bag, push the start button on the far right, and press for 5 seconds to warm up the material. Do not skip this step!
- Set timer for 30 seconds
- Position the Cricut “C” included in your bundle shiny side up on the bag, place Cricut Easy Press 2 directly on the vinyl decal, start the timer, and press lightly until it beeps
- Set timer for 15 seconds
- Turn bag over and press for 15 seconds
- Let iron on cool for about 30 seconds then remove transfer paper
- If it does not come easily and some of the iron on vinyl has not completely adhered, reapply heat for a few more seconds
The drawstring bag is super cute and can be used to store supplies.

Infusible Ink and Easy Press
Now that you’re an expert at using the EasyPress, let’s jump right in and use Infusible Ink Sheets! You’re going to love this too!
Do You Need an Easy Press for Infusible Ink?
The short answer is no. You don’t need an EasyPress for Infusible Ink, however, I highly recommend it. Cricut makes it really easy to know how to determine the temperature and how long you need to apply heat with their handy Cricut EasyPress Time and Temperature Settings Guide. Just choose your machine, the type of heat-transfer material you’re using, your base material, and whether you’re using a Cricut EasyPress Mat or towel.
Until now I was using an iron and it was always a guessing game on which setting to use and for how long. Save yourself the guess work, and melted vinyl (ask me how I know about that) and treaty yourself to an Easy Press iron. Yes, it’s pricey but you are worth it!
Cricut Infusible Ink
Infusible Ink is a brand new product from Cricut and it is so cool. It’s basically sublimation ink. What is sublimation ink you ask? I didn’t know either when I heard the term but it is the method of applying an image to a specially coated material. When using this method you need sublimation ink (i.e. Cricut Infusible Ink sheets), heat, and pressure. It is completely different than using iron on vinyl because the image actually becomes part of the material. Sublimation is different from screen printing as well. With screen printing the image is printed ON the material, sublimation ink converts from a solid to a gas through heat and does not crack or peel. You can’t use Infusible Ink or sublimation ink on just any material, however. It only works on white or very light colored poly or poly blend products.
Cricit has created several products specifically designed to be used with their Infusible Ink Sheets. I created a VSCO Girl t-shirt using a Cricut girls size L shirt and the Watercolor Infusible Ink package. Note: The t-shirts run very very small. I got my 8 year old daughter a large thinking it would be really big on her but it’s not at all. It is long but it does not fit like a traditional tee. I understand the women and men’s sizes also run small so keep that in mind. I have not tested this yet but these shirts are supposed to withstand repeated washings.


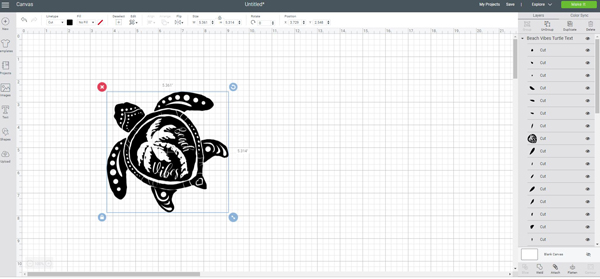
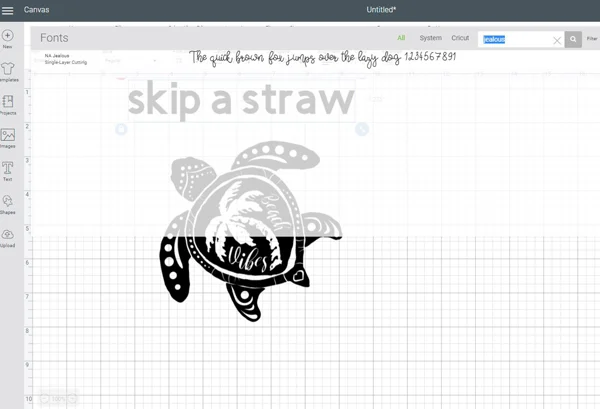
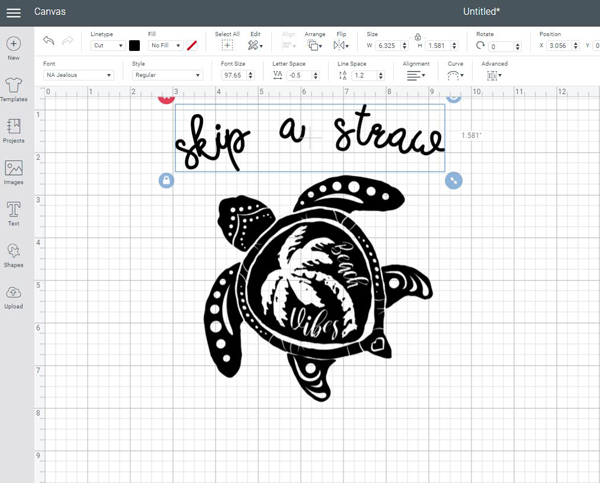
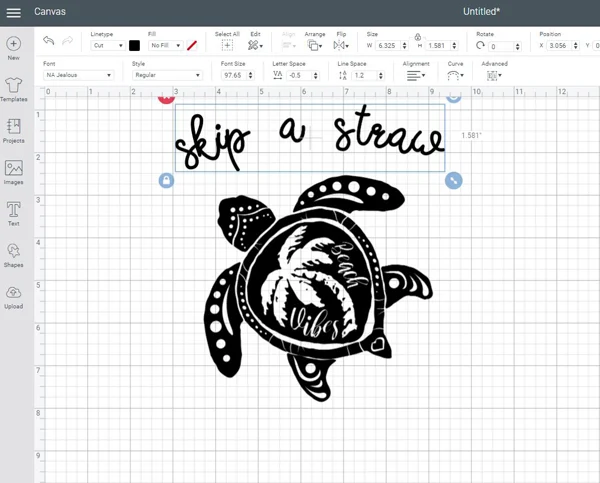
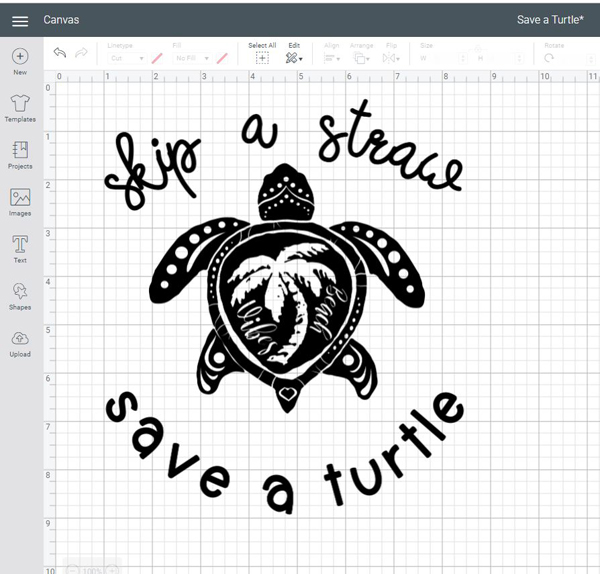
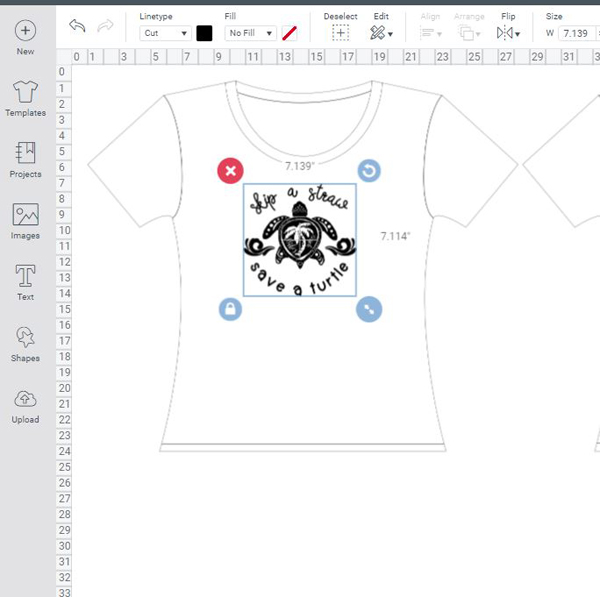
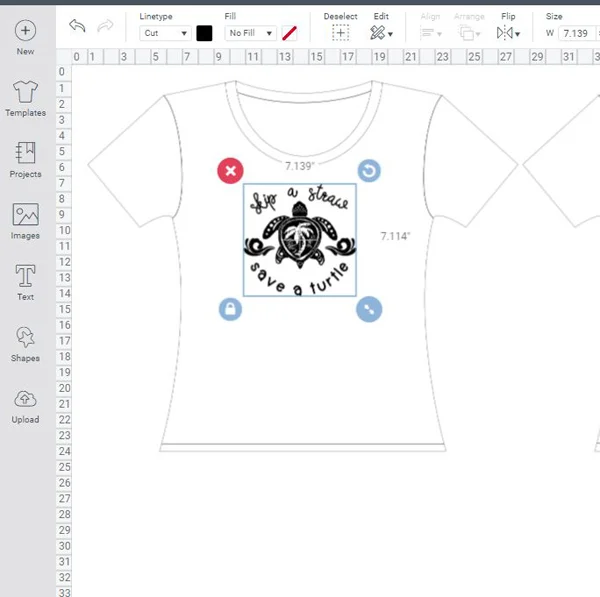
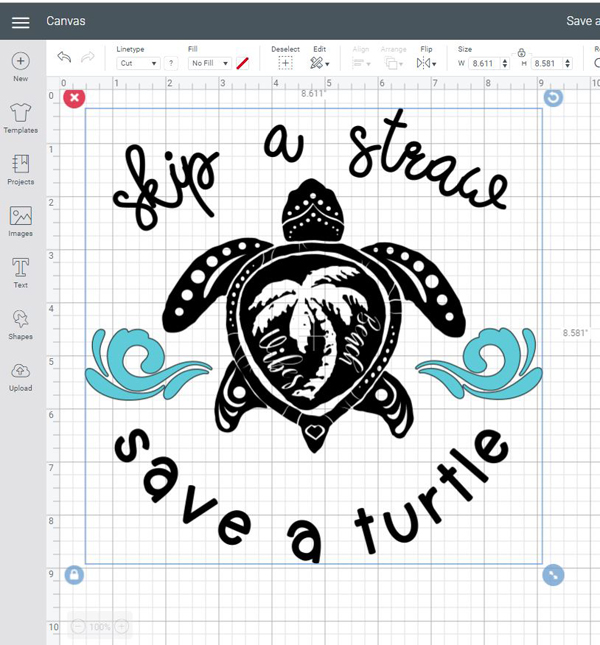
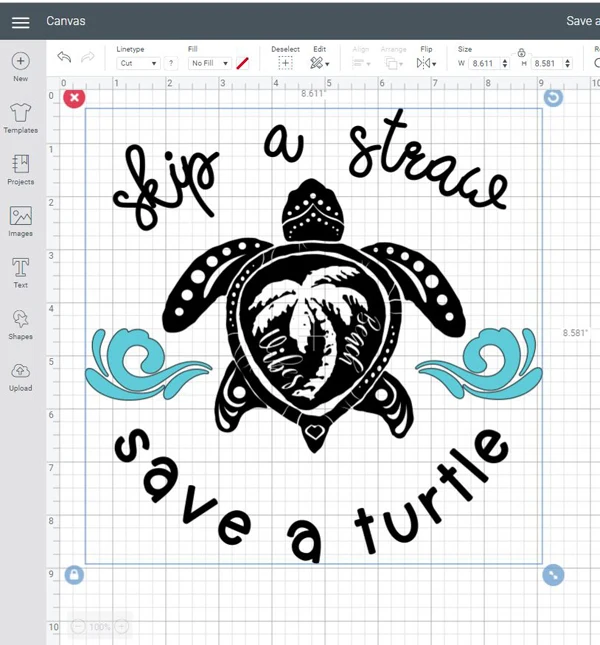
Create Your Iron On in Cricut Design Space
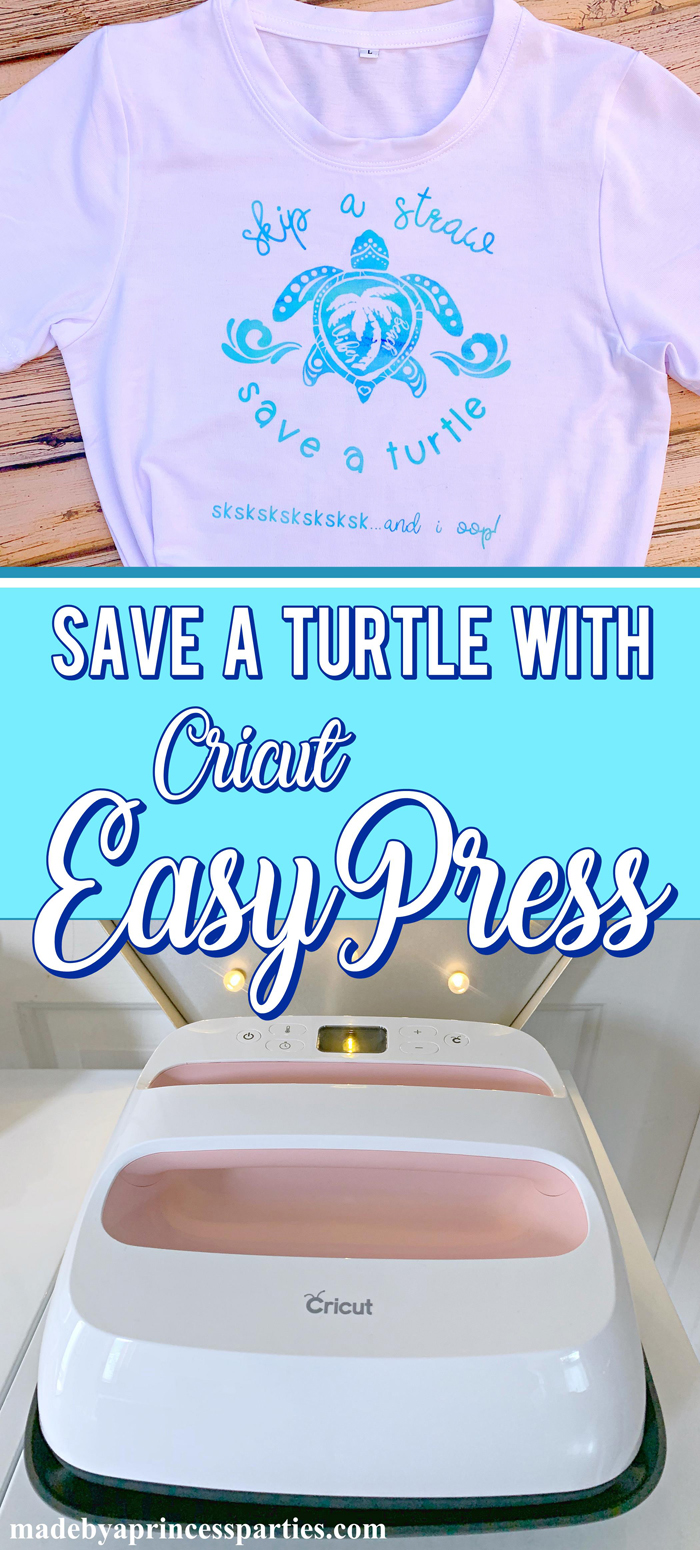
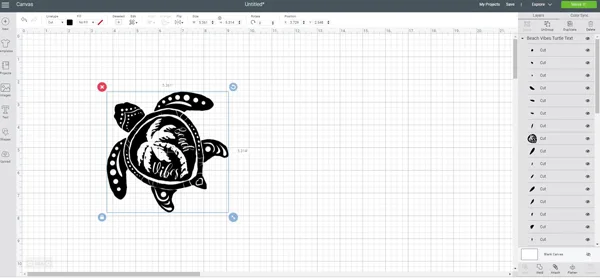
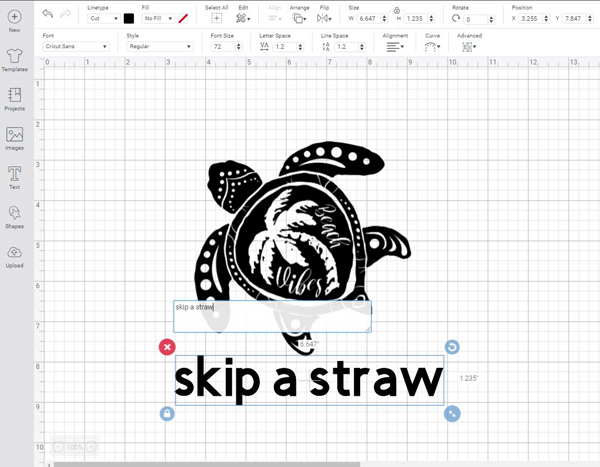
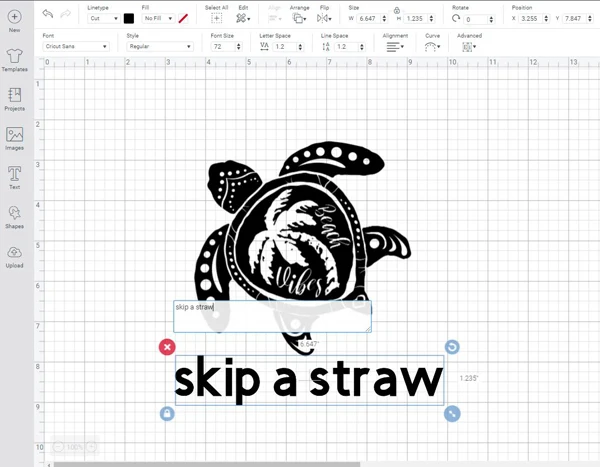
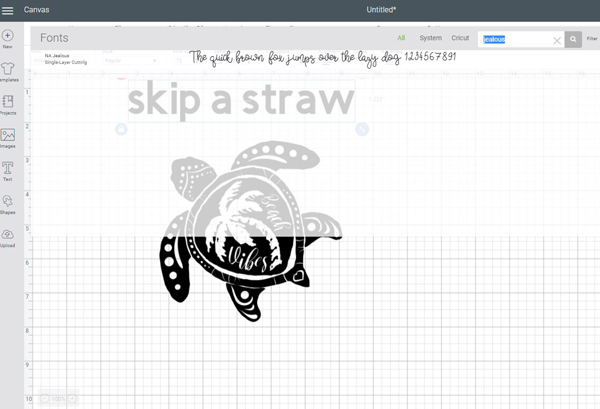
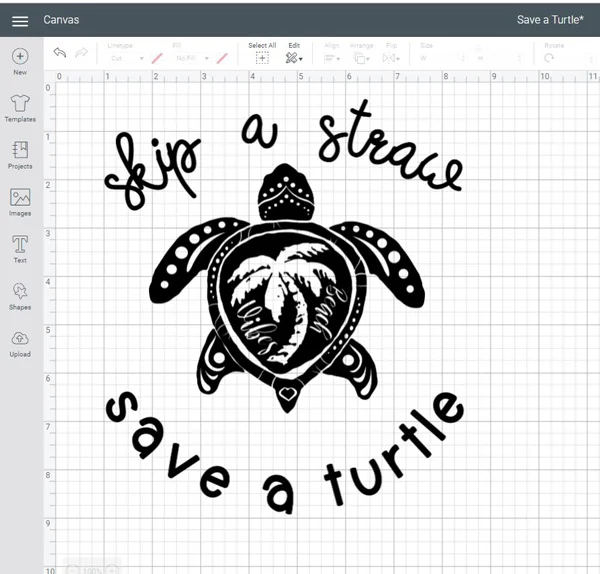
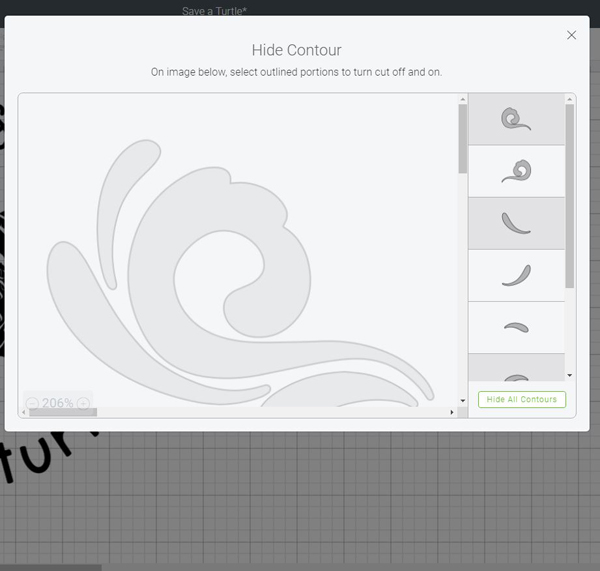
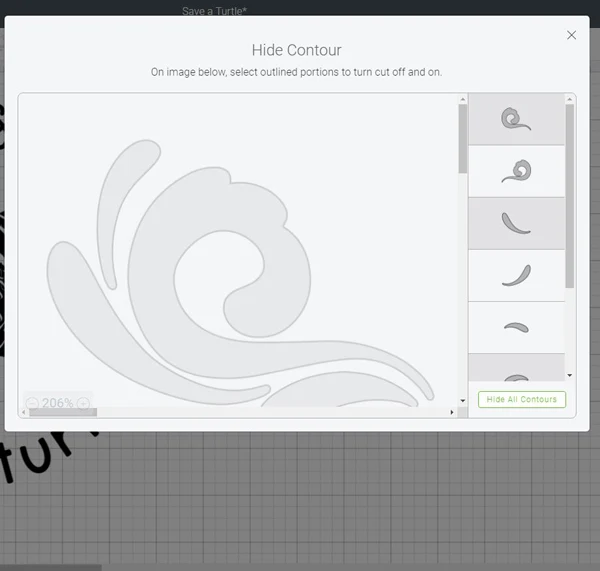
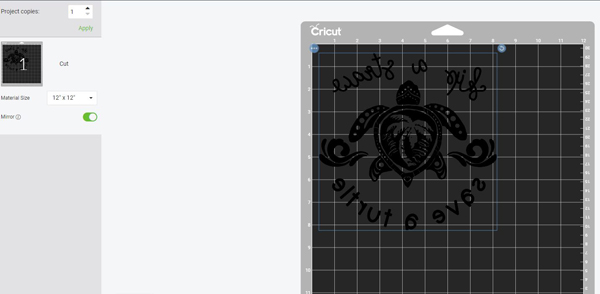
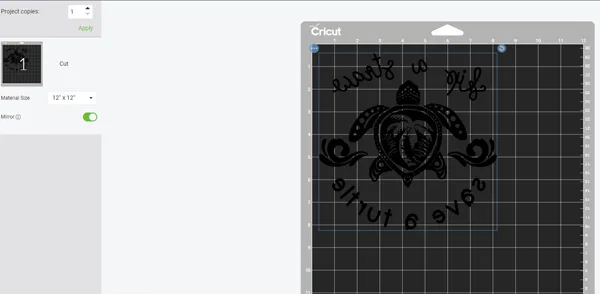
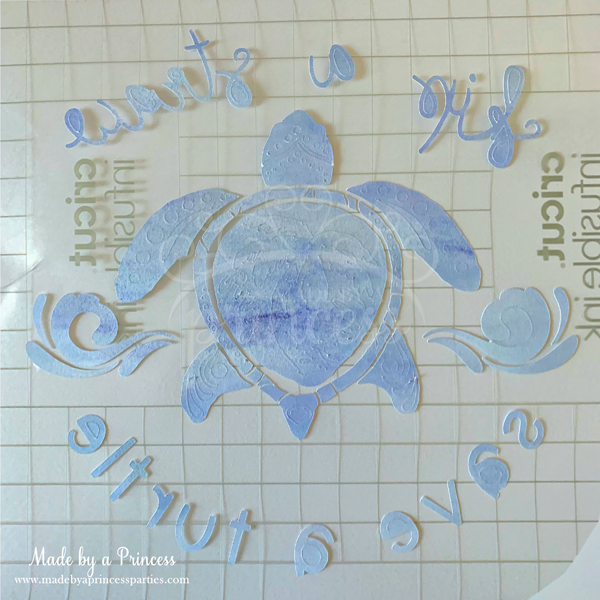
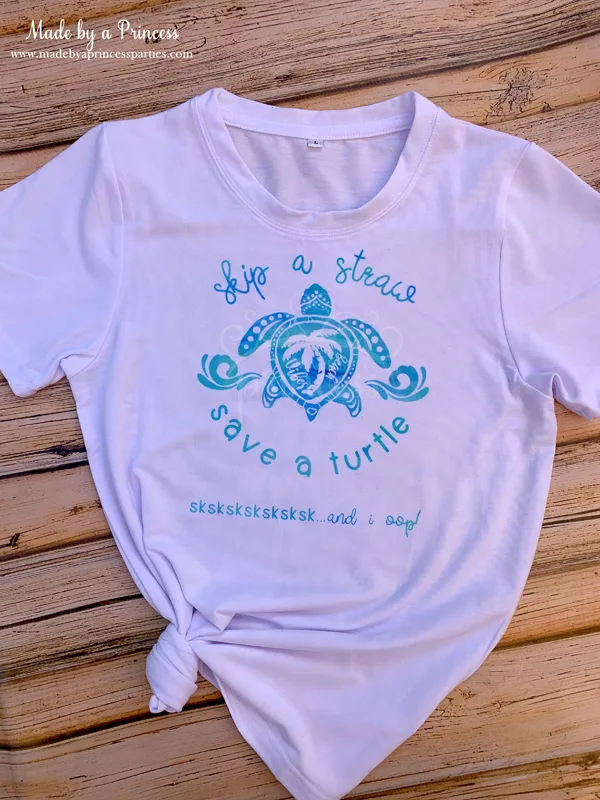
You can read all about how to use your new Cricut and Design Space in my first Cricut post. I am not going to bore you with the details on how to design your project here but you can see some screenshots of my daughter’s VSCO Girl “Save the Turtles” t-shirt here…

How to Use Infusible Ink Sheets
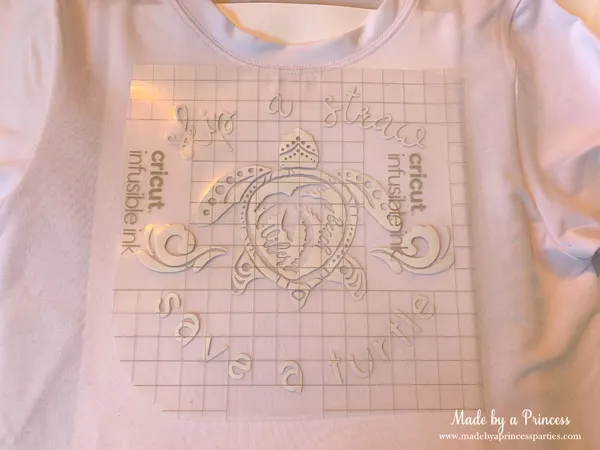
Infusible Ink sheets are very different than iron on vinyl. It feels like a thick piece of paper with plastic coating on the back. You want to place the sheet printed side up on your cutting mat. Take a scraper and smooth out the sheet so there are no bubbles or creases.
I used a brand new LightGrip Cutting Mat but you might need to use a StrongGrip Cutting Mat if it is not sticking well.


Do You Mirror Infusible Ink?
Yes, you do need to mirror images when using Infusible Ink.
After you have cut your image you will need to weed out all the little pieces. This design had a lot of small pieces and it was a little difficult to remove the tiny ones. Definitely use tweezers intead of the weeding tool or spatula.

Once you have weeded and cut your design, prepare your t-shirt.
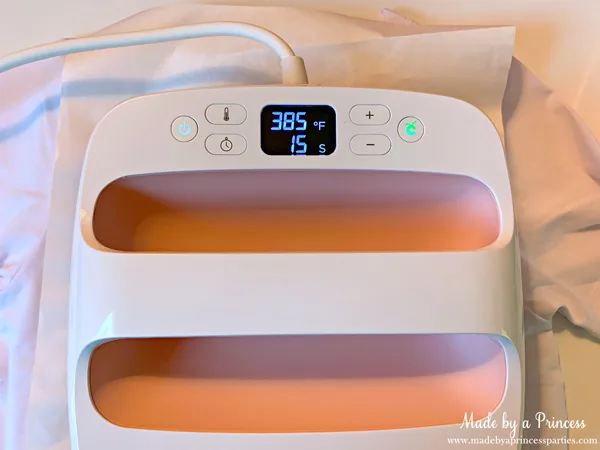
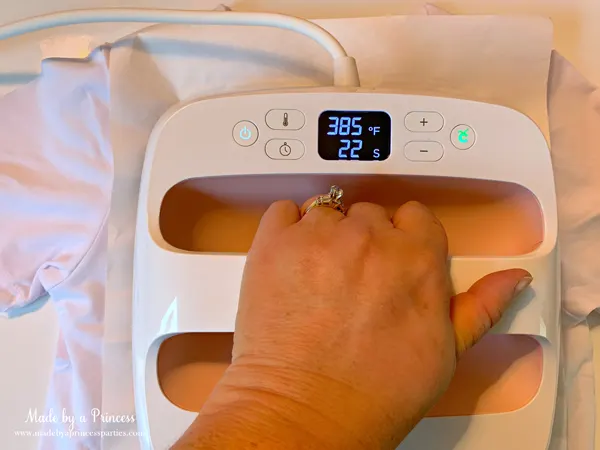
- Set your Cricut EasyPress 2 to 385 degrees and 15 seconds
- While t-shirt is on the Cricut mat (use 16 x 20 mat if you have one), place a piece of clean white cardstock inside t-shirt to protect your mat and your project as the ink could transfer through to the other side of the shirt
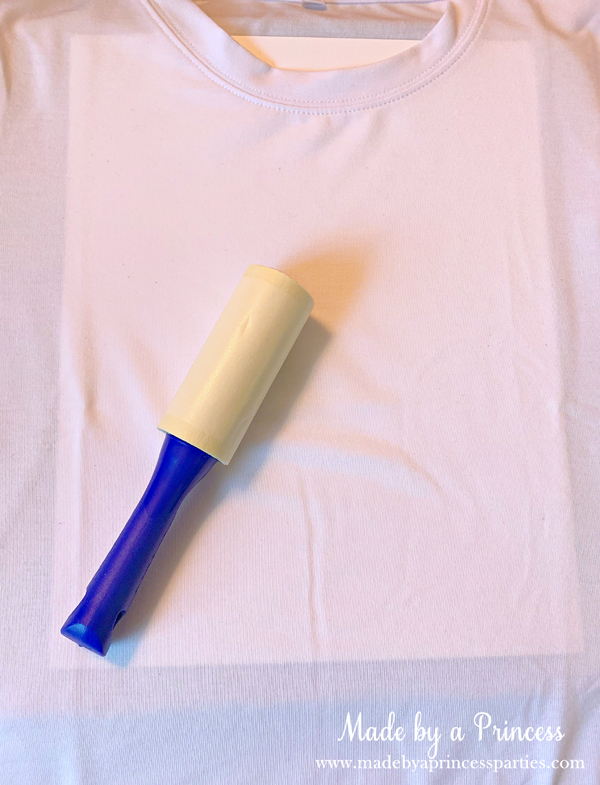
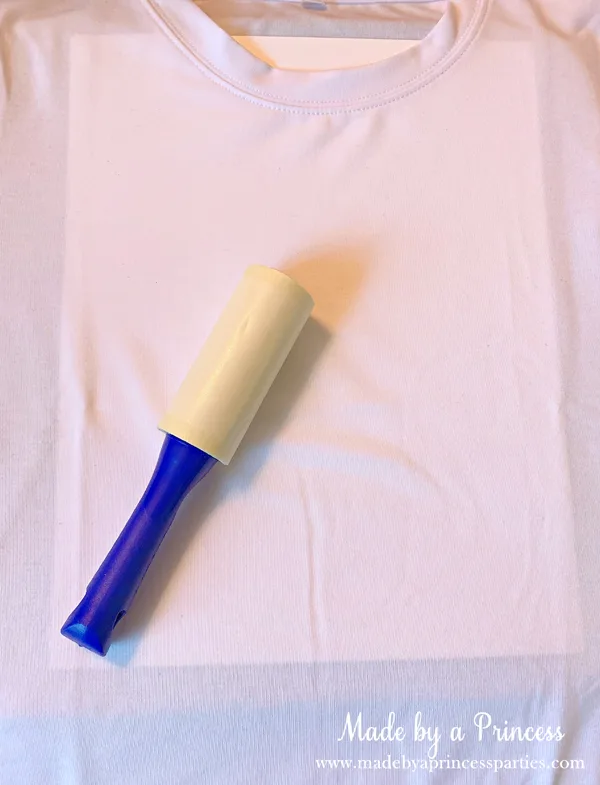
- Use a lint roller and clean the entire surface. Any dirt or specs of dust or fibers could create imperfections in the transfer
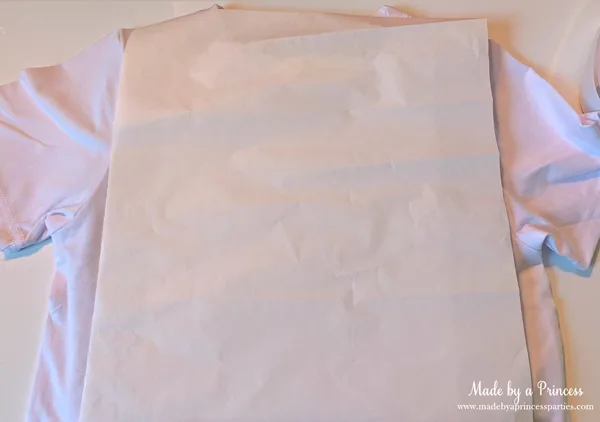
- Place butcher paper included in your Infusible Ink package on the t-shirt and preheat for 15 seconds. Do not skip this step!


- Let t-shirt cool
- Place image on shirt face down (ink side down) and cover with butcher paper (discard sheet of butcher paper when done with this project)
- Press at 385 degrees for 40 seconds. Make sure not to move or slide the EasyPress – it must remain stationary while pressing
- When you hear the beep, carefully lift press off butcher paper. Let cool completely before removing butcher paper and image liner


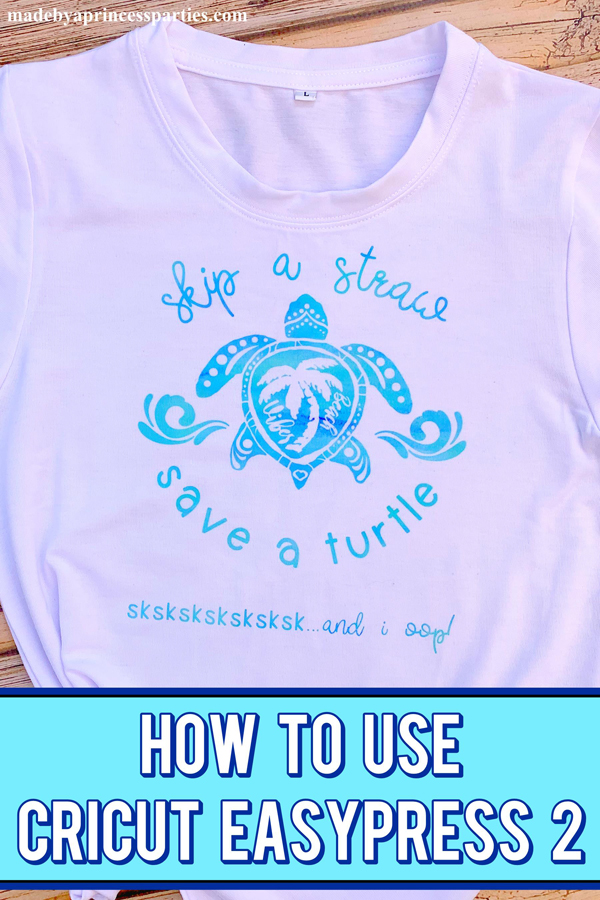
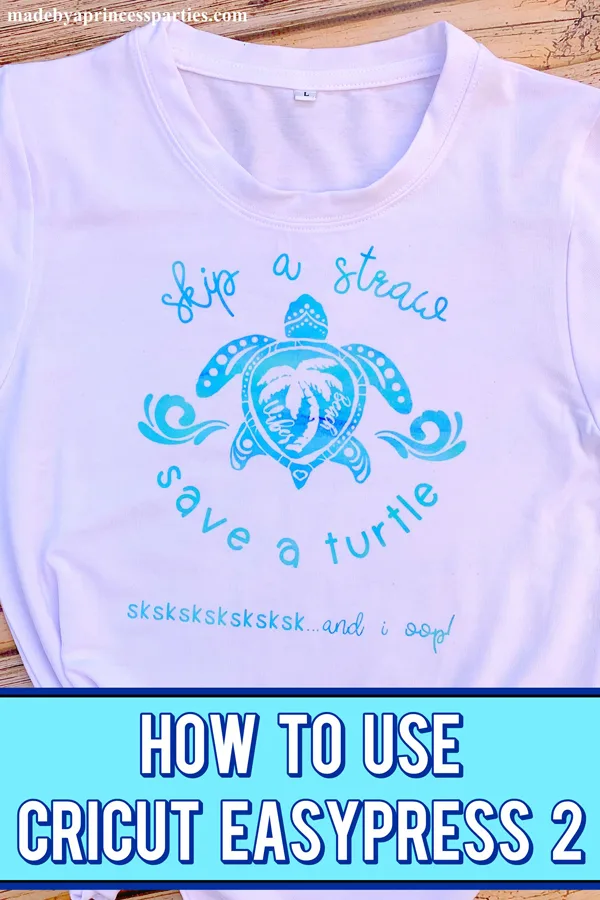
Ta da!! You now have an adorable t-shirt any VSCO Girl would love!
P.S. Once the shirt was done I realized the image was a little too close to the collar and needed to be balanced out a bit. I went back into Design Space and created the, “sksksksksksk…and i oop!” line and repeated the process above. My daughter loved it even more!
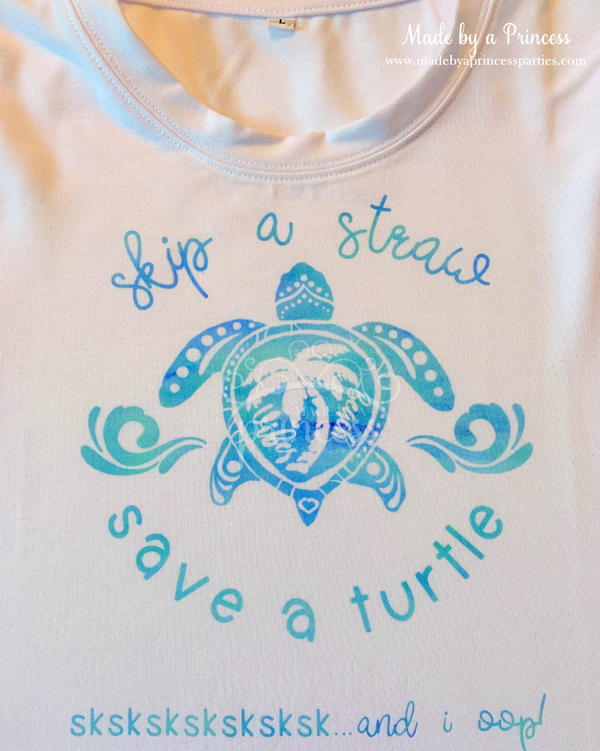
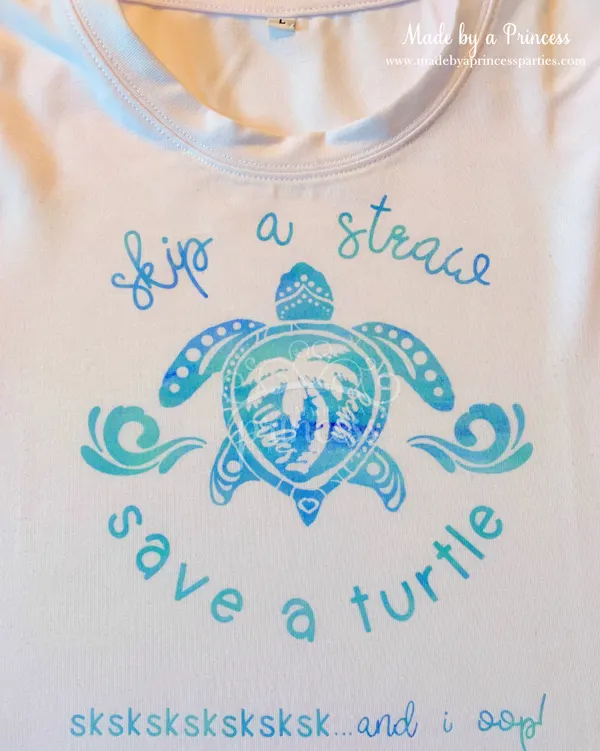
All ready to save the turtles!

I hope you enjoyed this How to Use Cricut Easy Press 2 and were able to see how easy it is to use. I absolutely recommend getting yourself one. There are other colors too just in case pink is not your color (what?!!!).