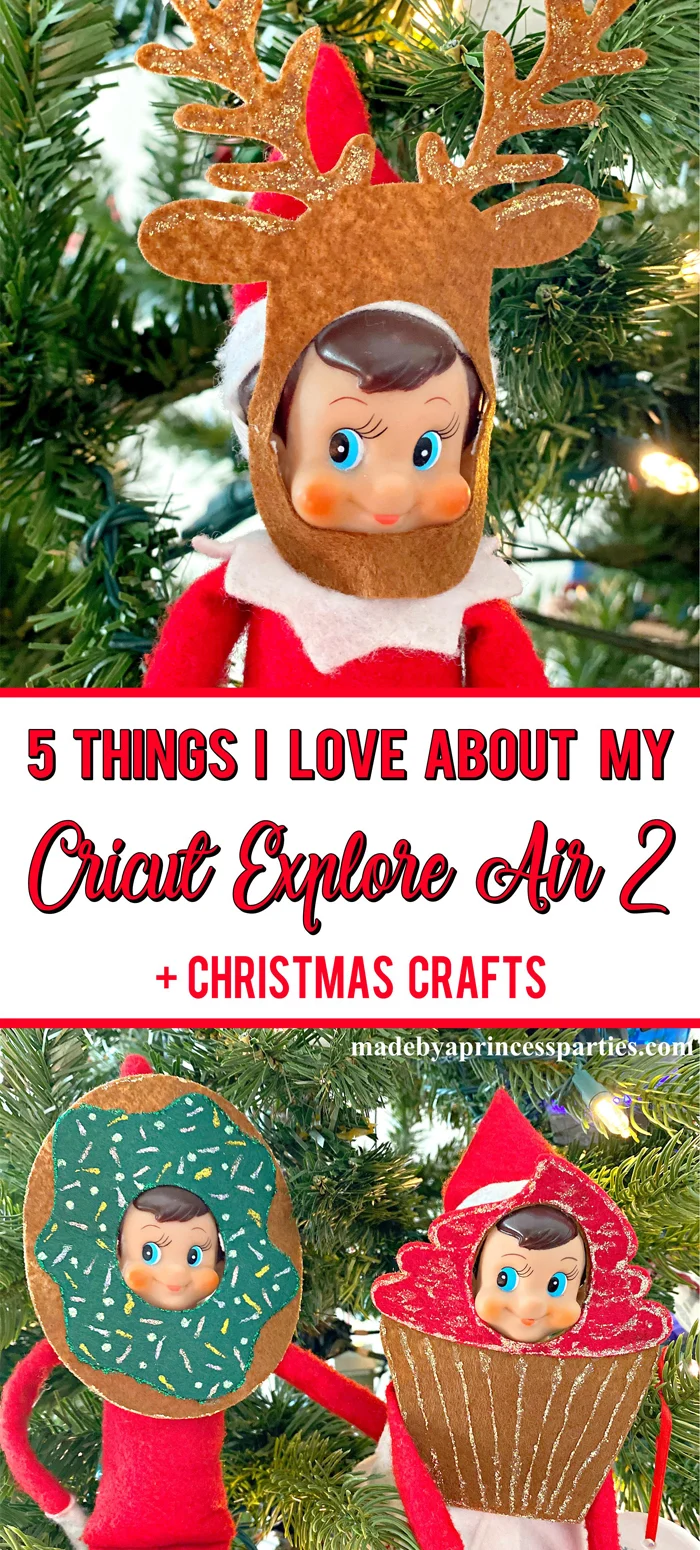
Make adorable Christmas crafts with Cricut this holiday. I’m sharing 5 Things I Love About My Cricut Explore Air 2 along with some Christmas craft ideas you can make today.

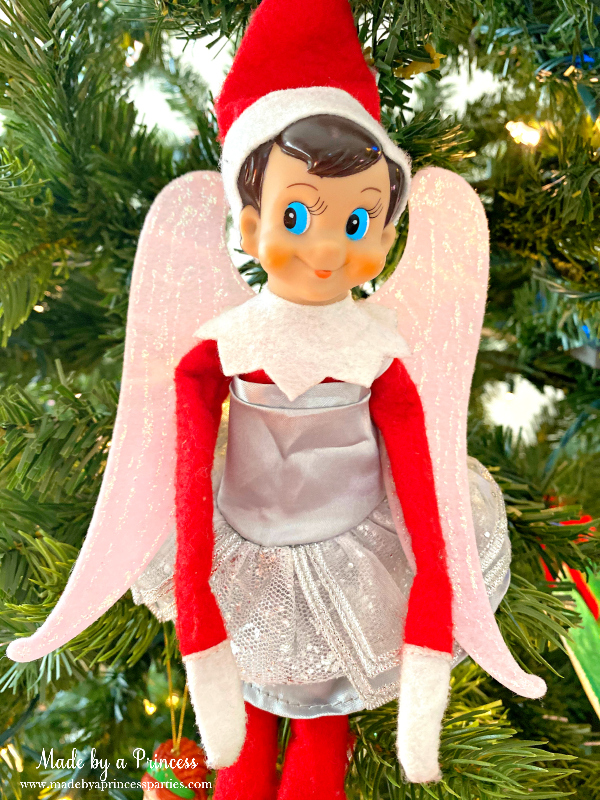
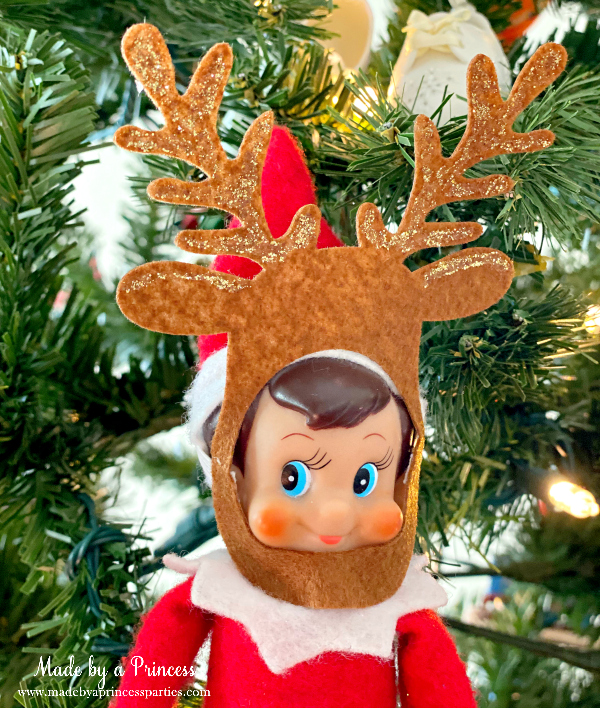
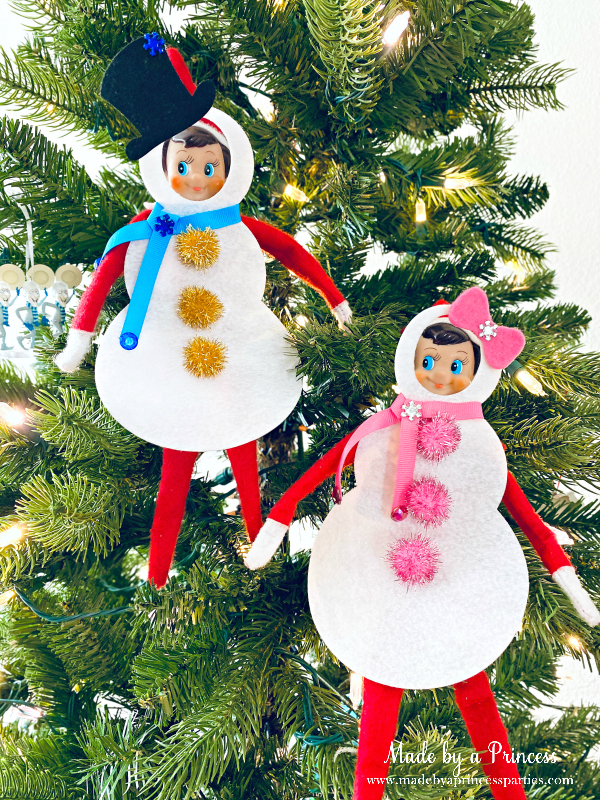
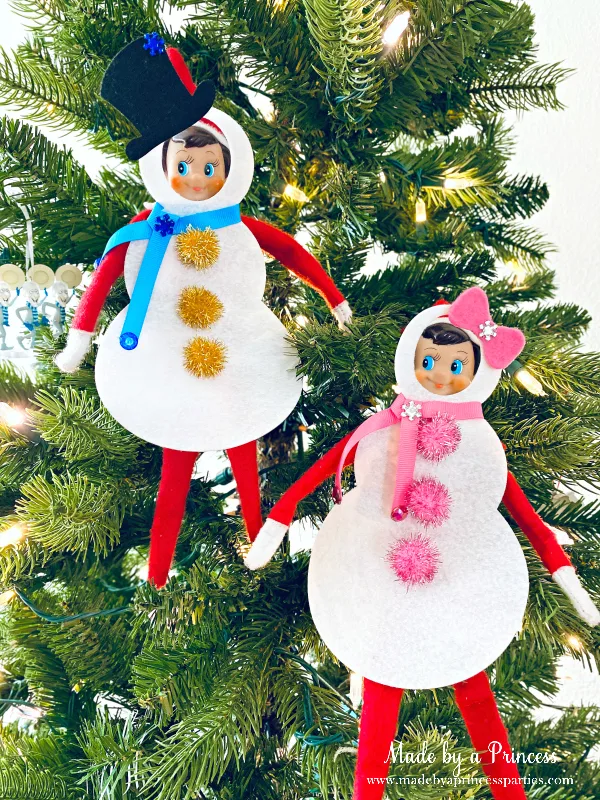
Have you been thinking about getting a Cricut Explore Air 2 or Cricut Maker? You are definitely going to want to move this cutting machine to your must have list because it is amazing! Here are 5 things I love about my Cricut Explore Air 2 and why I think you’re going to love it too. I’m also sharing some props I made for our Elf on the Shelf as well as some cute gingerbread themed place setting ideas.
This is a sponsored conversation written by me on behalf of Cricut. The opinions and text are all mine.
Key Features About Cricut Explore Air 2
- Comes in a variety of beautiful colors (including pink!)
- Cuts up to 2x faster than previous Cricut models
- Quickly switch between cutting, scoring, engraving, debossing, and other decorative effects
- Can easily create cut and print designs
- Fast and quiet
- Has a special compartment for tools
- Can cut over 100 different types of materials
- Easy to use
- Bluetooth® ready
- You can design on the go using your iPhone or iPad
5 Things I Love About My Cricut Explore Air 2
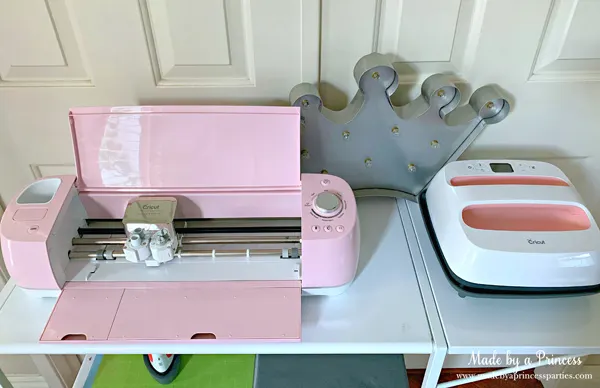
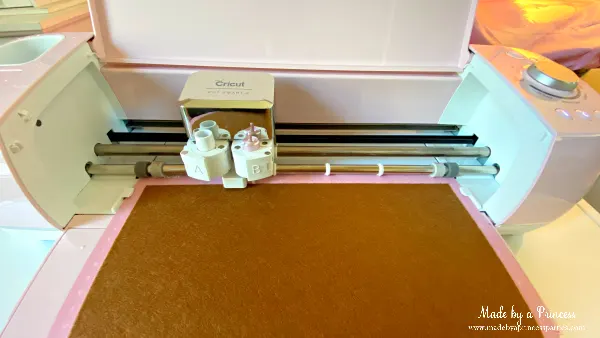
1. It’s Pink!
The Cricut Explore Air 2 comes in a range of colors but my favorite and the absolute prettiest (IMHO) is the PINK one. It’s such a pretty shade of pink too and matches my branding and office perfectly. It just makes me happy to use it. Does that sound weird? I don’t know how to explain it but when I roll my Cricut cart over to my computer I get all happy and excited.
I also love that it’s sleek and streamlined. It’s clear the engineers at Cricut put a lot of thought into how it looks and feels. There aren’t a ton of buttons either which is really nice. I love how it opens too. When you push the “Open” button both the top and front panel slowly open. It’s so seamless and quiet. It’s like the castle gates are opening and saying, “Please, step on in. Craft with us. Create something beautiful today.”

2. Easy To Use
I adore how easy this machine is to use. Seriously. I open Design Space, create something, turn the dial, choose my material, place the mat in the machine, and like magic it cuts. I used another system before and I was never really sure if it was going to cut on the first try or if it was going to cut all the way through. It just works.
Last night I created five different props for our Elves on a Shelf. I had my felt all ready and when one color was done, I moved on to the next. I could never have created so many different things on the old system that quickly.


This past weekend I had the privilege of speaking with the CEO, Ashish Arora. One of the things he said really stood out. He told me the Cricut team worked hard on making this machine and Design Space easy to use. They want everyone to feel confident using their machines.
Everyone from the handmade shop owner to those that have never used something like this before. You don’t need professional skills…you just have to have the desire to create. Basically, you don’t need to be a “computer person” to be able to figure out this machine – it’s that easy.


3. Will Cut Many Types of Material
Did you know this machine will cut over 100 different types of materials? In addition to cutting paper, cardstock, vinyl, and fabric the Cricut Explore Air 2 can cut craft foam, foil, faux leather, sticker paper, and magnetic sheets. If you purchase the deep cut blade it will also cut thicker material like Kraft board and poster board.

4. Precision Cuts
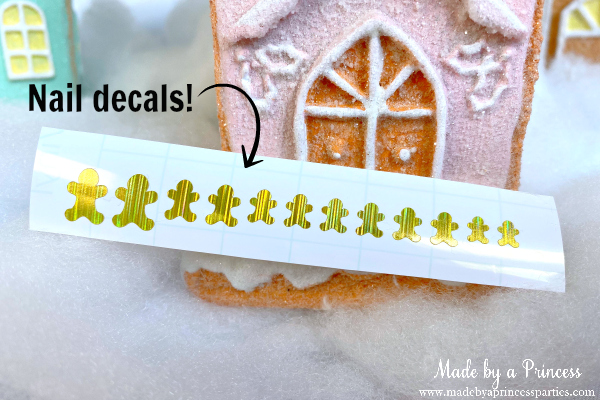
The cuts on this machine are pretty outstanding. It will cut teeny tiny letters flawlessly. The cuts are so precise you could even make teensy nail decals.
The gingerbread men nail decals range in size from .25″ to .4″ and the cuts are perfect. I can’t wait to play around with these!

5. Design Space Subscription
In the other system if I wanted to use their images or fonts I had to pay for each individually. I have to admit it did limit my creativity in some ways because I was thinking about the expenses involved. Many times I changed the direction of a design because I didn’t want to spend $5 more on creating one project. I love that Design Space has a monthly subscription. This allows me the freedom to create without having to worry about purchasing each image or font. I can take bits from here and there and splice them together to create something really unique.
The subscription is $9.99/month which is worth it’s weight alone in fonts. Fonts aren’t cheap y’all! I’ve spent $30 for the use of one font so I think I’m getting off cheap for only $10 a month!
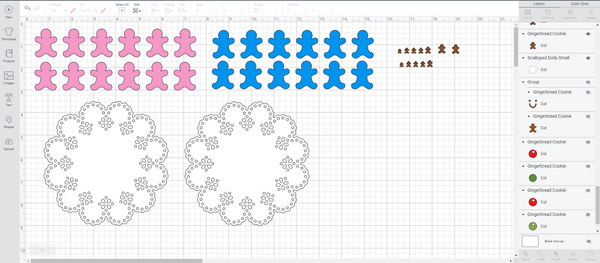
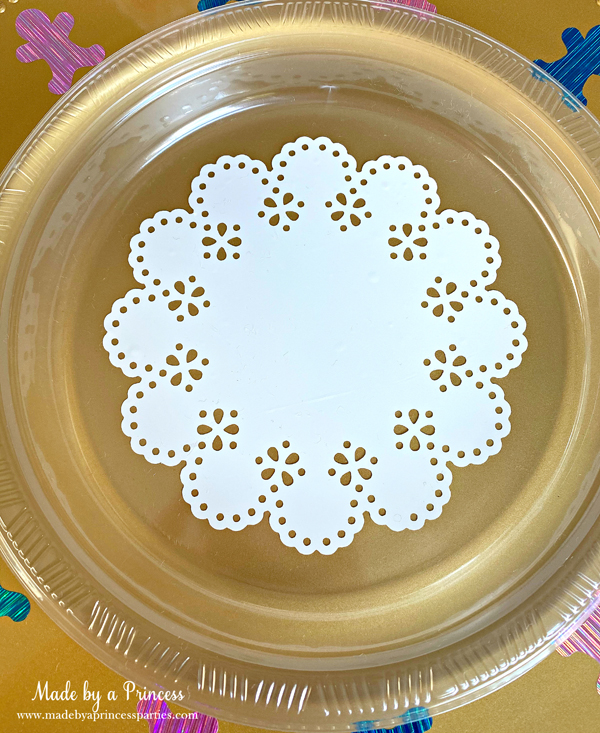
You can also purchase premium images. I really liked this doily image so I purchased it for $1.99 but there were plenty of free ones I could have used just as easily.
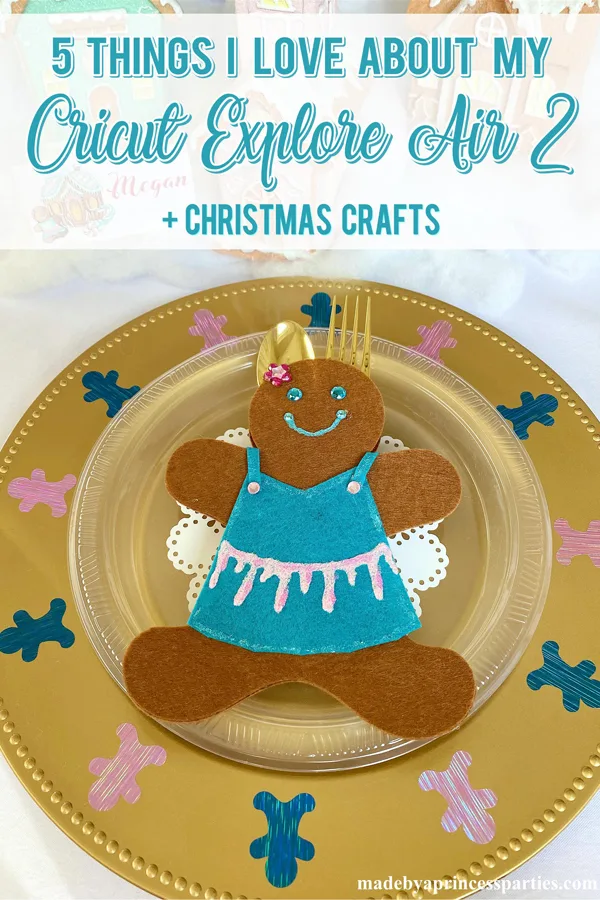
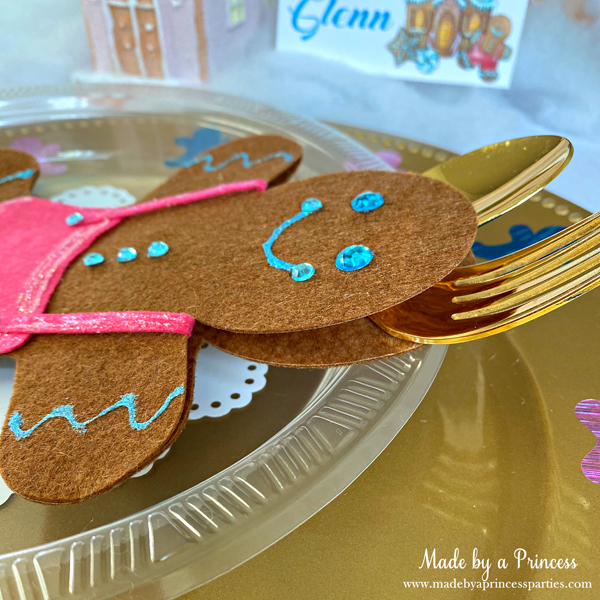
Christmas Utensil Holders
I’ve been in a very gingerbread mood this holiday so I thought I’d make some gingerbread man crafts with my Cricut. The inspiration for this little project was a set of watercolor images I found online. I just adore the pink and aqua…such a nice change from the traditional red and green.
Gingerbread Boy & Girl Place Setting Supplies
- Cricut Explore Air 2
- Holographic Vinyl
- Cricut Felt
- White Permanent Vinyl
- Weeding tools
- Cricut Mat
- Glue gun
- Glitter glue
- Rhinestones
- Gold charger (dollar store)
- Plastic plates (dollar store)
- Gingerbread Man Utensil Holder Design Space Project
- Gingerbread Man Decorated Charger and Doily Plate Design Space Project
Felt Gingerbread Boy and Girl Utensil Holder Instructions

- First, open gingerbread projects in Design Space. Click MAKE IT NOW. Note: You can tweak the design if you need to by clicking CUSTOMIZE.
- Place material on cutting mat. If you are cutting felt use the pink FabrciGrip Mat. If you are cutting vinyl use the Green StandardGrip mat or Blue LightGrip Mat.
- Use the pink Bonded Fabric blade for felt and silver Fine Point Blade for vinyl.
- Adjust your Cricut settings on the dial and in Design Space and when ready send the project to your Cricut machine to cut.
- Remove material from mat and weed if necessary.
- Cut all pieces and set aside until ready to use.
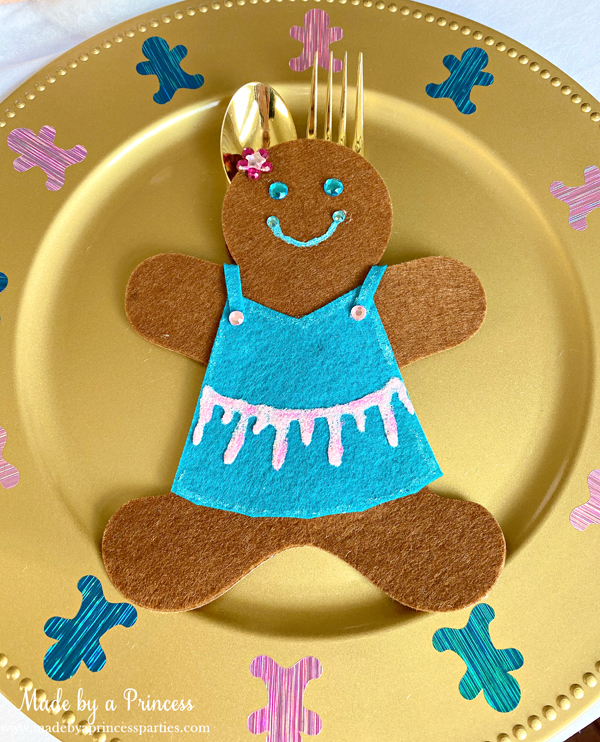
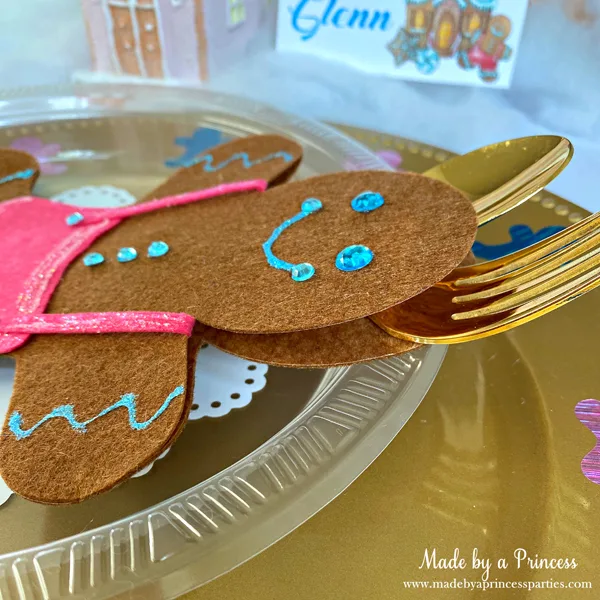
- When making the utensil holder, glue gun only to about half way up the gingerbread hand. Leave the top open to place utensils in.
- For the charger plate, place gingebread men decals around the edge of the plate so that they are evenly spaced.


- For the doily, weed out the tiny pieces, use transfer tape to remove from backing, and then place in the middle of your plastic plate.

Note: The BrightPad really comes in handy when weeding out small pieces.

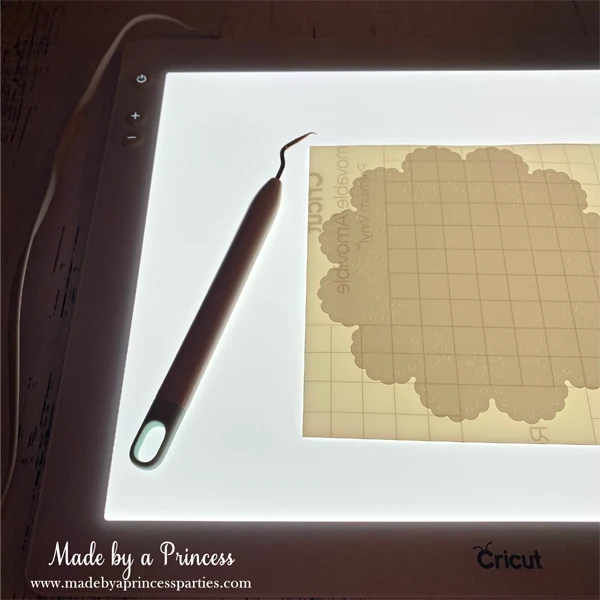
If you struggle to see the small bits I highly recommend getting a BrightPad!
Have Fun Decorating Your Gingerbread Boy and Girl
The best part of this project is decorating your gingerbread kids! I made these to match the clipart I purchased but you can embellish however you like. I used glitter glue and rhinestones.
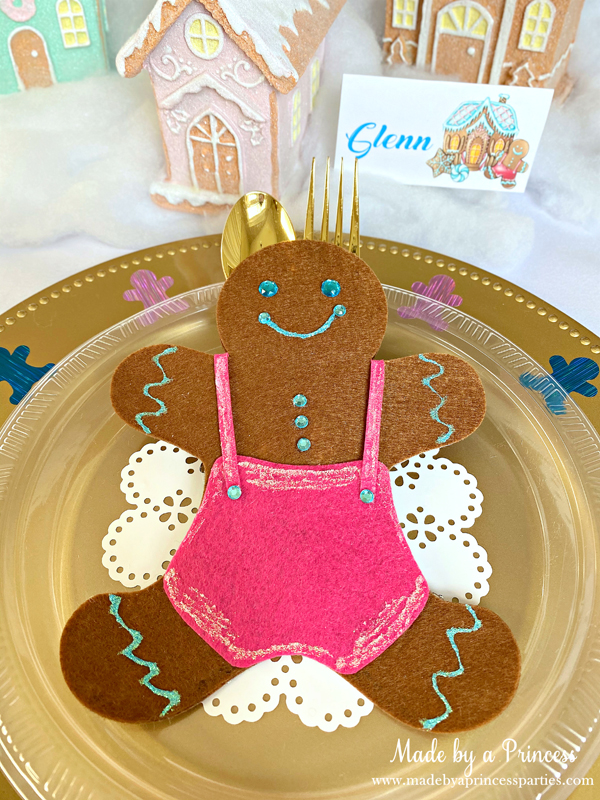
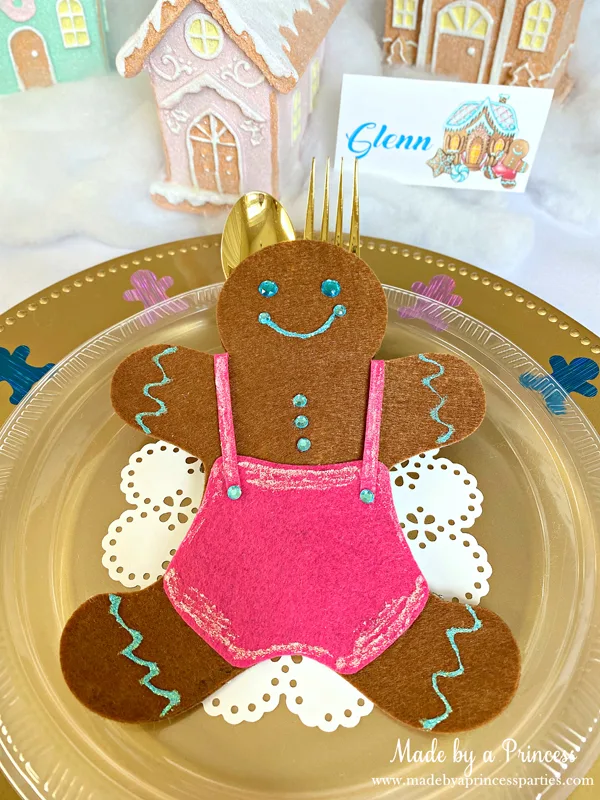
Now it’s time to pull it all together and set your cute place setting. Don’t forget to serve some gingerbread men and milk!
I hope you enjoyed my 5 Things I Love About My Cricut Explore Air 2 and are inspired to create your own Christmas crafts!