This is a sponsored post written by me on behalf of Cricut. All opinions are 100% mine.
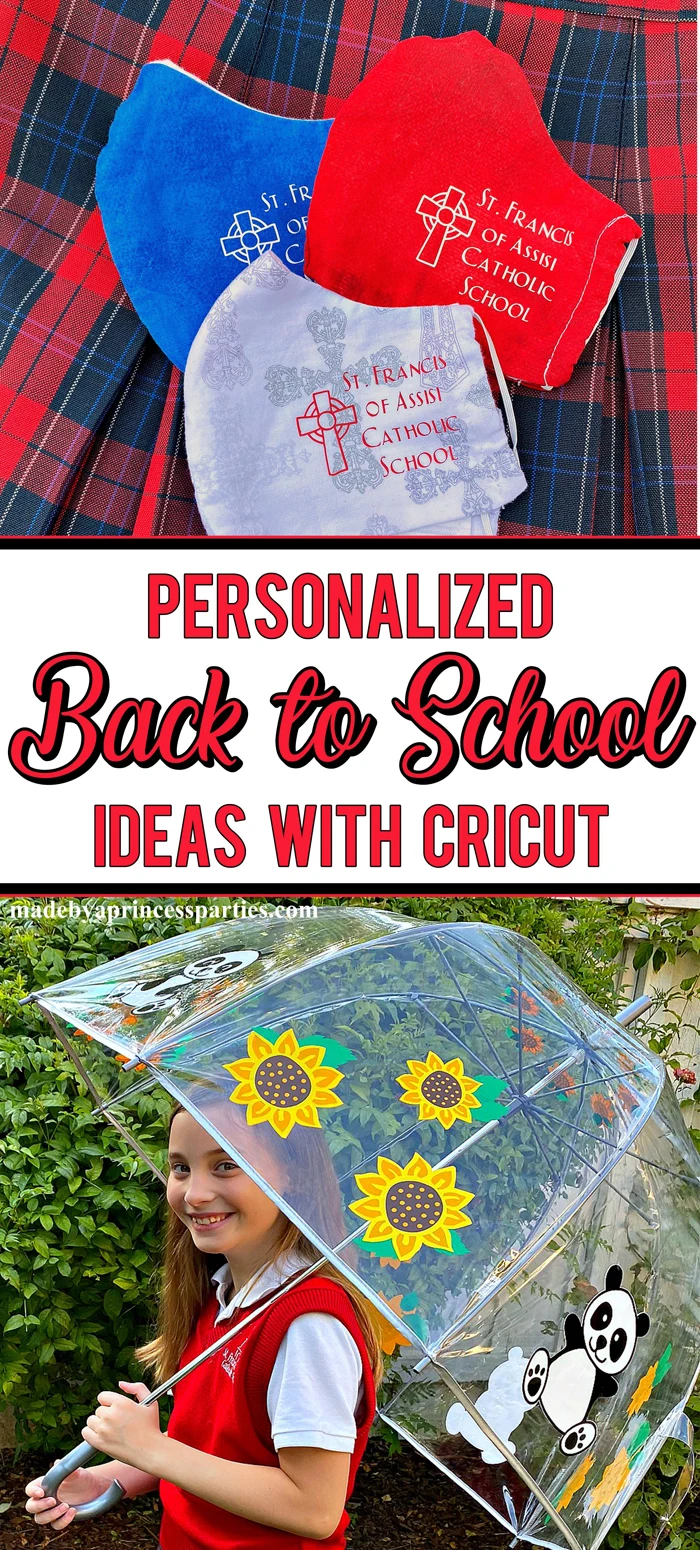
Get ready for school with Cricut Back to School Ideas. Create face masks to match school uniforms and design your very own custom umbrella!
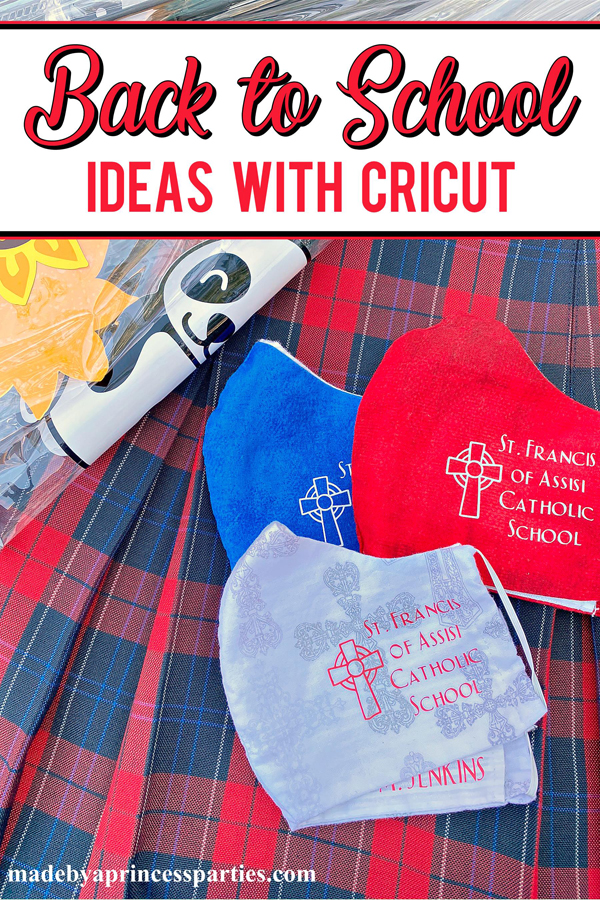
 We’re headed back to school…are you ready?! Even though this year looks a bit different than other years, we can still make it cute. Since masks are here to stay for the foreseeable future, why not make them match their school uniform? I’m also going to show you how to make a custom umbrella using vinyl. Check out these fun Cricut Back to School Ideas to start the year off right!
Cricut Back to School Ideas: Face Masks to Match School Uniform
Matching Personalized Face Masks
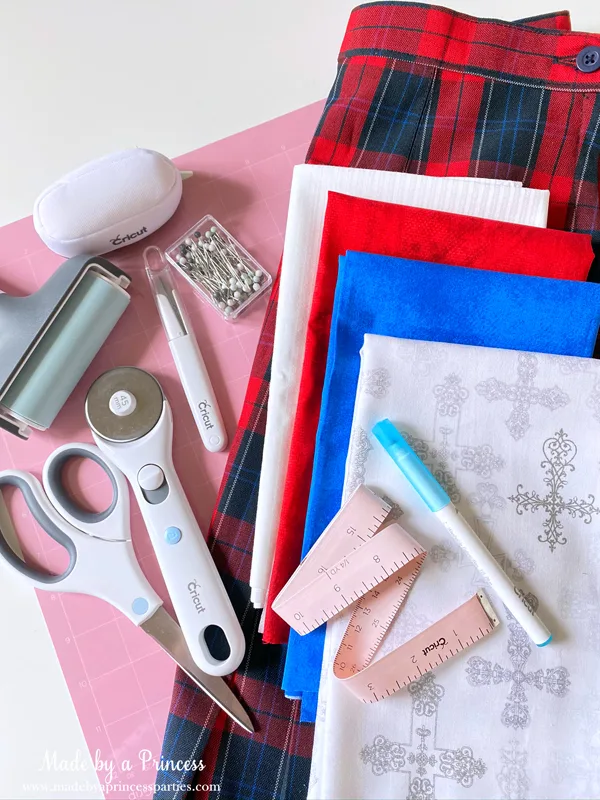
2020 has been one crazy year, right? Way too much to unpack there. Never in my wildest imagination did I ever think “face masks” would be on our school supply list. Seeing as this is the world we live in now, I wanted to make some masks to match my daughter’s uniform. She goes to a Catholic school and attends Mass on Fridays so that fabric with crosses is perfect. You will need a sewing machine to make these but it’s not a requirement that you be a seamstress or have a lot of skill in that area.
Supplies for Fabric Face Masks
For this project you will need the following from Cricut:
- Maker
- Rotary Blade or Knife Blade (if you plan on making a plastic template)
- Sewing Kit
- Weeding Tool
- Washable Fabric Pen
- Fabric Cutting Mat
- Everyday Iron On Vinyl
- Rotary Set
- True Control Knife
- Self Healing Mat
- Brayer
- Mini Easy Press
- Heat Mat
You will also need:
- Sewing machine
- Pre-washed fabric (it is advised you use a different fabric for the liner)
- Thread
- Skinny elastic
- Plastic chopping mats from dollar store (if you plan on making a plastic template)
- Cricut StandardGrip mat

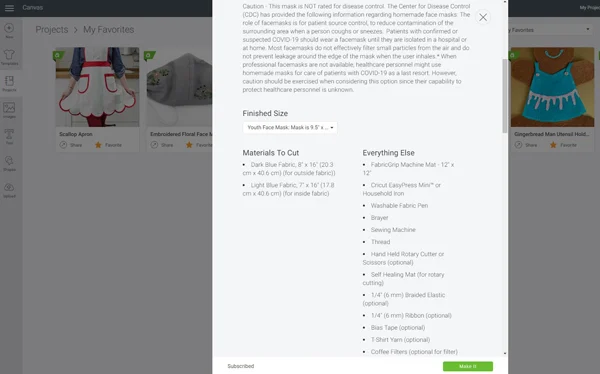
Face Mask Project in Design Space
After you have washed your fabric and dried it, you are ready to begin. Log into Design Space and find your favorite face mask design. There are several different styles available in the Projects section. Make sure you choose the right size. Click “Make It” to begin. 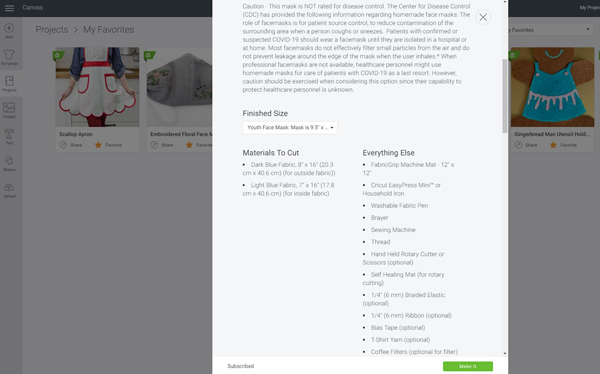
 Next, choose your fabric type. The best fabric for making masks is 100% cotton but do what you feel is right for you and your child. If you use something other than cotton due to allergies for instance, I suggest you do a quick search online to find the best alternatives for masks.
 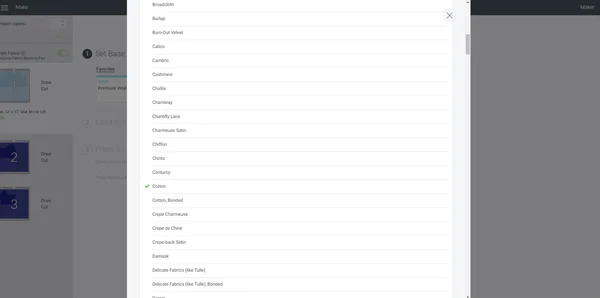 Before you begin your project make sure to load the Washable Fabric Pen and Rotary Blade into the machine.
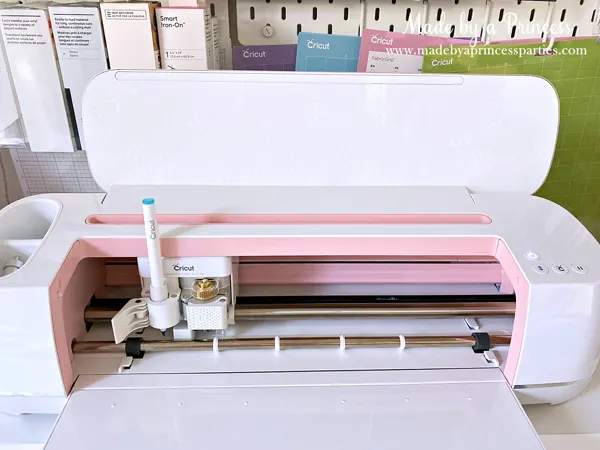
Prepping Your Face Mask Fabric
It is important that not only is your fabric clean, it is also pressed. The Cricut Mini Easy Press is perfect for ironing small things like fabric for face masks. Don’t forget to use the heat mat or you’ll burn your table or workspace. Use the Cricut Heat Guide to figure out the right setting and how long you should press. I used the high setting and pressed lightly until the wrinkles came out. 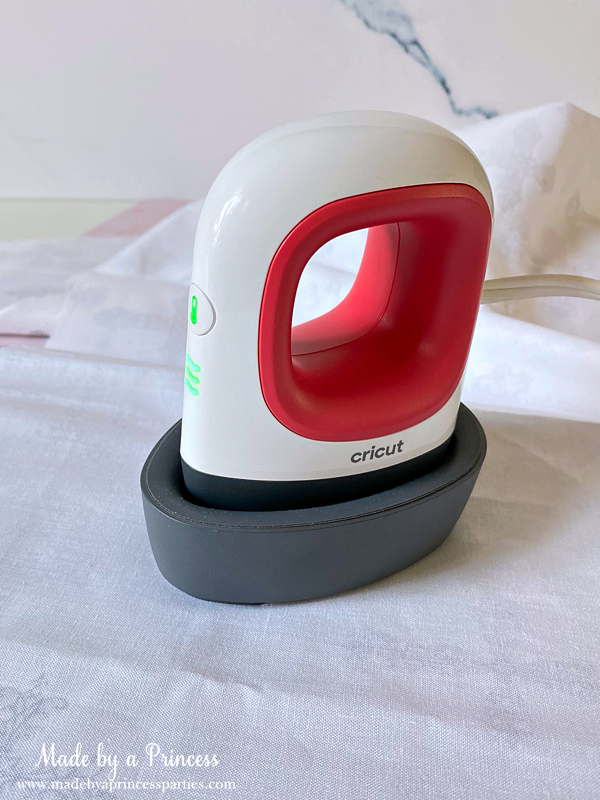
 Next, trim the fabric. I sew quite a bit and can’t believe I never bought one of these large acrylic rulers before. It’s amazing! It really makes cutting straight lines so quick and easy. Before I would mark the lines from the edge but this just does all the figuring for me. This is totally worth the money.
 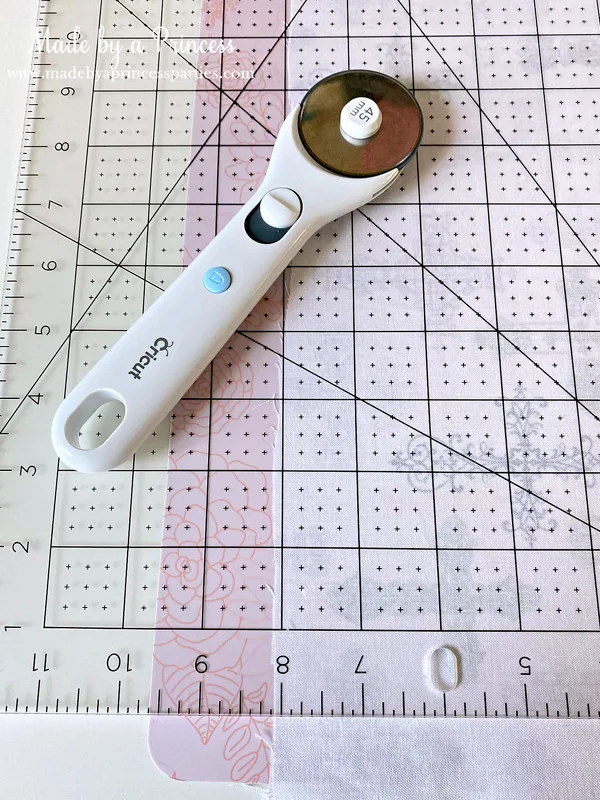 See that pretty straight line?!
 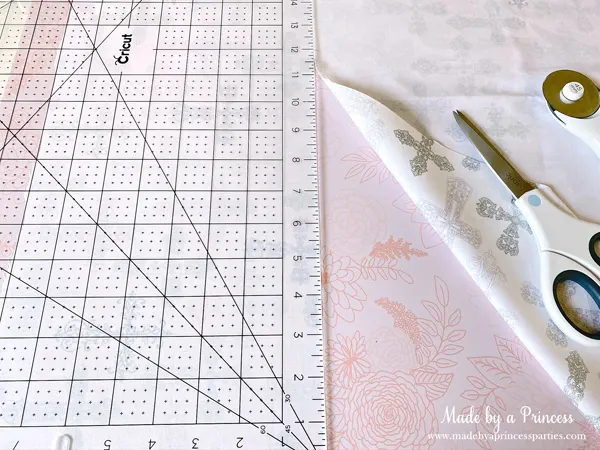 Another pretty fantastic tool is the Cricut Brayer. See how the fabric is a bit wrinkled? It looked like that even after I used a scraper to smooth it out.
 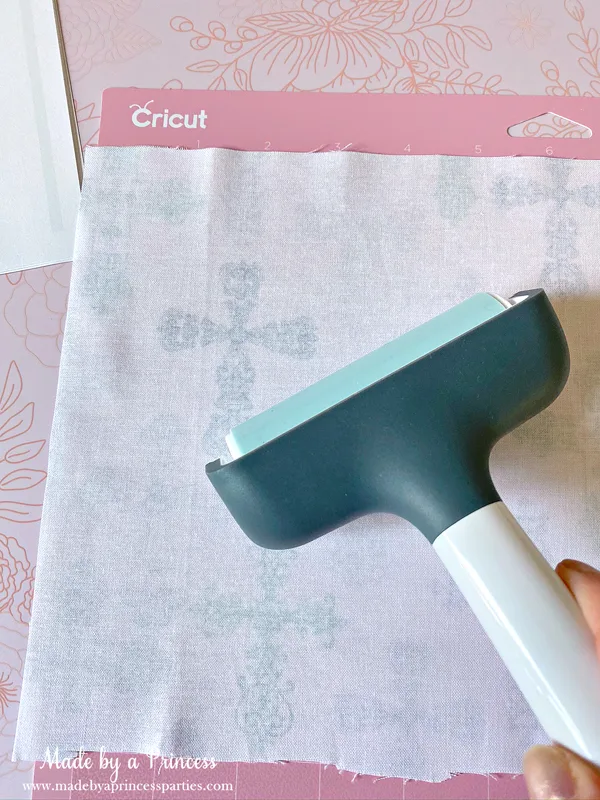 This is what it looks like after using the brayer. Smooth, no wrinkles, ready to cut. *I realized after I took this photo that my fabric was hanging over the edge of the cutting mat. Do not put it through the machine like this or it will get caught in the wheels. Trim fabric down to fit inside the mat.
  Those blue lines are sewing guides and are very helpful once you get the pieces on your sewing machine. I don’t have the rotary blade which is why I removed the fabric before cutting. If you have the rotary blade you will notice the machine will begin to cut as soon as it’s done marking with the pen.
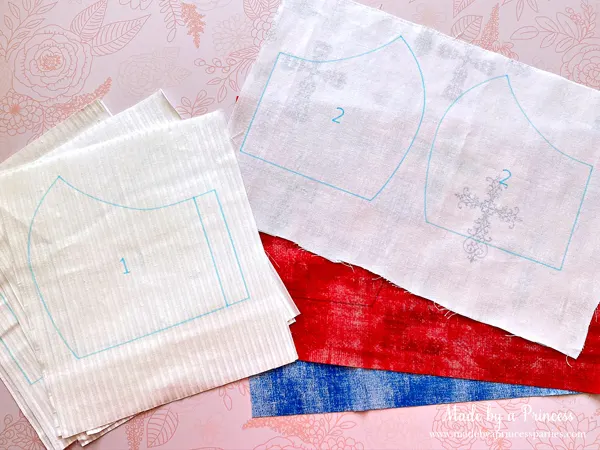
What If I Don’t Have a Cricut Rotary Blade?
Good question. You make your own templates out of dollar store chopping mats using the knife blade. To make plastic templates, make sure to turn the pen option off and choose “Damask Chipboard” with less pressure. Also, do not use the fabric mat…use the Cricut StandardGrip mat. If you don’t have a knife blade you could cut the template out on paper and trace on the chopping mat with a Sharpie and then cut it out. 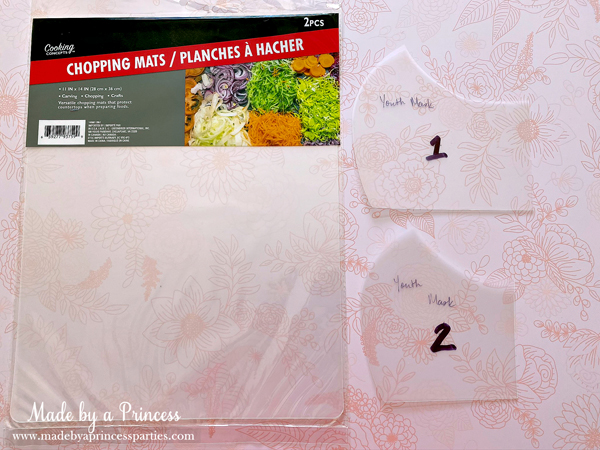
 Use your new plastic template and washable fabric pen and trace.
 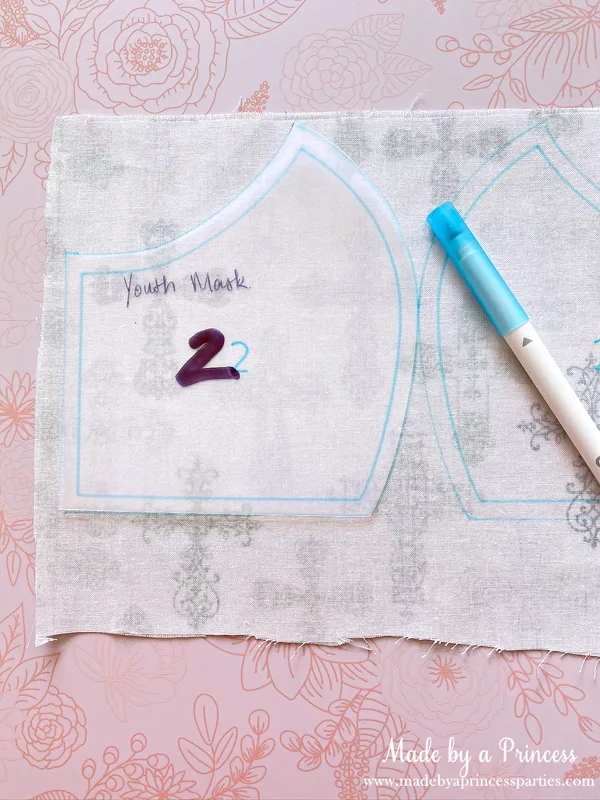 Cut fabric pieces out and assemble according to project directions.
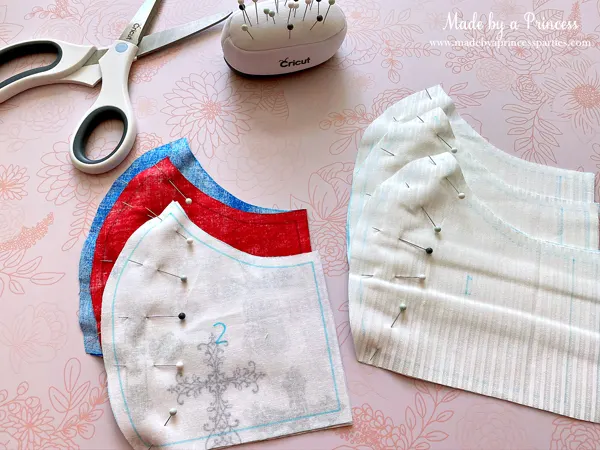
Personalize Face Masks with Iron On Vinyl
Now that you’ve finished your pretty face masks, let’s personalize them! You will need Design Space, the Mini Easy Press, heat mat, and Everyday Iron On. 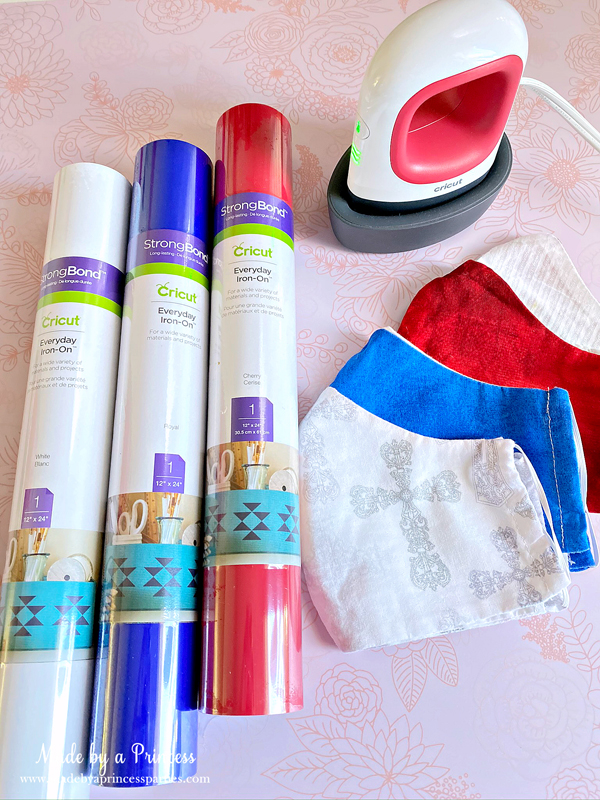
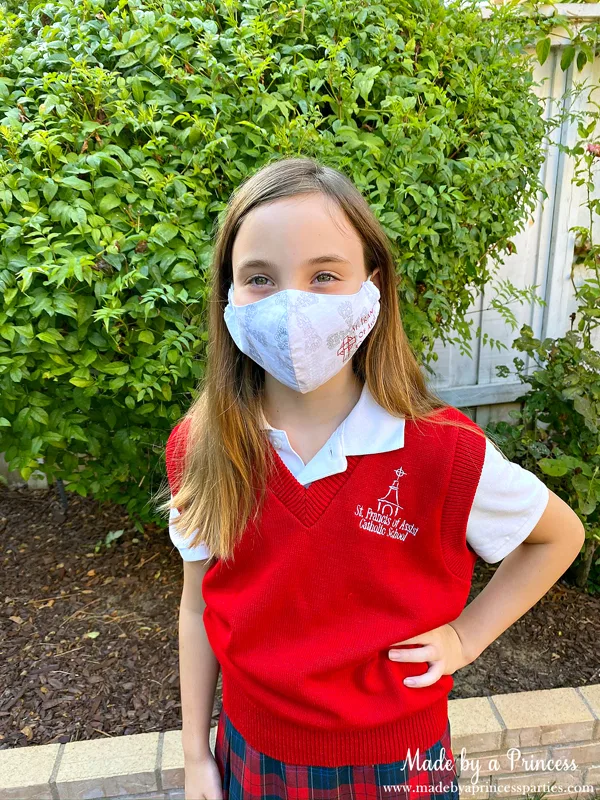
 You can customize your face masks anyway you like but I kept it simple by using the name of her school. I figured her school shirts and vest says it so why not her masks too? I suggest making at least six masks. One for each day of the week and one emergency mask to keep at school in case it’s forgotten at home or in the car.
 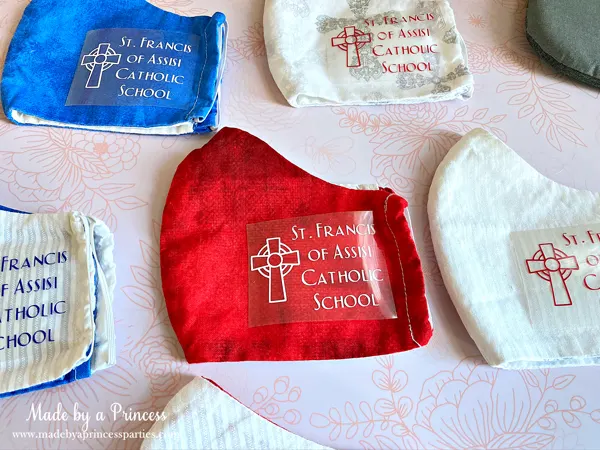 Follow the heat guide to determine the setting and how long to press. One thing to note about the Mini Easy Press, depending on how you hold it you could accidentally turn the heat up or turn it off. That’s what happened here and why the setting is too high. Just be careful is all I’m saying.
  Ta da! Matching school uniform face masks!
 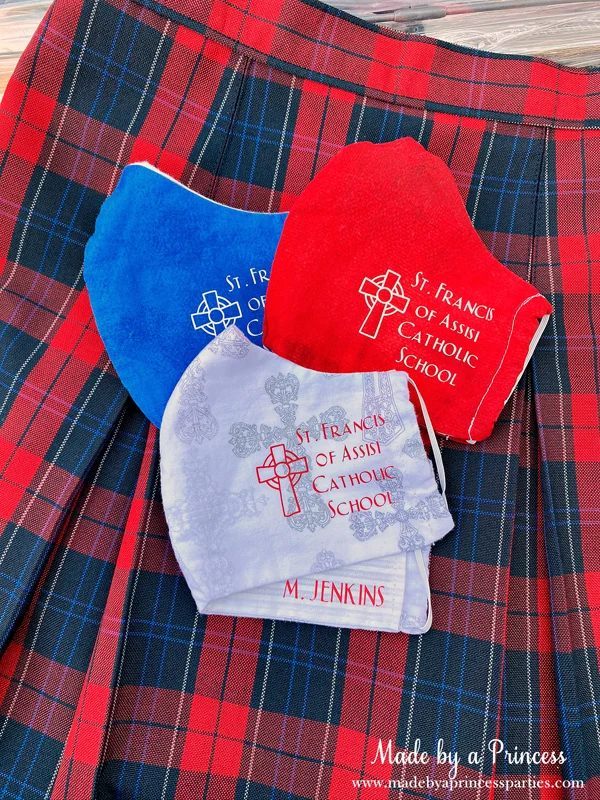 For reference, my daughter is 9 years old and I chose the Youth Face Mask size and cut two 7.25″ pieces of elastic for each mask.
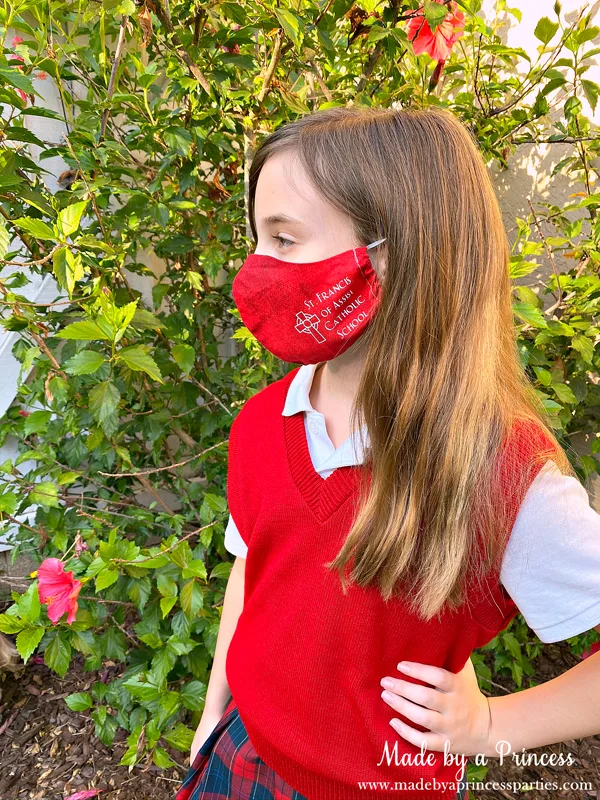
Cricut Back to School Ideas: Cute Custom Umbrella
Did you know you can put vinyl on a clear umbrella? You can and it’s really really cute! My daughter has been asking for a panda & sunflower umbrella but I couldn’t find anything we were looking for. She asked if I would make her one and I totally wish I had done this sooner. There are so many possibilities!! I found this clear bubble umbrella on Amazon and really like how easily it pops open and closes. There is another pictured below but I had to get rid of it. The plastic was way too thick and I could tell it was going to be a big hassle to open and close. For this project you will need the following from Cricut:
- Maker
- Premium Permanent Vinyl
- Standard Grip Transfer Tape (do not use Strong Grip – it will ruin your project)
- StandardGrip Cutting Mat
- Brayer
- Weeding Tool
- Scraper
You will also need:
- Clear umbrella
- Wax paper
- Glue Dots
- Painters tape
![]()
![]()
How to Make a Personalized Umbrella
Once you figure out your design, gather your supplies like permanent vinyl, transfer tape, and your weeding tool. ![]()
![]() There is actually an umbrella template in Design Space so you can lay out your design and get an idea of how it will look. One thing to note about Design Space, bring projects like this will take awhile to load so and might even lock up so make sure you are saving your work.
There is actually an umbrella template in Design Space so you can lay out your design and get an idea of how it will look. One thing to note about Design Space, bring projects like this will take awhile to load so and might even lock up so make sure you are saving your work. 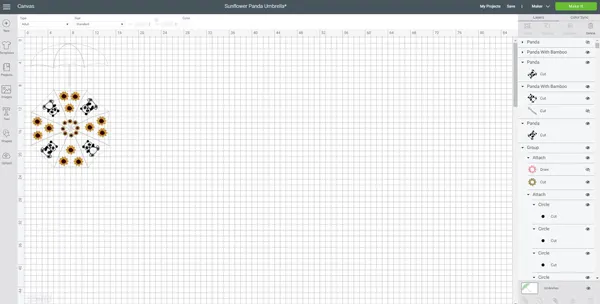 Once your design is set, prep your vinyl by smoothing out wrinkles on the cutting mat.
 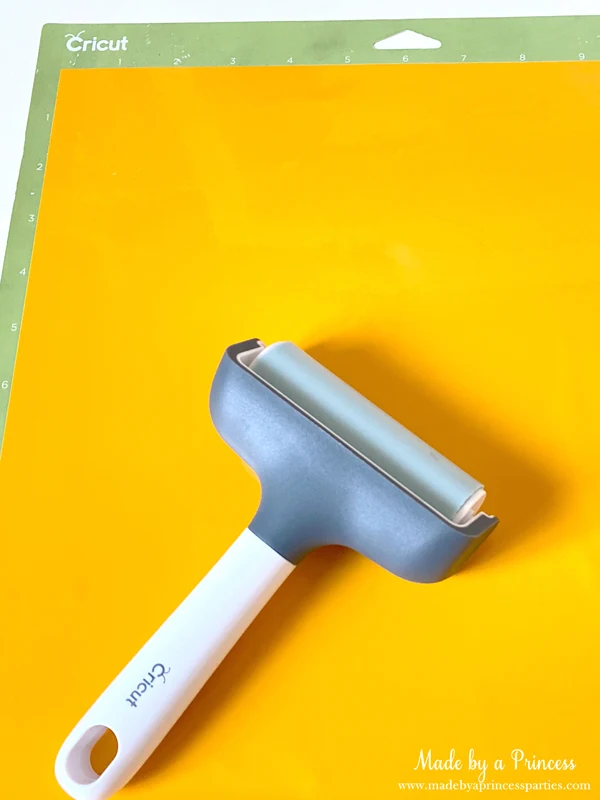 Cut out all your pieces, put transfer tape on the top layers, and set them on sheets of wax paper until you are ready to assemble.
 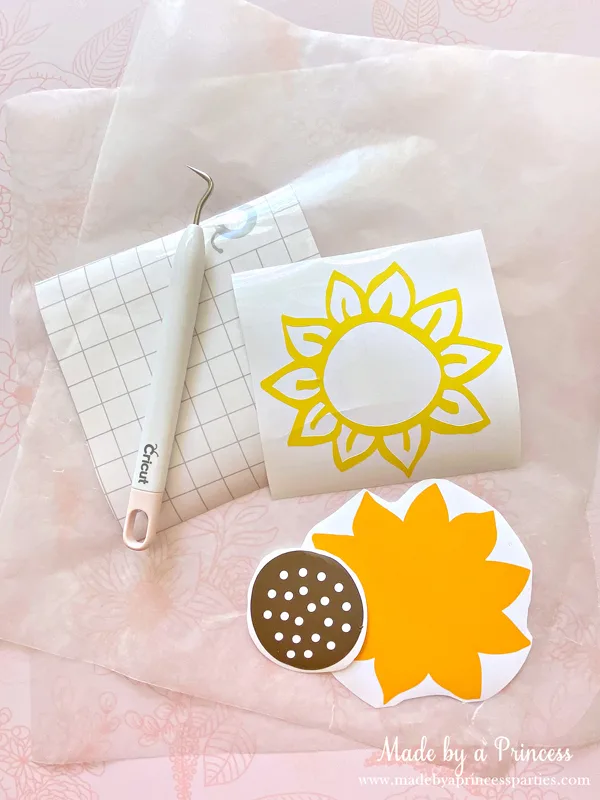 Smooth transfer tape over decal with the scraper.
 ![]()
![]()
Assembling Layered Vinyl Decals
Tape a sheet of wax paper down on your workspace and place a glue dot on the back of the bottom layer decal. This will hold the decal in place when adding the top layers. 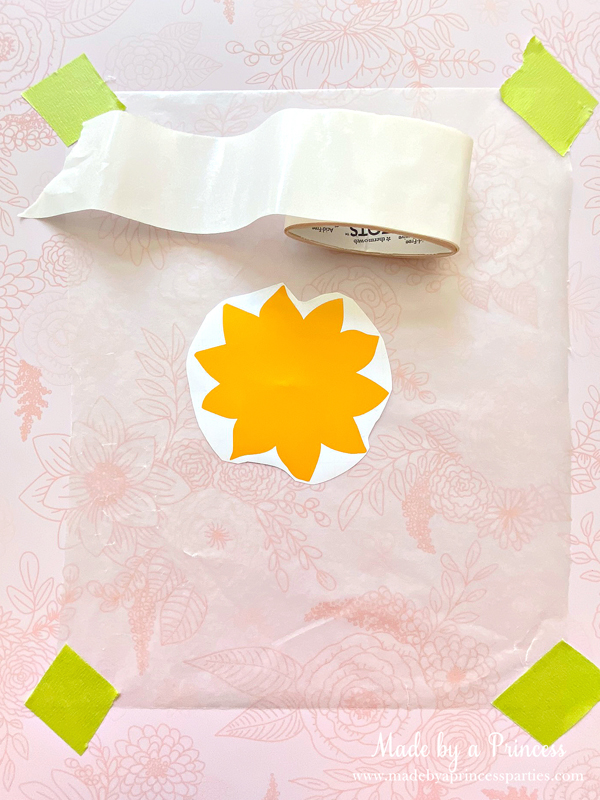
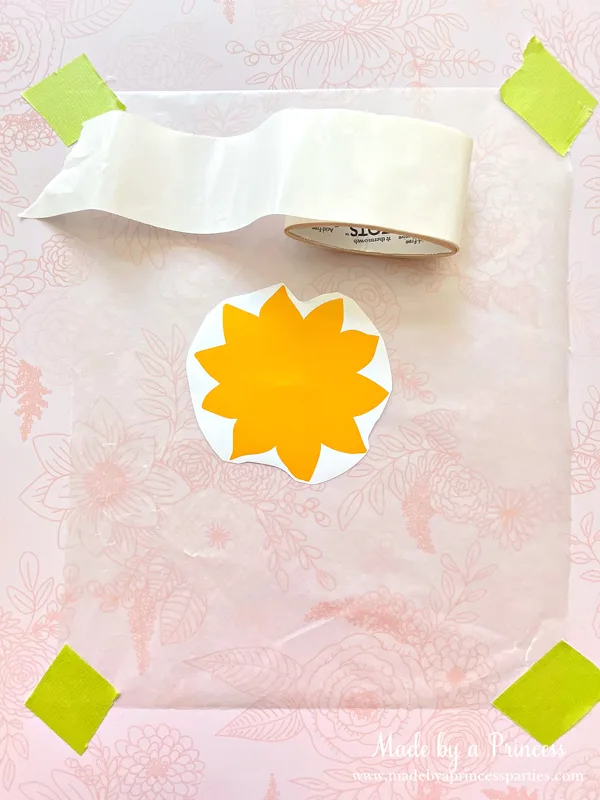 Place a sheet of wax paper under the top layer and line up the design. Once you are satisfied with the placement, slowly remove the wax paper and you stick the vinyl layer down.
 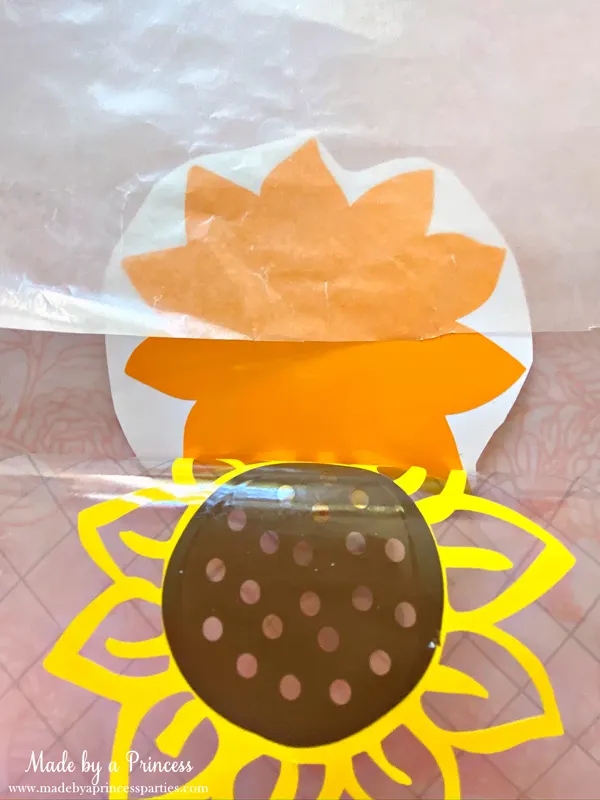 Place completed decals on wax paper until you are ready to put them on the umbrella. Refer to your design in Design Space and start sticking!
 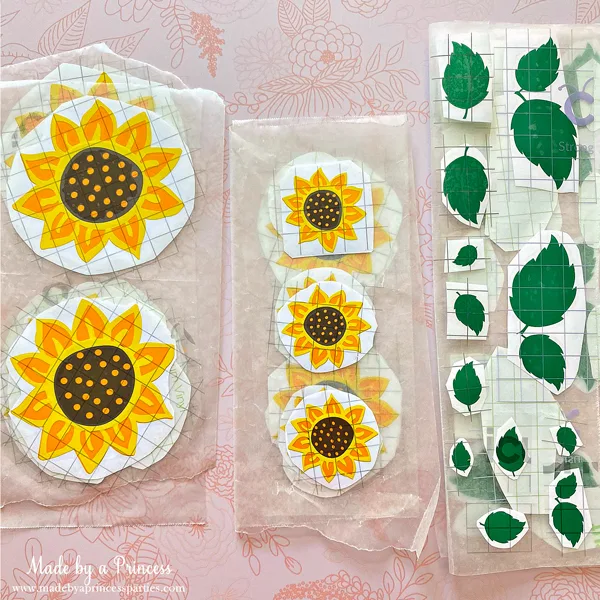 I suggest you keep the umbrella open when sticking vinyl on and use a flat surface when possible. The sunflowers were pretty easy to place with just a piece of cardboard behind it but the pandas were more challenging. I ended up with a few bubbles behind the vinyl which just irks me to no end. Don’t do what I did and get lazy with this step…use a table and them slowly put larger decals on.
 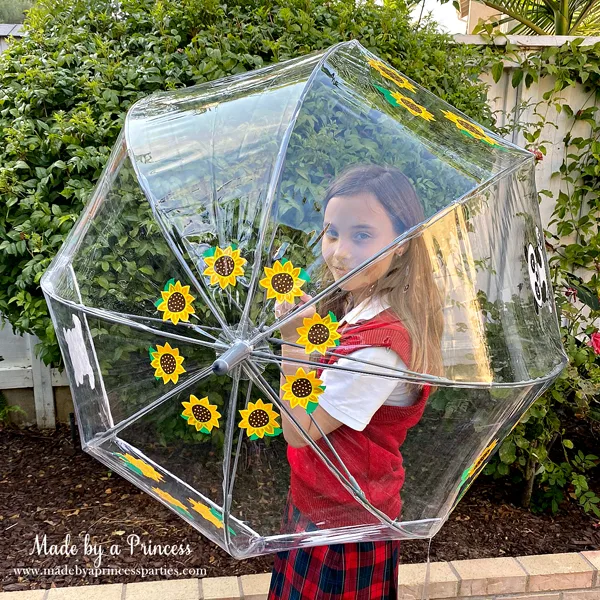 She loves her new panda sunflower umbrella!
 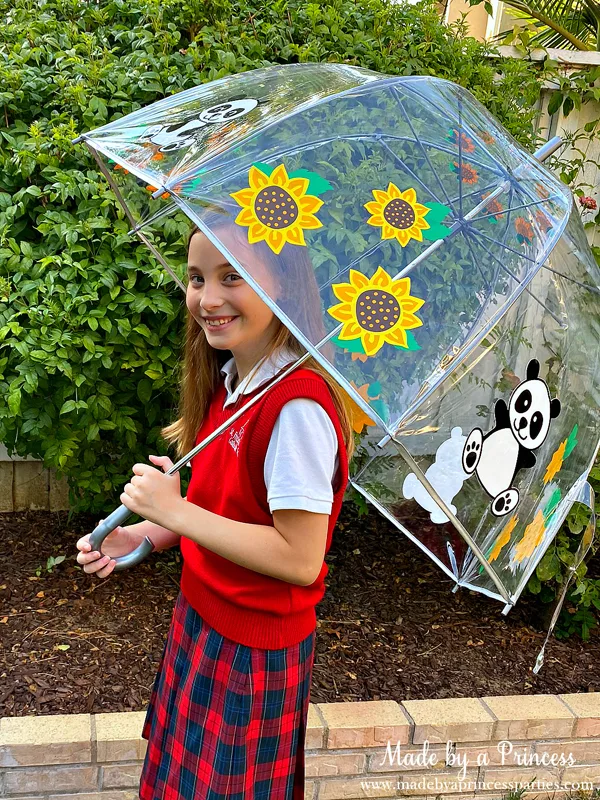 Our puppy dog does too…
 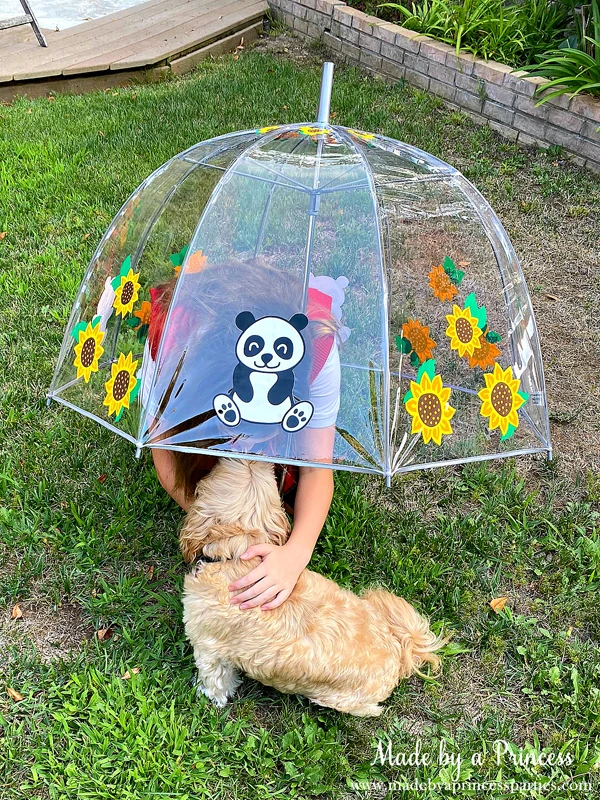 I hope you enjoyed these Cricut Back to School Ideas! Don’t forget to check out a bunch of other crazy creative ideas from my fellow crafting friends! Looking for other Cricut crafts?
- Graduation Ideas
- 5 Things I Love About My Explore Air 2
- Personalized Baseball Jersey & Dance Cart
- Christmas Gift Bags in Under 15 Minutes
- How to Use the EasyPress 2
- Getting Started with the Explore Air 2